Even for the most skilled DIYers, chiselling a 2×4 into concrete can seem daunting. However, when armed with the correct instruments and knowledge, it can be rendered a speedy and surefire task. To ensure the job is done well, here is how to accurately hammer in a 2×4 into concrete.
Collect the Essential Gear
Assembling the right resources is key to successfully nailing 2x4s into concrete; the following is a must-have checklist of all the tools you’ll need to get started:
For getting those nails in the concrete, one must turn to the handy hammer drill. This tool is designed to make holes with ease – offering an expeditious way to put objects in place.
Having a hammer complete with you will be essential if you want to drive those nails securely into their designated spots.
To accomplish the task at hand, concrete nails that have been crafted specifically for the job are necessary.
It goes without saying that protection from common work-related hazards is essential, so donning eye and ear wear when dealing with powered tools is a must. Safety glasses and hearing protection are integral parts of every handyman’s kitbag!
Prep Your Concrete for Construction Work
To guarantee the accuracy of your 2×4 when nailing it into concrete, begin by diagraming the desired spot. Establishing this mark will assist in precisely securing the board in its determined location.
With the hammer drill, begin to puncture the concrete by creating holes that will be the residence of the nails. Ensure that the depths of the holes are sufficient enough to firmly hold the nails.
Hammering 2x4s Into Their Spot
The preparation phase is complete. Now it’s time to start affixing the concrete nails to the pre-drilled holes. Firmly swing your hammer, tapping the nails until they’ve been securely secured.
As soon as the 2×4 has been firmly affixed, the job is complete! All that remains is Step 4: Tidying Up.
When you’re done, tidying up the space is a vital part of the job. Make sure to sweep away any concrete remnants that have been created while working.
Appropriate disposal of nails and other supplies used is an integral part of the job, so it’s important to tend to this responsibility diligently.
Securing 2x4s to concrete is a breeze for any do-it-yourselfer who has the right gear and instructions. Start by gathering all of your supplies, making sure the space is prepped, and hammering the 2×4 into place. After that, clean up the area to leave nothing behind and discard any materials you used during the process in a safe way. With these directions, you can attach a 2×4 to concrete without wasting time or putting yourself in danger.
Homeowners and DIY enthusiasts looking to drive nails into concrete or masonry walls must be aware of the possible repercussions that an incorrect approach can have. However, there are some tried and tested techniques that will help to make sure the job is accomplished properly and without issue. By utilizing these tips, anyone can successfully secure 2x4s into concrete or masonry walls.
Before your job of inserting 2x4s into concrete can start, it is essential to accumulate all the needed materials. To get the work done, you are going to require a drill machine, a hammer tool, a masonry bit, and nails specially designed for this purpose. You will likewise need a level device and a piece of wood that will act as a backing board.
Now that you have all your gear, it’s time to launch into the job. Begin by using the drill to fashion pilot holes in the concrete or brick wall. The bit must match the masonry nails you intend to use; for example, if you’ve settled upon 3-inch nails, insert a 3/16 inch bit. Following that, put in the masonry nails and make certain they are even with the wall’s surface.
After aligning the 2x4s with the wall, prop up the backing board with a level to guarantee it is properly placed. Once confirmed, use a hammer to drive the masonry nails through each pilot hole. To ensure a secure hold, drive the nails in at an angle that penetrates both the 2x4s and mounting board.
Taking time to ensure nails are used correctly is a must when installing 2x4s into concrete or masonry. It is essential to avoid the use of everyday nails and screws, as these are not equipped to penetrate hard materials such as concrete or masonry, leaving no durable support for the wood.
With each swing of the hammer, press the masonry nails further into the wood, ensuring that all are embedded in both the 2x4s and backing board. It is vital that each nail is driven into the wall in an orderly fashion, as this will provide the most effective anchoring of the material.
To make your finished project durable and reliable, it is advisable to apply a few drops of construction adhesive at the junction of the 2x4s and backing board before hammering in the nails. This will guarantee that your 2x4s remain affixed firmly in place.
Although it’s not a project for novices, if you come adequately prepared, the task of inserting 2x4s into concrete or masonry walls can be quite simple. Just make sure you observe the steps above, and you should be able to get the job done without a hitch.
Related Product
Common Nail
Product Information: Common Nail Material Q195, Q235 Shank diameter 1.2mm-10mm Length 19mm-300mm Finish polish/bright, electro galvanized, hot dip galvanized Head flated he […]
Fence U Nail
Product Information: U TYPE NAIL 1.material: Q195/Q235 Low Carbon Iron Rod 2.shank: smooth shank, single barbed shank, double barbed shank and others 3.Point: side cut point or di […]
Headless Nail
Product Information: Cheap Lost Head Nails/ Headless Nails/ Finishing Nails Price Material Q195 or Q235 iron wire rod or according to request Size 1″ – 6″ Finish Polished or […]

Black concrete nail
concrete nail with special materials, concrete nails are specialty nails compared with common iron nails. It is harder, the shank is short and thick commonly and it has excellent p […]
G Sod Staple
Product Information: Product name Sod Staple Material: Q195 /Q235 Size: 3/4X14GA, 3/4X9GA, 7/8X14GA, 1X9GA, 1-1/4X9GA, 1-1/2X9GA, 1-3/4X9GA Type: Round head with smooth shan […]

Paper Strip Nail
Product Information: Material Q195, Q235, stainless steel Surface Finish Bright, Galvanized, Hot Dipped Galvaized, Electro Galvanized, Zic Yellow, Zine Bule, MG, Dacro, etc. […]

U Sod Staple
Product Information: Landscape Staples * 11 GAUGE STEEL CONSTRUCTION: The points on the staples are sharp enough to pierce commercial ground cloth, and the staples are long […]
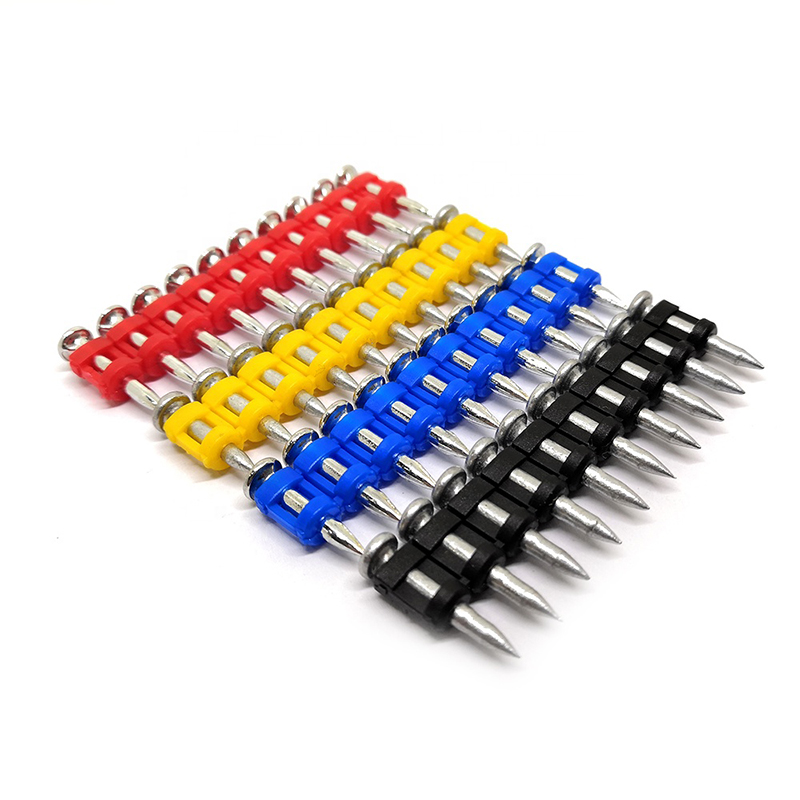
Shooting Nail
Product Information: GAS CONCRETE PIN NAIL raw material steel#45,#60 diameter 2.6mm,2.7mm,3.0mm,3.2mm length 13mm,16mm,19mm,22mm,27mm,32mm,37mm shank smooth shank & shri […]
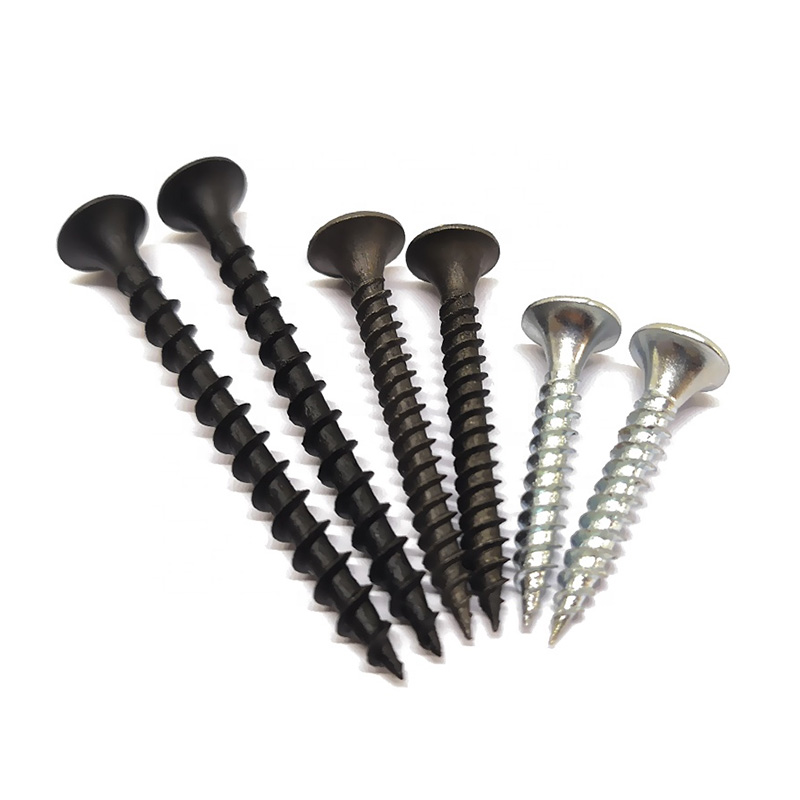
Drywall Screw
Product Information: Product Name Screws Drywall Nail Material Carbon steel C1022a Color Black,Galvanized Standard ISO,GB,DIN,JIS,ANSI,BSW Diameter M3.5-M6.3, 6#-14# Length […]
