In order to give your home an aesthetic enhancement, look no further than masonry nails. The wide head and sharp point of these steel and brass nails make them ideal for beautifying concrete surfaces with decor. To get started, here is a handy tutorial on how to securely hammer masonry nails into concrete.
Having the proper tools at your disposal is essential before you embark on any project. Specifically, a hammer, masonry bit, drill, safety goggles and gloves should all be within arm’s reach prior to starting. Not only will these items make the task at hand easier, but they will also act as a protective barrier between you and any potential harm that can come from the job.
To begin your project, you need to make a hole in the concrete for the masonry nail to fit into. The size of the pilot hole should match the nail, so a 3/8″ nail will require a 3/8″ hole. Ensure that all of your tools are ready beforehand.
Once the drill has done the job the masonry nail needs to be placed into the hole and with a few taps of a hammer, softly pushed down so that its surface is aligned with that of the concrete.
Finally, employ the masonry bit to produce a countersink perimeter that encases the nail head. This will guard against it eventually being ejected from its position.
You can finish your project with a simply effective touch: adding masonry nails to any concrete surfaces. Although you’ll want to take extra care while working, it is entirely achievable, as long as you take the necessary safety precautions and keep a steady and methodical attitude throughout.
Related Product

Garden Nail
Product Information: Black or yellow color plastic ground pegs are used for fix the ground cover or woven fabric or fleece on the ground. Material: Virgin PP OR PP +UV stabi […]
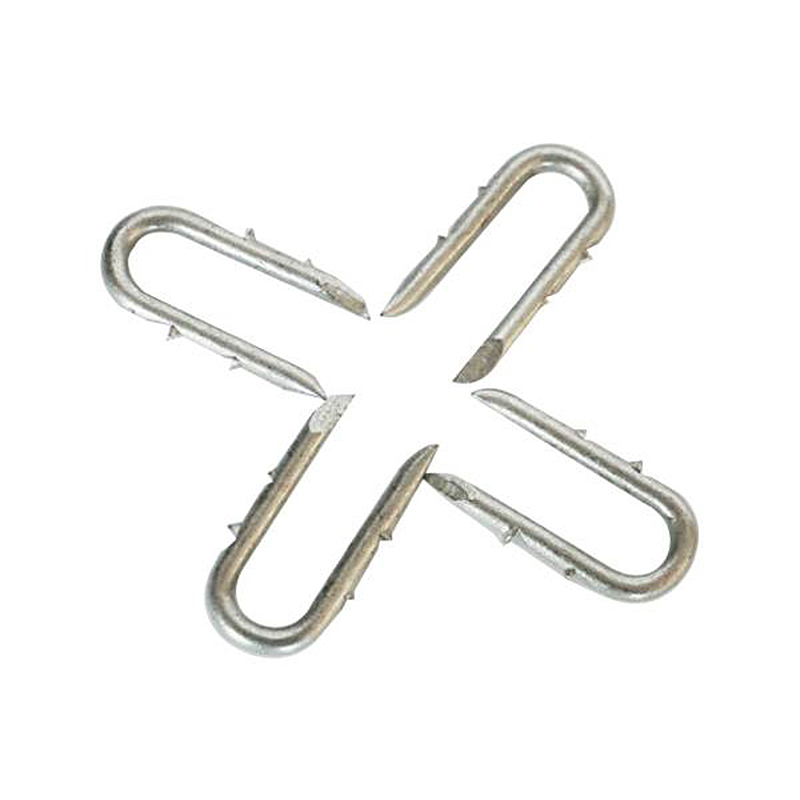
Fence U Nail
Product Information: U TYPE NAIL 1.material: Q195/Q235 Low Carbon Iron Rod 2.shank: smooth shank, single barbed shank, double barbed shank and others 3.Point: side cut point or di […]
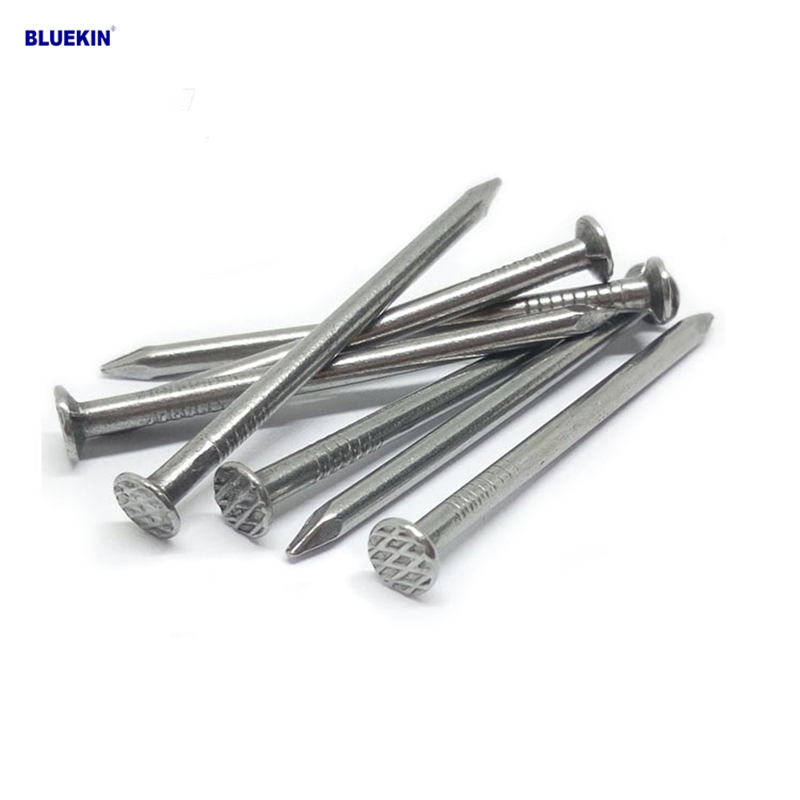
Common Nail
Product Information: Common Nail Material Q195, Q235 Shank diameter 1.2mm-10mm Length 19mm-300mm Finish polish/bright, electro galvanized, hot dip galvanized Head flated he […]

Paper Strip Nail
Product Information: Material Q195, Q235, stainless steel Surface Finish Bright, Galvanized, Hot Dipped Galvaized, Electro Galvanized, Zic Yellow, Zine Bule, MG, Dacro, etc. […]
Black concrete nail
concrete nail with special materials, concrete nails are specialty nails compared with common iron nails. It is harder, the shank is short and thick commonly and it has excellent p […]
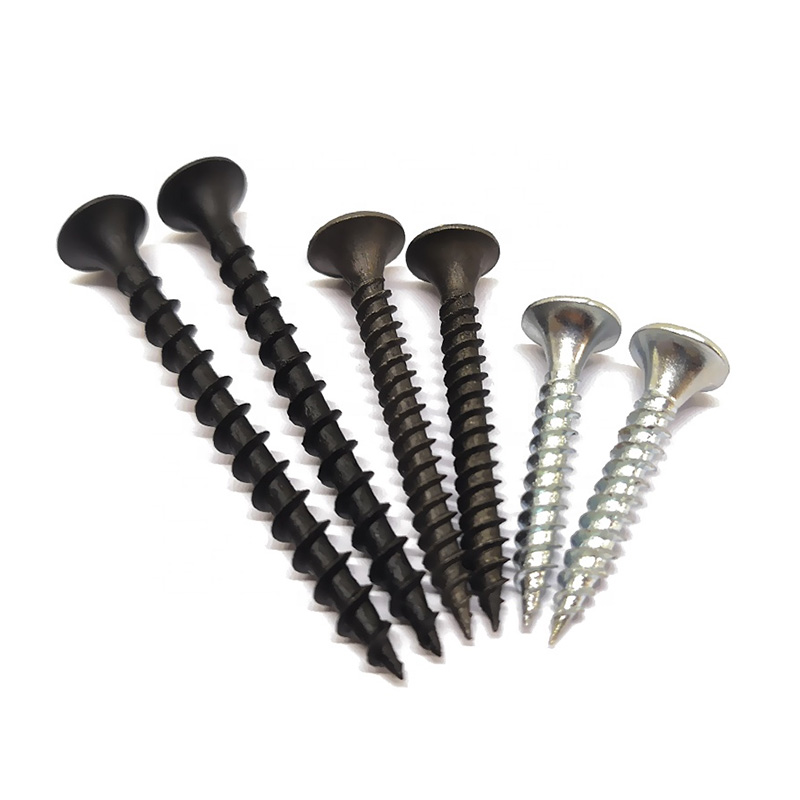
Drywall Screw
Product Information: Product Name Screws Drywall Nail Material Carbon steel C1022a Color Black,Galvanized Standard ISO,GB,DIN,JIS,ANSI,BSW Diameter M3.5-M6.3, 6#-14# Length […]

U Sod Staple
Product Information: Landscape Staples * 11 GAUGE STEEL CONSTRUCTION: The points on the staples are sharp enough to pierce commercial ground cloth, and the staples are long […]
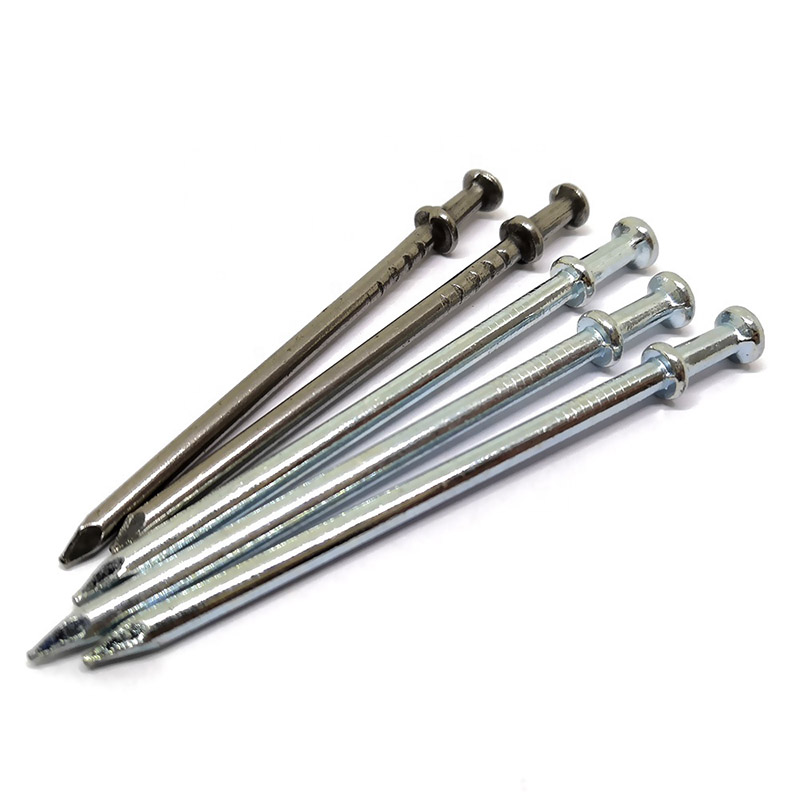
Double Head Nail
Product Information: Material Q195/Q235 Surface Treatment Bright, E.G, H.D.G, M.G, V.C, C.C, P.C and so on Head Two Head Shank Smooth Shank Point Diamond Point Kinds of pa […]
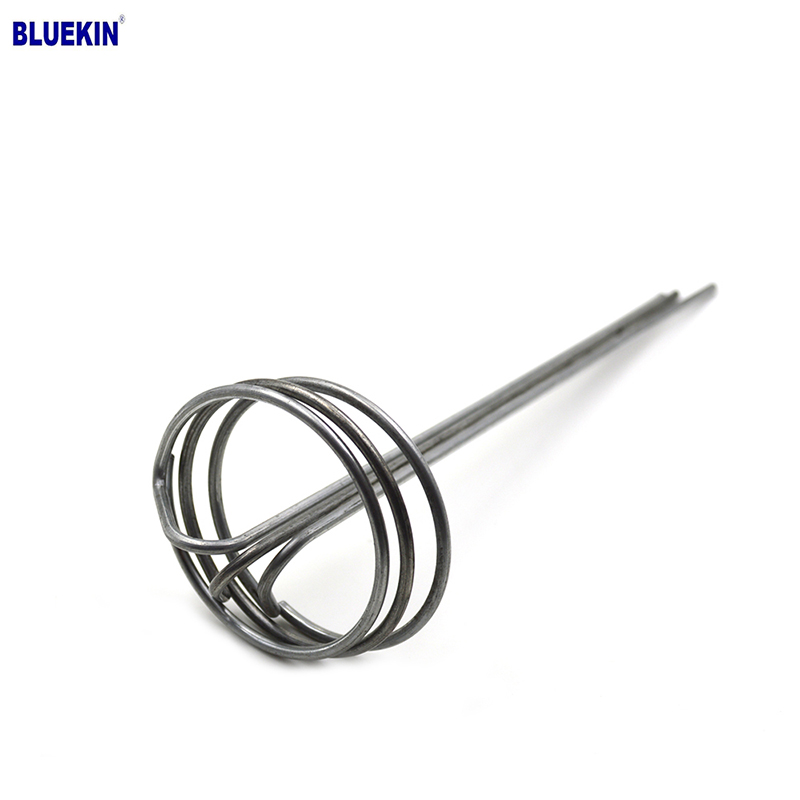
G Sod Staple
Product Information: Product name Sod Staple Material: Q195 /Q235 Size: 3/4X14GA, 3/4X9GA, 7/8X14GA, 1X9GA, 1-1/4X9GA, 1-1/2X9GA, 1-3/4X9GA Type: Round head with smooth shan […]