Although attempting to hammer a nail into concrete can be a daunting job, success is achievable if the appropriate tools and methods are employed. It is essential to be familiar with the steps of the process and the required gadgets to avoid compromising the tools, enduring harm, and attaining a feeble grip of the nail.
Before inserting a nail into concrete, the surface must be thoroughly cleared of any residue. This will ensure that the nail can be comfortably and effectively inserted. To create a pilot hole, one must purchase a masonry bit from the local hardware store; it should be just slightly bigger than the size of the nail to ensure an improved hold. Using a hammer to drive in the bit, the pilot hole will be successfully made, allowing for the nail to penetrate the concrete without difficulty.
After the initial hole has been bored, the nail should be firmly lodged in place and tapped gently with a hammer. To guarantee that the nail is properly seated and immovable, a nail set needs to be employed. This is done by simply placing the nail set directly overtop of the nail and giving it a relevant strike from the hammer until it is locked into place without any possibility of shifting.
For the next stage, a hammer drill is utilized to bore a hole broad enough for the nail. To start, fit the drill bit that corresponds to the size of the nail into the unit and adjust it to its suited speed. Make sure the drill is positioned securely against the concrete before the nail is slipped into the initial opening. Working steadily, expand the gap further using the drill to drive the nail deeply into its surface.
Once the nail has been set into the cement, it is time to make it secure. A hammer should be used to tap it down until it is even with the exterior of the concrete. Be careful not to drive it in too deep; doing so can cause the nail to shatter or wiggle itself free.
The nail’s placement must be secured with cementing compound to finish the process – this safeguard helps to keep the nail stable and prevents the risk of rusting.
Driving nails into concrete is no small feat, but with the right strategy and techniques you can accomplish the job quickly and safely. Don’t attempt it without understanding the proper procedure and tools needed, as this could easily lead to injury, ruined tools, and an unreliable bond. Additionally, be certain that you clear all debris from the surface where you are hammering in the nail and use a pilot hole plus concrete patching compound to properly secure it. By applying these guidelines, anyone can confidently pound nails into concrete and guarantee a job well done.
Any successful project or home improvement job requires the expertise of pounding a nail into concrete. It’s an art form that needs to be done properly and cautiously with the right tools. Whether you’re installing a fence or displaying a picture on a wall, having the knowledge and ability to hammer a nail into concrete can help you achieve the desired outcome.
To properly complete the task, obtaining the ideal equipment is paramount. This includes a hammer, concrete nails, eye protection, and a face covering. Depending on the extent of the activity, a power drill with masonry bits can be preferable to facilitate effortless success.
Before embarking upon the endeavor, it’s essential to guarantee that your workspace is solid. Ensure the area is spotless and absent of anything untoward. If your project involves being outdoors, remember to don protective goggles in order to secure your vision from dust and mess.
You’ve collected the necessary tools and now you’re ready to begin driving nails into the concrete. Carefully position each nail so that it is perpendicular to the surface, then take your hammer and firmly tap it until it is completely embedded in the concrete. You may have to do this repeatedly in order to insert the nail all the way. When hitting the nail with the hammer, make sure you do so straightly and with enough strength.
Whether it requires the precision of a drill or the power of a hammer drill, selecting an appropriate masonry bit is key. Ensure the size of the bit surpasses that of the nail; this will secure a full penetration into concrete. To manage larger projects, a hammer drill could be utilized to make the job simpler.
To ensure your safety while hammering a nail into concrete, protective eyewear and a face mask are essential. The dust mask will shield your respiratory tract from particles that may be generated, while the safety goggles will safeguard your vision.
After securing the nails into position, it is recommended to use a hammer to give them an extra bit of reinforcement. Alternatively, you may want to apply a sealant coating in order to protect them from any potential corrosion.
Nailing embellishments into concrete structures may seem intimidating, but with the appropriate instruments and precautions, it can be achieved with ease. The necessary masonry bit should be used, as should a dust mask and safety goggles to adhere to protection protocols during the process. With some repetition of the procedure, you’ll be a cultured professional in no time!

Related Product
Fence U Nail
Product Information: U TYPE NAIL 1.material: Q195/Q235 Low Carbon Iron Rod 2.shank: smooth shank, single barbed shank, double barbed shank and others 3.Point: side cut point or di […]
Garden Nail
Product Information: Black or yellow color plastic ground pegs are used for fix the ground cover or woven fabric or fleece on the ground. Material: Virgin PP OR PP +UV stabi […]
G Sod Staple
Product Information: Product name Sod Staple Material: Q195 /Q235 Size: 3/4X14GA, 3/4X9GA, 7/8X14GA, 1X9GA, 1-1/4X9GA, 1-1/2X9GA, 1-3/4X9GA Type: Round head with smooth shan […]
Plastic Strip Nail
Product Information: Diameter/mm(±0.05mm) Length/mm(±1.5mm) 2.87 50/60/65/70/75 3.05 70/75/83/90 3.33 75/83/90 3.76 75/90/100/130 4.11 75/90/100/130 4.5 75/90/100/130 Featur […]
Common Nail
Product Information: Common Nail Material Q195, Q235 Shank diameter 1.2mm-10mm Length 19mm-300mm Finish polish/bright, electro galvanized, hot dip galvanized Head flated he […]

U Sod Staple
Product Information: Landscape Staples * 11 GAUGE STEEL CONSTRUCTION: The points on the staples are sharp enough to pierce commercial ground cloth, and the staples are long […]

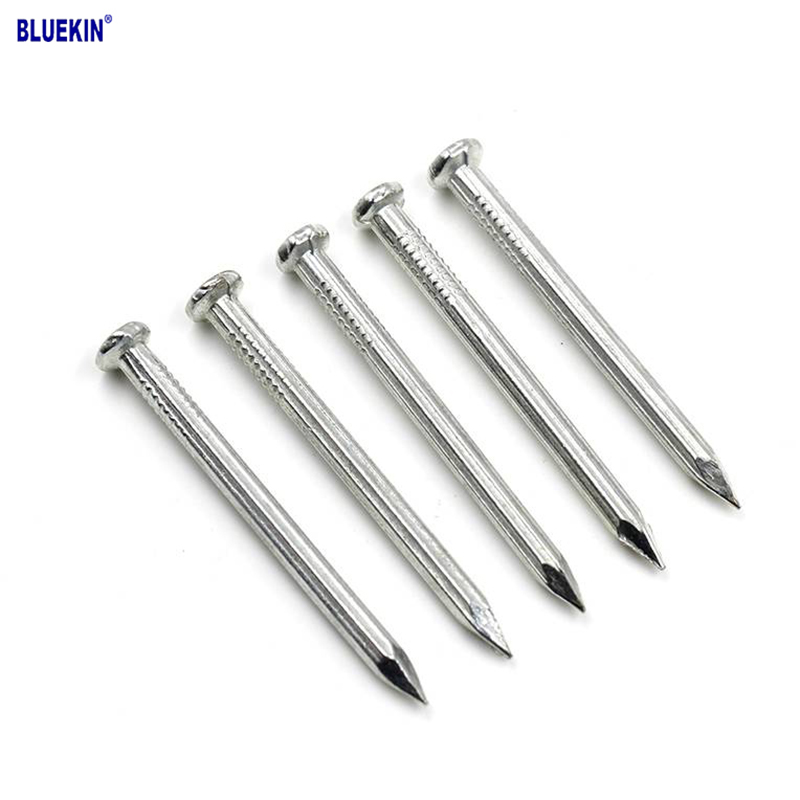
Black concrete nail
concrete nail with special materials, concrete nails are specialty nails compared with common iron nails. It is harder, the shank is short and thick commonly and it has excellent p […]
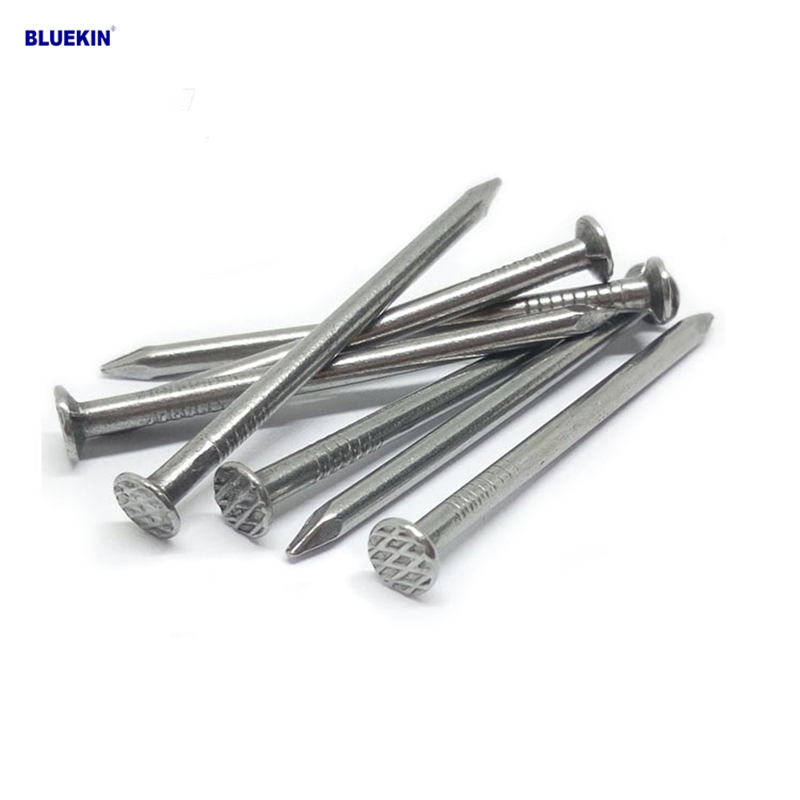
Concrete Nail
Product Information: Product name CONCRETE NAIL Material: #45 or #55 Steel Size: 1/2″-6″ Type: Round head with smooth shank or groove shank Treatment: Electro galvanized, ho […]
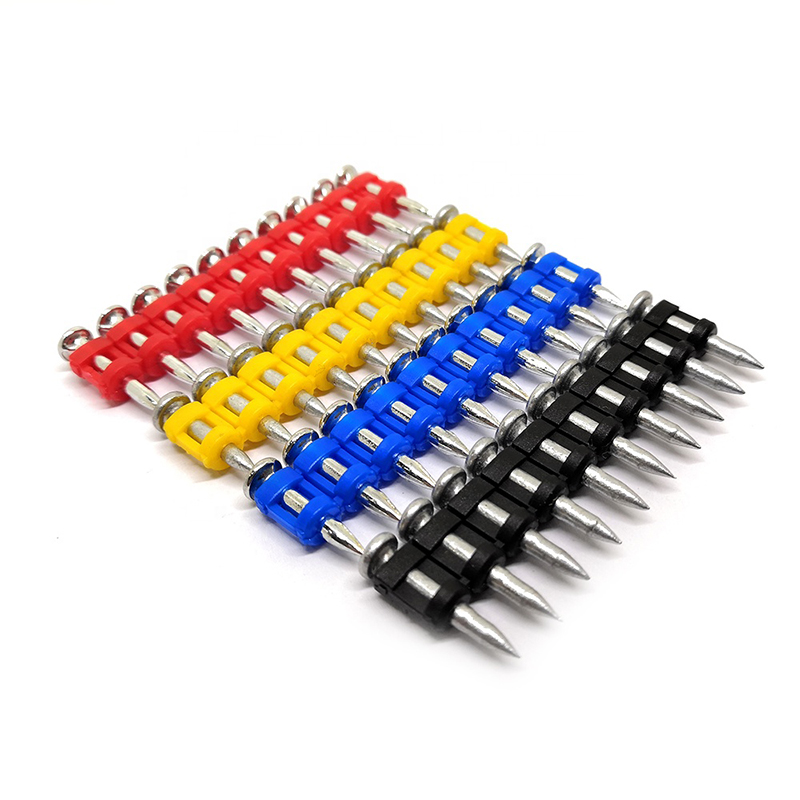
Shooting Nail
Product Information: GAS CONCRETE PIN NAIL raw material steel#45,#60 diameter 2.6mm,2.7mm,3.0mm,3.2mm length 13mm,16mm,19mm,22mm,27mm,32mm,37mm shank smooth shank & shri […]
