If you’re looking to give your concrete surfaces an extra edge of strength and security, opt for liquid nails or construction adhesive. This sticky stuff is the ideal choice for a variety of projects, indoors and out – think laying a patio, amending a sidewalk, fixing a cracked wall or floor, and affixing furniture to the concrete. It takes the stress out of these tricky tasks!
Employing liquid nails is an effortless task, and typically won’t leave a trail of clutter behind. For the most secure application, make sure to take special note of the guidelines and warnings found within the product’s packaging. To ensure optimal safety, employ safety goggles and gloves when handling the liquid nails. If these fumes are too powerful, a respirator should be worn to prevent exposure.
Before you venture into the project, it is important to make sure that the work environment is in a safe and clean condition. Sweeping away and disposing of any residual materials such as dust, dirt, and debris should be undertaken. Then, a damp cloth should be employed for wiping down the area to ensure that all moisture has been eliminated. When these steps are completed, you are ready to begin the project!
Subsequently, get the liquid nails ready. Customarily, all that is needed is to shake the tin vigorously for a couple of minutes or so. If in the form of a tube, you must snip off the stem and insert it into a caulking pistol.
The time for application has arrived! Position the nozzle of the container, be it a can or tube, approximately one inch away from the target area and press down accordingly to initiate the release of the bonding adhesive. Focus on small spaces at once and ensure you are distributing the liquid nails in a consistent manner. If you are working with a tube, you may find that utilizing a putty knife will aid you in achieving an even finish.
Prior to affixing any materials, allow the liquid nails to set. This will commonly take between thirty minutes and sixty minutes, as stated on the product. When the liquid nails are completely dried, you may being to attach your objects. Be certain to employ a glue suitable for the material at hand, for example, masonry anchors or concrete screws.
Once you’ve firmly fixed the material in place, allow time for it to dry. When the allotted duration has passed, you can double-check its stability with a hammer or screwdriver. Ensure that nothing could shift before moving forward with the project.
To ensure that your concrete surfaces remain secure and last for years to come, liquid nails is a superb solution. Before you begin, be sure to peruse the instructions on the product packaging and don the necessary safety gear. With proper preparation, applying liquid nails to concrete will be a breeze.
Gluing Concrete with Liquid Nails
When it comes to making a strong attachment between materials like metal, wood, or plastic and concrete surfaces, liquid nails offer a powerful solution. Their adhesive properties make them an ideal choice for robustly bonding items to concrete.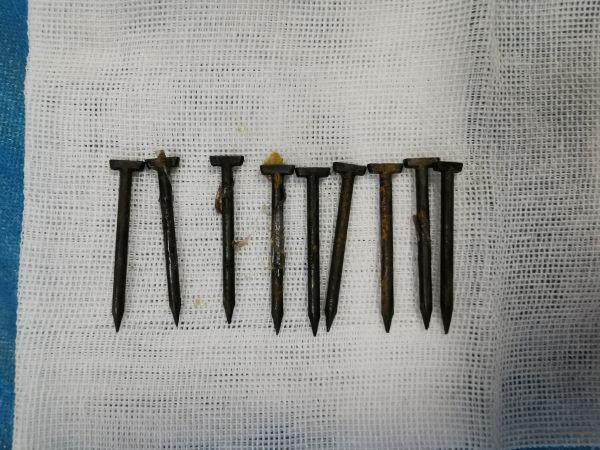
To ensure that your liquid nails provide a secure bond on concrete, you must choose the right type, prepare the surface and application site correctly, and follow the directions for curing. Taking these steps will help to ensure that the adhesive properly does its job.
Lucidly Picking the Optimal Liquid Nails
Prior to commencing the project, it is imperative to identify the suitable type of liquid nails for the task at hand. Liquid nails are available in manifold varieties, each manufactured for a certain purpose. For instance, a specially crafted solution exists for connecting concrete blocks, forming sturdy relations. Additionally, there are variants specifically created with attach wood, metal surfaces, and other substances in mind. As an outcome, it is vital to pick the most fitting liquid nails in order to guarantee efficient results.
Getting Ready for Cement Installation and Fastening
Finding the perfect liquid nails for your project is only step one – before you get to the adhesive part, the concrete must be prepped for maximum adherence. Take a wire brush to the surface, making sure to get rid of all dirt, dust, and debris that could interfere with how it bonds. After that, give it a quick rinse with some water and let the area fully dry until ready for application. Doing this can ensure sure the liquid nails stick firmly and provide lasting support.
The metallic material to be affixed to the concrete ought to be readied well. Preparing it requires sanding it until it is gleaming and smooth, then lightly scratching the section to be stuck atop the concrete; this will allow the adhesive glue to create a robust connection.
Applying the Liquid Bond
The next step in attaching one item to another is to properly distribute the liquid nails. Spread a thin, even layer of the adhesive across both surfaces and make sure not to leave any spots out – full coverage is essential for a reliable bond. Timing is also key – the liquid nails should be applied quickly to avoid them drying out.
Tending to the Adhesive Ailment
Once the liquid nails have been applied to the concrete, the crucial curing stage begins. It’s critical to wait until the allotted time on the packaging – typically 24-48 hours – has passed before coming into contact with the area. This wait period allows a robust connection between the concrete and object to form, creating a stable and long-lasting hold.
For a secure and reliable bond between items made of different materials and concrete surfaces, liquid nails can be a great option. To get best results, the right adhesive should be carefully chosen and preparation is key for both the surface and the item to be attached. Application of the liquid nails needs to be done in a thin and consistent layer, with enough time given for it to fully cure as instructed by the packaging. Following these steps ensures that the bond between the concrete and the item won’t break anytime soon.
Related Product
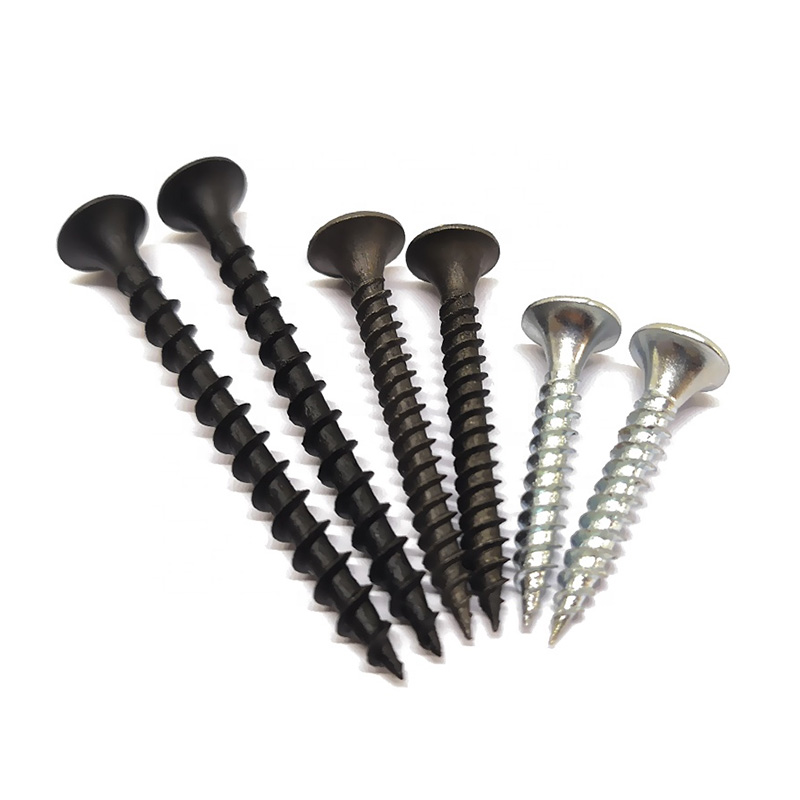
Drywall Screw
Product Information: Product Name Screws Drywall Nail Material Carbon steel C1022a Color Black,Galvanized Standard ISO,GB,DIN,JIS,ANSI,BSW Diameter M3.5-M6.3, 6#-14# Length […]
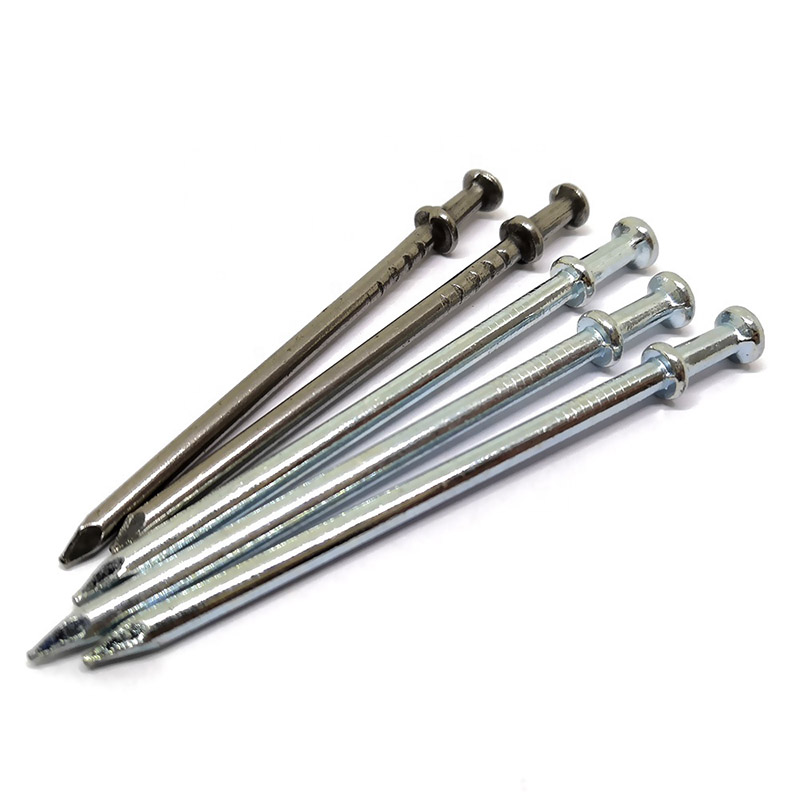
Double Head Nail
Product Information: Material Q195/Q235 Surface Treatment Bright, E.G, H.D.G, M.G, V.C, C.C, P.C and so on Head Two Head Shank Smooth Shank Point Diamond Point Kinds of pa […]
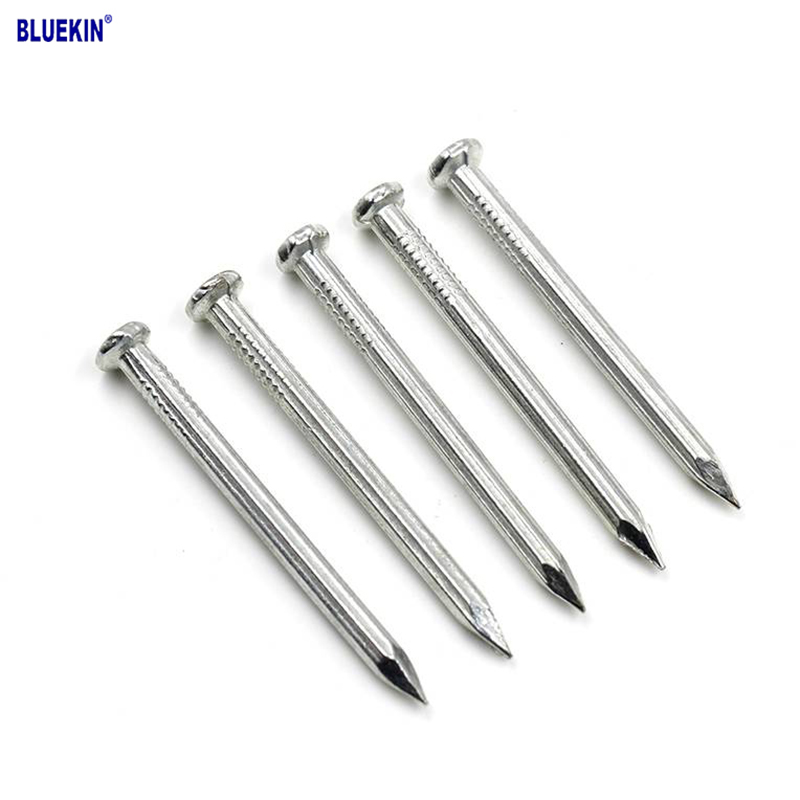
Common Nail
Product Information: Common Nail Material Q195, Q235 Shank diameter 1.2mm-10mm Length 19mm-300mm Finish polish/bright, electro galvanized, hot dip galvanized Head flated he […]
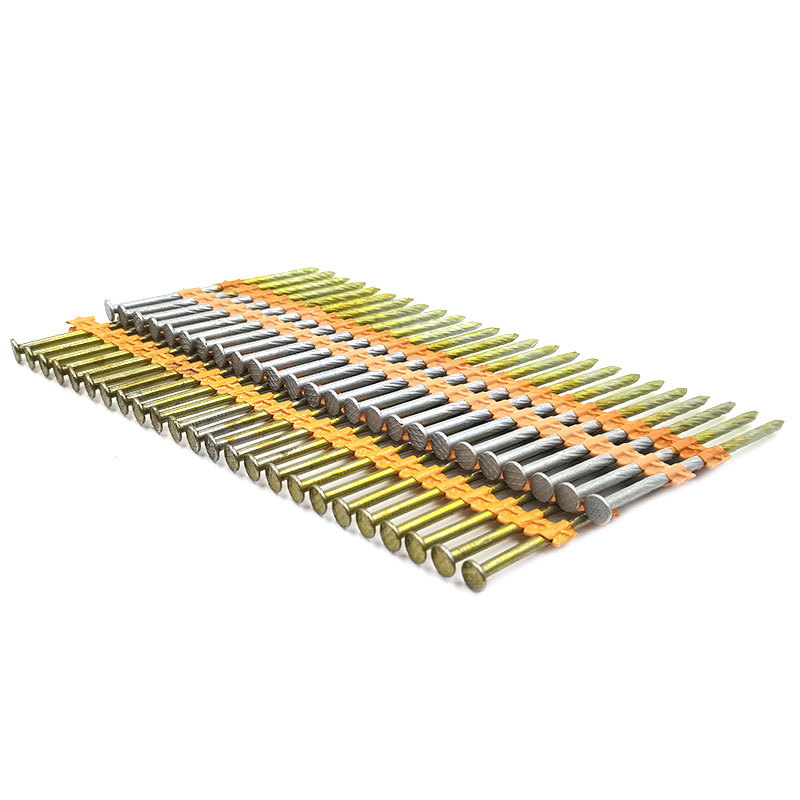
Plastic Strip Nail
Product Information: Diameter/mm(±0.05mm) Length/mm(±1.5mm) 2.87 50/60/65/70/75 3.05 70/75/83/90 3.33 75/83/90 3.76 75/90/100/130 4.11 75/90/100/130 4.5 75/90/100/130 Featur […]
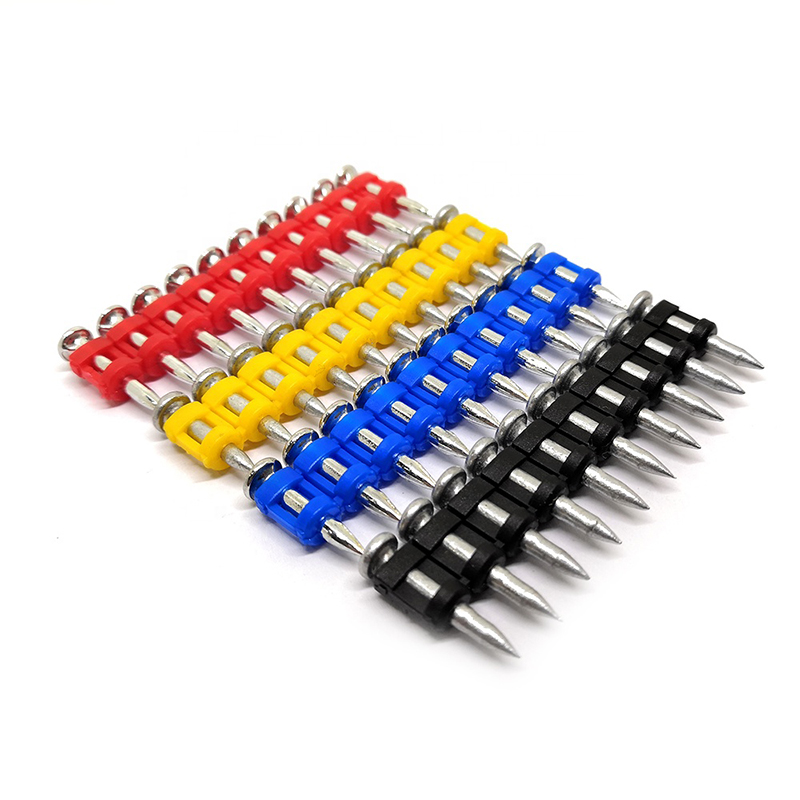
Shooting Nail
Product Information: GAS CONCRETE PIN NAIL raw material steel#45,#60 diameter 2.6mm,2.7mm,3.0mm,3.2mm length 13mm,16mm,19mm,22mm,27mm,32mm,37mm shank smooth shank & shri […]
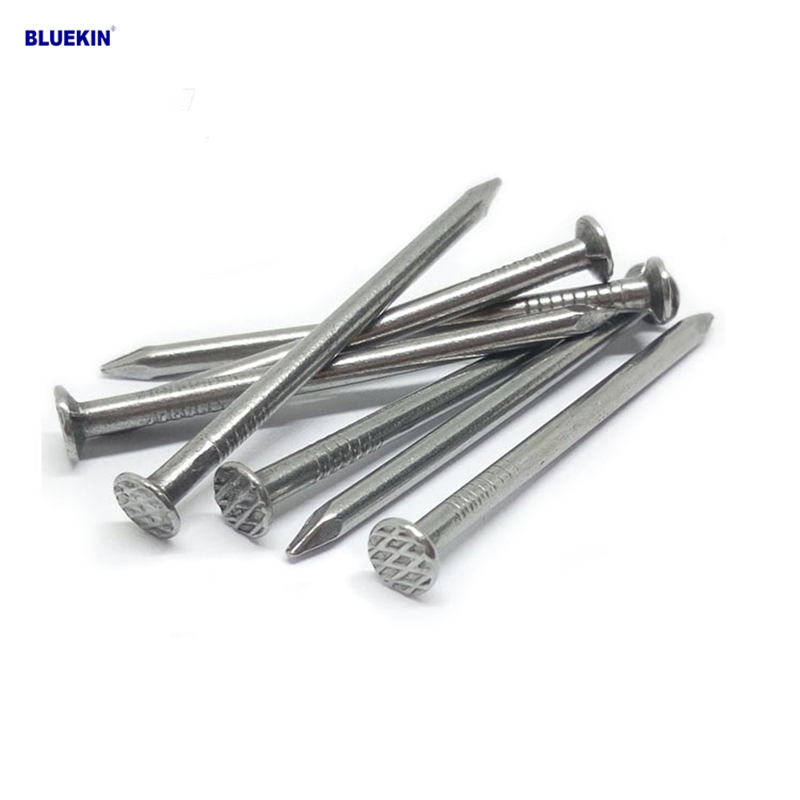
Headless Nail
Product Information: Cheap Lost Head Nails/ Headless Nails/ Finishing Nails Price Material Q195 or Q235 iron wire rod or according to request Size 1″ – 6″ Finish Polished or […]
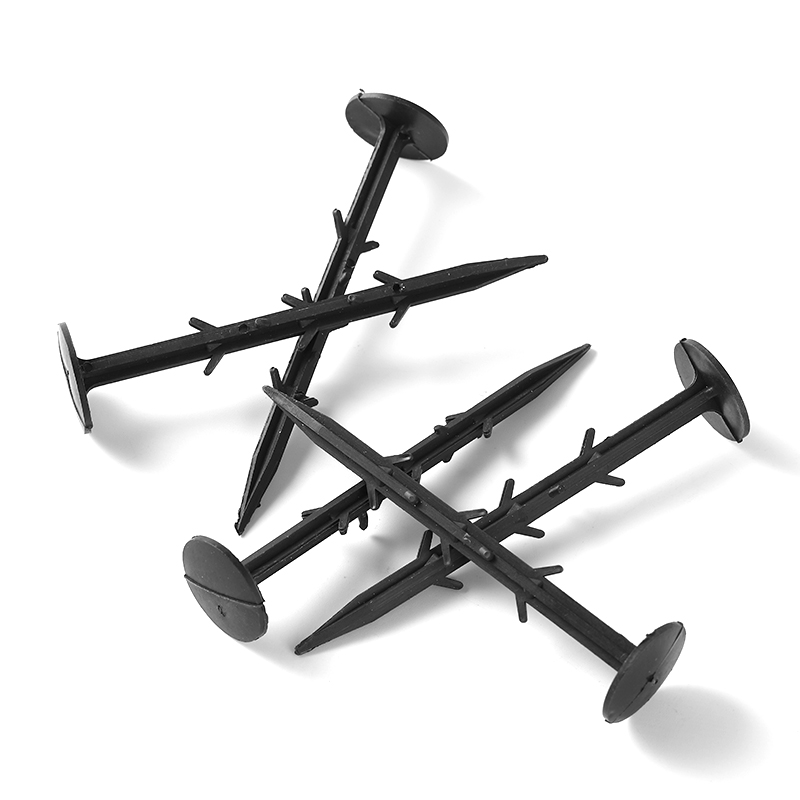
Garden Nail
Product Information: Black or yellow color plastic ground pegs are used for fix the ground cover or woven fabric or fleece on the ground. Material: Virgin PP OR PP +UV stabi […]
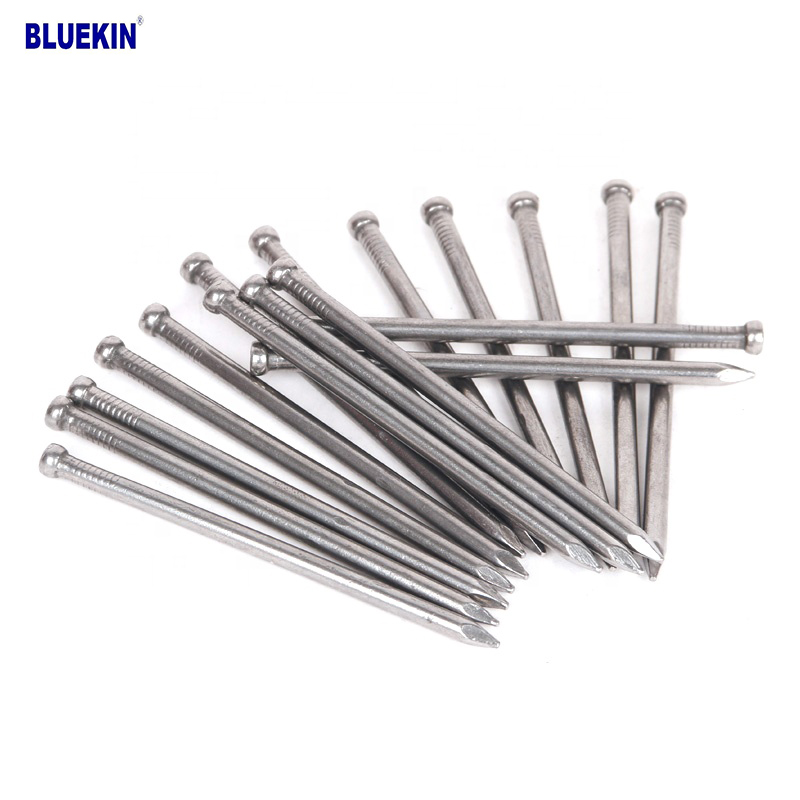
Concrete Nail
Product Information: Product name CONCRETE NAIL Material: #45 or #55 Steel Size: 1/2″-6″ Type: Round head with smooth shank or groove shank Treatment: Electro galvanized, ho […]
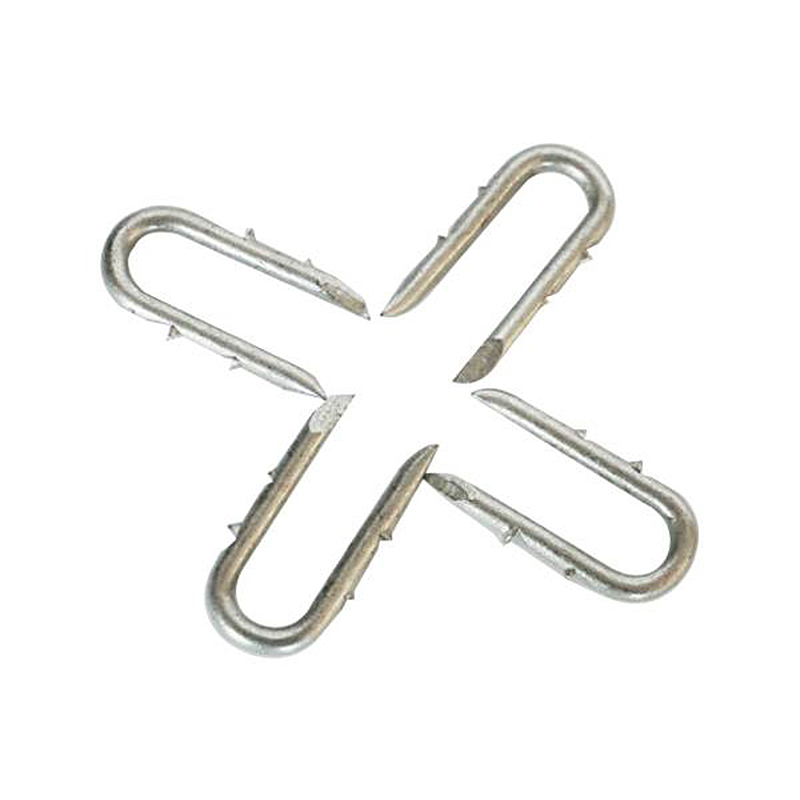
Fence U Nail
Product Information: U TYPE NAIL 1.material: Q195/Q235 Low Carbon Iron Rod 2.shank: smooth shank, single barbed shank, double barbed shank and others 3.Point: side cut point or di […]
