Hammering Home Your Concrete: A DIY Guide to Success
If you’re a DIY enthusiast looking to tackle a home improvement project, the ability to effectively attach material to concrete is essential. Whether you’re constructing a deck, hanging a picture frame, or setting up shelves, nailing into concrete surfaces can give you that feeling of satisfaction upon completion. However, to succeed in nailing firmly on concrete, it’s important to be well versed in the correct technique.
If you dream of confidently tackling any concrete nailing project, this guide is for you! We will show you how to nail into concrete successfully with the different types of nails, tools, and proper nailing techniques that guarantee a secure, lasting hold. By the end of it, you’ll know all you need to know about nailing in concrete.
Different Kinds of Nails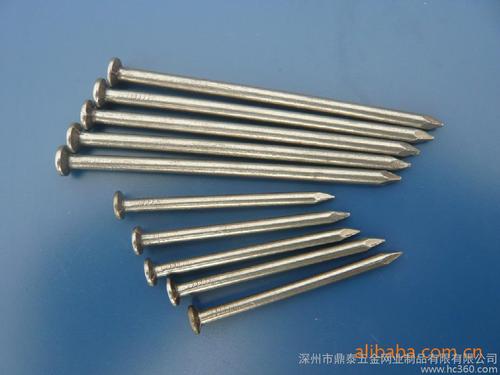
For drilling into concrete, there are two distinct nail types to consider: masonry and concrete. Made from harder steel, concrete nails are specifically tailored for this type of construction job. Adorned with a fluted shaft and wider head, these nails are highly adept at creating a secure bond with the surface. Masonry nails, while ideal for brick and mortar, still work effectively for weaker concrete material. Their hardened steel composition and sharp point make them especially helpful in ensuring penetration.
To guarantee a secure installation, you require specific tools in addition to the appropriate nail type. Hammering, drilling, and nailing with a set will give you successful results when mounting on concrete. With a hammer, you can drive the nail easily into the concrete; a drill is used to produce a pilot hole for placement; and finally, with a nail set, the nail is softly sunken in – this assists with obtaining a steady fit.
Now that you are equipped with all the necessary tools and fasteners, let’s discuss the most efficient methods for fastening on concrete. A pilot hole must be drilled before anything else. This can be achieved by drilling a hole with the diameter slightly larger than that of the nail, making sure it is at least an inch deep. After that, you can jam the nail in place and tap it into position using a hammer. Additionally, to guarantee an unchallengeable attachment, use a nail set to embed the nail beneath the surface.
When pounding or nailing through concrete, it’s essential to prioritize safety above all else. Defensive eyewear is necessary to shield your eyes from flying debris; a face mask is also recommended to prevent dust or concrete particles from being inhaled. Do not forget to wear gloves that provide a barrier between your hands and the prickly edges of the nails. By utilizing these precautionary measures, you can protect yourself while enjoying the satisfaction of a job well done.
Attaching any material to a concrete surface can seem intimidating, but with a bit of knowledge on the right tools and techniques, it’s a task that can be tackled with confidence. To make the job easy, this guide has outlined the necessary steps to securely nail into concrete with ease. So don’t be worried the next time you’re required to hammer something into concrete – you’ll have no worries!
Hammering into Cement: Strategies for Secure Attachment
Tackling concrete with a nail can be a daunting task. If you want to ensure a fast and effective installation that isn’t too taxing on your energy reserves – it helps to have the right know-how and equipment at your disposal. From the basics of manual hammering, right up to the sophisticated utilization of anchors and drill bits; here is a helpful breakdown of the methods available for nailing into concrete, coupled with advice and tips for ease and efficiency.
Concreting Nails with a Hammer
Hammering a nail into concrete can seem like an intimidating task, but with the right setup and technique, it doesn’t have to be. For starters, you’re going to need a hammer or a nail gun and a nail that’s sufficiently long enough to pierce the concrete. Additionally, make sure that the size of the nail is appropriate to meet the needs of the project; an undersized one won’t be able to hold whatever you’re attaching. With those two boxes ticked, you’ll be ready to go!
If your goal is to affix something to concrete, anchors are the essential tool for the job. From sleeve to wedge to drop-in, there are various types of anchors one can utilize; which anchor you opt for depends on the nature of the item being secured and its heft. It is imperative that you ensure the anchor is properly sized and can handle the concrete it will be penetrating into.
Harnessing the Power of Drill Bits
When it comes to making a hole in concrete in order to attach heavier items, such as shelves or cabinets, a drill bit is typically the best tool for the job. To achieve this, product holes in the concrete with the bit and then insert an anchor. It is critical that the depth of the hole is sufficient and that it accommodates the proper anchor size for a secure attachment.
If you’re looking to affix an object to a concrete wall, an adhesive is the way to go. Such adhesives can come in multiple forms, ranging from liquid nails to epoxy-based ones. It’s essential, however, to determine which type of adhesive is best suited for your needs—this will depend both on the item you’re attaching and the type of concrete walls you are working with. Adhesives are a reliable, aesthetically-pleasing way to attach objects to concrete walls, so be sure that you are selecting the right adhesive for the job.
Hitting the Nail on the Head with Concrete
The size of the nail or anchor must be suitable for the purpose at hand.
For setting nails in concrete, a hammer or a nail gun can be used with ease.
For the purpose of affixing lighter items, sleeve anchors are the go-to choice. To secure heavier items, wedge anchors are the best route. And for extra-large, unbearably weighty items, drop-in anchors offer the soundest installation.
Insert the necessary anchor by way of the appropriate drill bit; it must be of a suitable size and deepened to the desired level for successful insertion.
What you stick and where you stick it matters – be sure to grab the correct adhesive for the job and, most importantly, double-check that it’s compatible with the concrete you’re dealing with.
Working with concrete doesn’t have to be a laborious process; with the proper equipment and know-how, nailing in the material can be completed swiftly and without a hitch. To assist you, here are some helpful ideas to make your job of nailing into concrete as smooth as possible.
Related Product
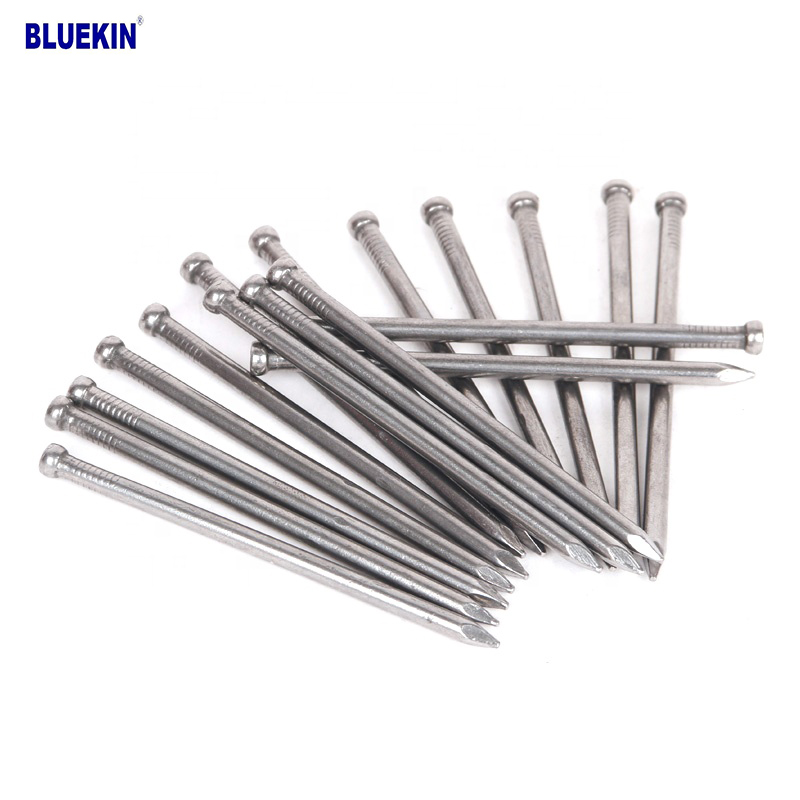
Common Nail
Product Information: Common Nail Material Q195, Q235 Shank diameter 1.2mm-10mm Length 19mm-300mm Finish polish/bright, electro galvanized, hot dip galvanized Head flated he […]
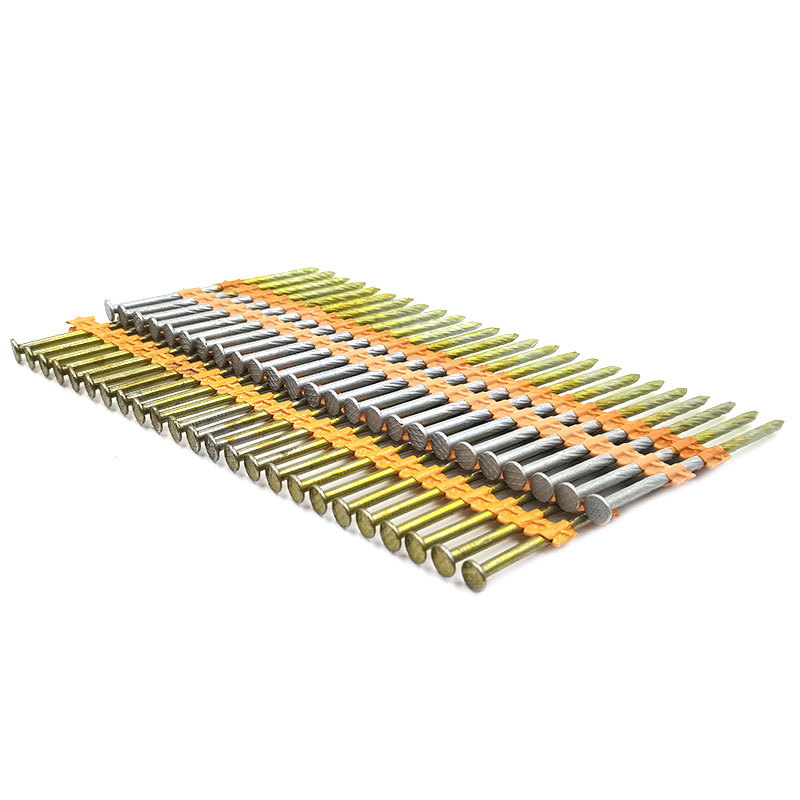
Plastic Strip Nail
Product Information: Diameter/mm(±0.05mm) Length/mm(±1.5mm) 2.87 50/60/65/70/75 3.05 70/75/83/90 3.33 75/83/90 3.76 75/90/100/130 4.11 75/90/100/130 4.5 75/90/100/130 Featur […]
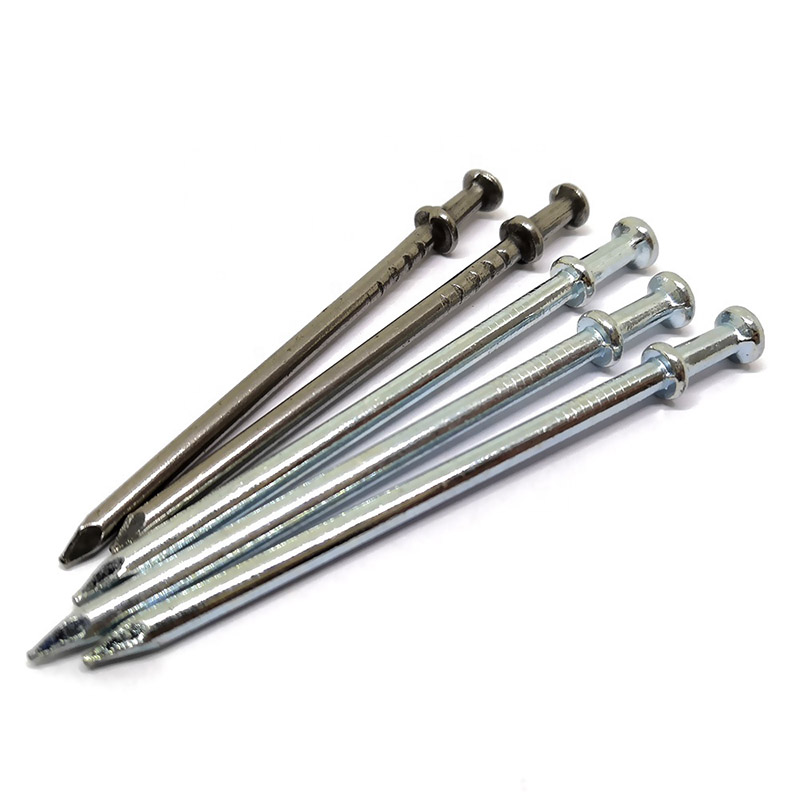
Headless Nail
Product Information: Cheap Lost Head Nails/ Headless Nails/ Finishing Nails Price Material Q195 or Q235 iron wire rod or according to request Size 1″ – 6″ Finish Polished or […]
Double Head Nail
Product Information: Material Q195/Q235 Surface Treatment Bright, E.G, H.D.G, M.G, V.C, C.C, P.C and so on Head Two Head Shank Smooth Shank Point Diamond Point Kinds of pa […]

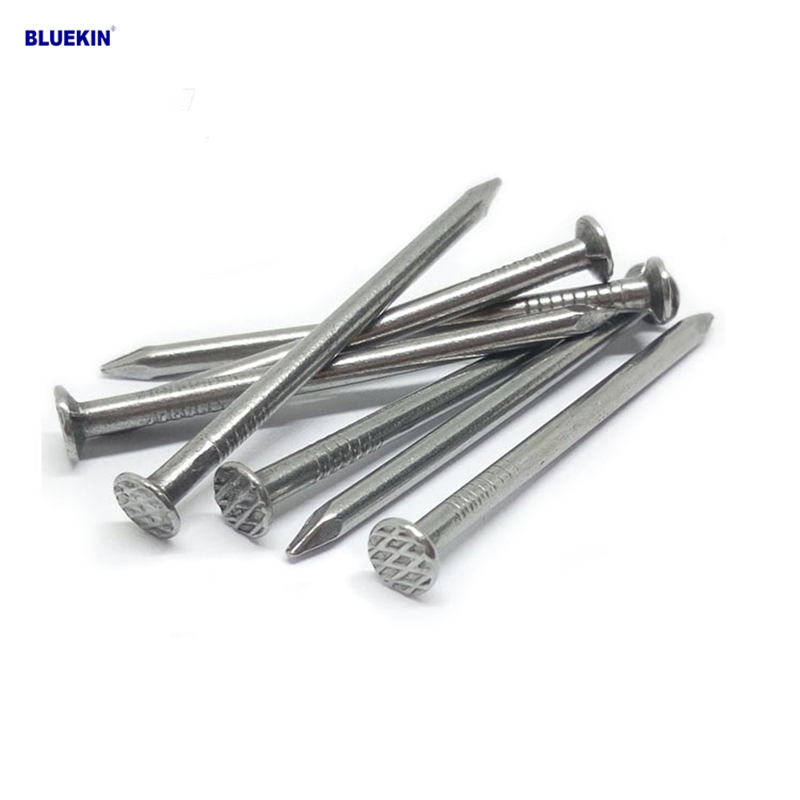
Black concrete nail
concrete nail with special materials, concrete nails are specialty nails compared with common iron nails. It is harder, the shank is short and thick commonly and it has excellent p […]
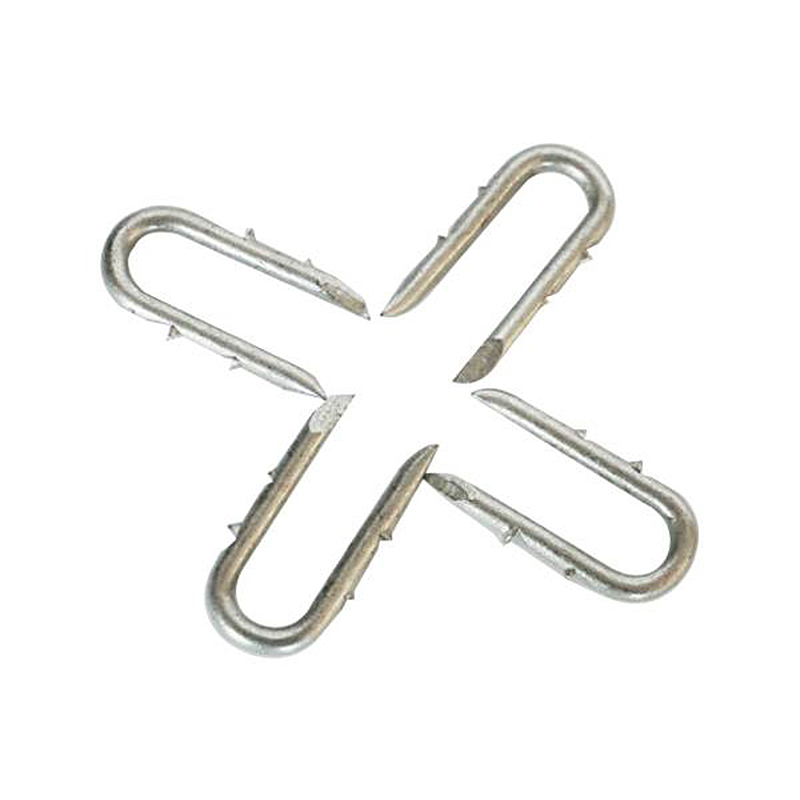
Fence U Nail
Product Information: U TYPE NAIL 1.material: Q195/Q235 Low Carbon Iron Rod 2.shank: smooth shank, single barbed shank, double barbed shank and others 3.Point: side cut point or di […]

U Sod Staple
Product Information: Landscape Staples * 11 GAUGE STEEL CONSTRUCTION: The points on the staples are sharp enough to pierce commercial ground cloth, and the staples are long […]
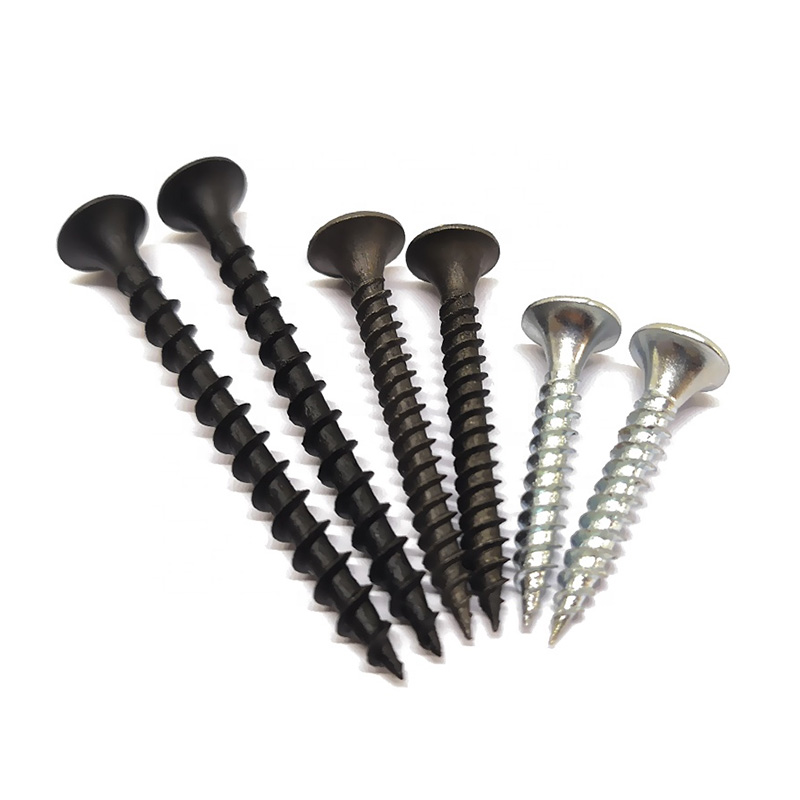
Drywall Screw
Product Information: Product Name Screws Drywall Nail Material Carbon steel C1022a Color Black,Galvanized Standard ISO,GB,DIN,JIS,ANSI,BSW Diameter M3.5-M6.3, 6#-14# Length […]

Paper Strip Nail
Product Information: Material Q195, Q235, stainless steel Surface Finish Bright, Galvanized, Hot Dipped Galvaized, Electro Galvanized, Zic Yellow, Zine Bule, MG, Dacro, etc. […]
