Home repairs may seem daunting, particularly when novices attempt to hammer a nail into concrete. Don’t worry, though! This guide will help you master the basics so that you can accomplish this task with confidence. By arming yourself with essential tools and following this step-by-step tutorial, you can securely affix a nail to any concrete wall.
Obtaining the Required Utensils: Your First Step
For any project involving driving a nail into concrete, the right tools are essential. Gather together a hammer, drill, drill bit of the appropriate size for your intention, and a masonry nail of corresponding size. Making sure you have the correct size of components is key for creating a hole necessary for the task at hand.
ID the Location: The Second Move
Identify the exact place you would like the nail to be situated before gathering the tools you need. A marker or pen can come in handy for this task so that the spot is visible and easy to spot; it is also critical to ensure that the spot is even to ensure that the nail fits securely in the hole.
3rd Step: Creating the Breach
Insert a drill bit into the masonry and bore a hole at the signified spot, during which time one must be certain that the excavation is deep enough to house the nail.
Get Ready for Nailing
After the drilling is complete, it’s time to pre-treat the nail for imminent insertion. Get the innovative process under way by immersing the nail point into a small vessel of epoxy adhesive and permitting it to bathe for a couple of minutes. This will ensure that the nail bonds firmly with the wall.
Hammer Home the Nail
Once ready, the nail needs to be nudged right into the gap and firmly pressed until its head is even with the wall.
Nailing It: Make That Final Move
With focused and consistent force, delicately thump the nail into the wall until it is secured. Make sure you hit the nail steadily but with enough pressure so that it remains stationary.
Apply the Finishing Touch – Letting the Nail Cure
After insertion into the wall, the nail should remain in its place for at least a full day to guarantee that the epoxy has had sufficient time to bond and the attachment is firmly affixed.
Hammering a nail into concrete doesn’t have to be a daunting task; with the necessary tools and the appropriate skillset,you can easily and quickly get the job done. In other words, you’ll be securely fastening that nail to a wall in no time at all!
Nailing a wall made of concrete can be intimidating, especially if you are a novice when it comes to DIY tasks. Fortunately, with the right approach and the right equipment, this type of challenge can be treated to a successful conclusion. Let us explore how to hammer a nail into a concrete wall and some helpful tricks that can make all the difference in your effort.
Acquiring the Necessities
Before embarking on a project involving setting a nail into concrete, necessary tools must be collected. The primary instrument is a hammer, and the recommended style for optimal leverage and strength is a standard claw hammer. Additionally, donning protective eyewear such as safety goggles and gloves to shield your hands is recommended. Luckily, only two more pieces of equipment are needed – a masonry drill bit for making an entryway in the wall and a masonry hammer for inserting the nail into its pre-made hole. Collecting the right materials ahead of time can help ensure your project is an unqualified success.
Uncovering the Secrets Buried in Concrete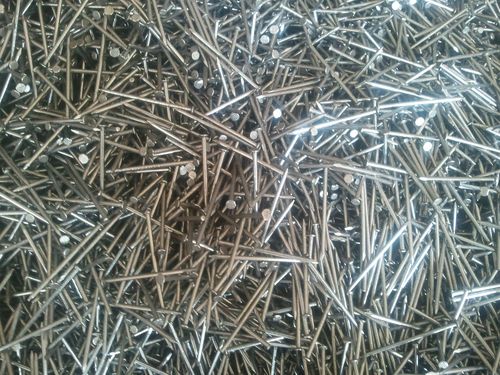
To start, make a note of exactly where you want to hammer the nail into your concrete wall. Then, take your masonry drill bit and slot it into the drill. After ensuring the bit is tightly secured with the drill set on its highest speed, initiate drilling motion at the marked spot. To ensure a nice, clean hole, move the drill slowly and steadily while applying even pressure.
Hammering Home Perfection
Once the precise drilling has been completed, it’s time to secure the nail into the solid concrete wall. To do this, put the masonry hammer into the hole and add the nail head onto the tip of the hammer. Make sure it fits snugly before you proceed to pound it further in. Begin by softly pressing down on it with a few gentle taps to sink it within the dent. As it gradually moves in deeper, gradually apply more pressure while you hit. Stick with it until it is completely embedded in the wall surface.
Essential Strategies for Success
If you’re looking for a way to get that nail into your concrete wall with minimal effort, here are a few all-star techniques to consider:
Always err on the side of using a larger nail to avoid potential hassles; this way, you can rest assured your nail is fixed firmly into the wall.
A masonry hammer with a rubber-tipped head can lend a hand in the process of hammering by absorbing some of the force released each time, ultimately helping to make the job easier.
Ensure that the masonry drill bit is suited to the nail, as it is vital for the hole to be of an appropriate size; if it is too large, the fastening power of the nail will be compromised.
If inserting the nail is posing a problem, adding a bit of lubrication may make it slip in with less struggle.
Once you’ve swung that hammer in the final hit, use a nail set to make sure the nail is even with the wall – no raised head jutting out awkwardly.
For those of us without the superhuman strength to pound a nail into a concrete wall, no fear – the feat can be achieved with the right tools and strategies. Presented here are practical recommendations that can help make the task effortless. A bit of concentration and repetition is all that’s needed to have a victorious attempt in driving in nails in solid concrete.
Related Product
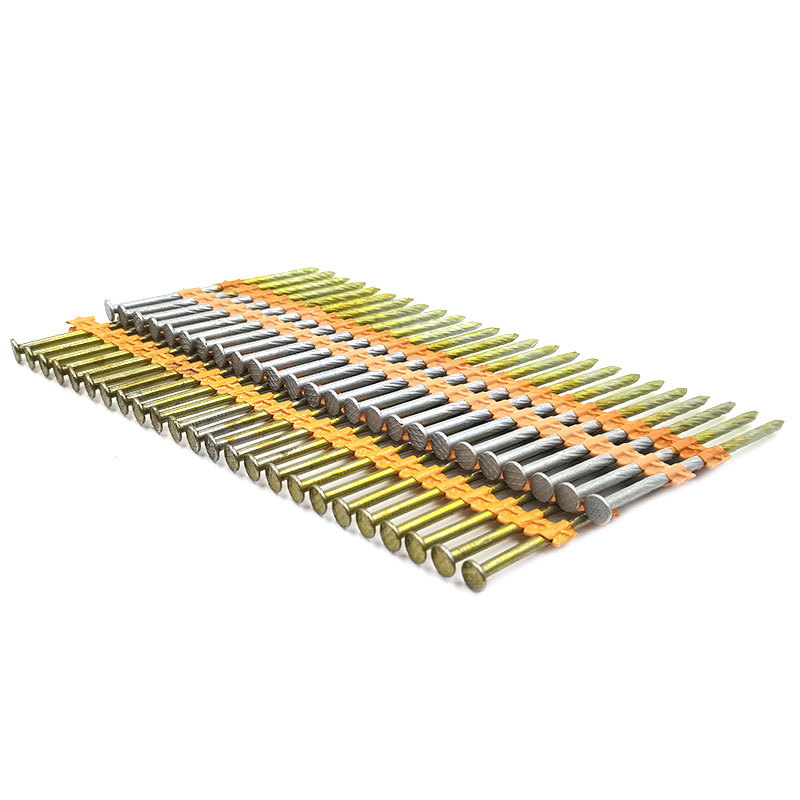
Concrete Nail
Product Information: Product name CONCRETE NAIL Material: #45 or #55 Steel Size: 1/2″-6″ Type: Round head with smooth shank or groove shank Treatment: Electro galvanized, ho […]

U Sod Staple
Product Information: Landscape Staples * 11 GAUGE STEEL CONSTRUCTION: The points on the staples are sharp enough to pierce commercial ground cloth, and the staples are long […]
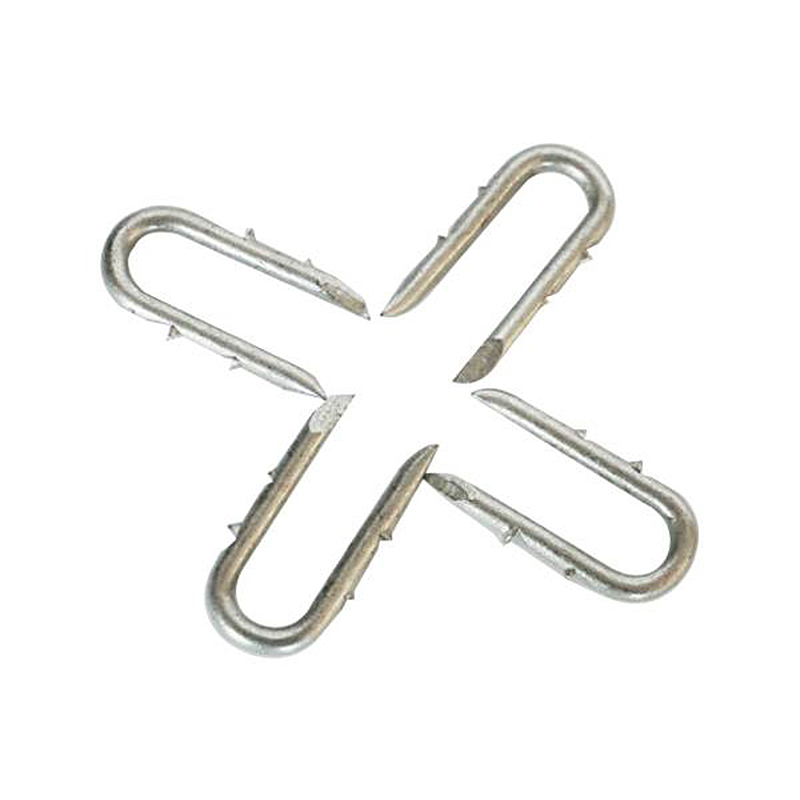
Fence U Nail
Product Information: U TYPE NAIL 1.material: Q195/Q235 Low Carbon Iron Rod 2.shank: smooth shank, single barbed shank, double barbed shank and others 3.Point: side cut point or di […]
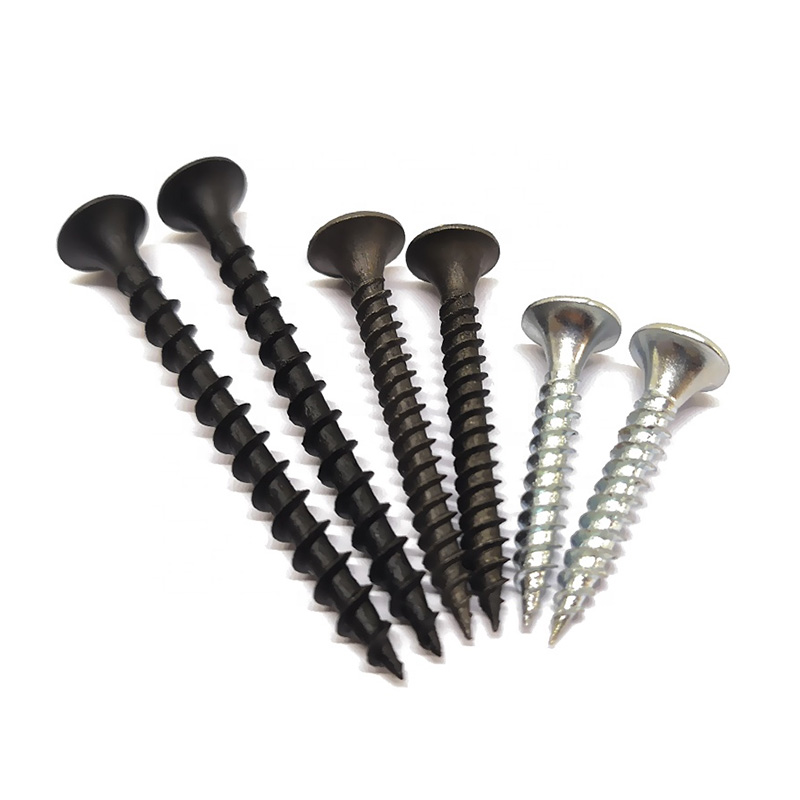
Drywall Screw
Product Information: Product Name Screws Drywall Nail Material Carbon steel C1022a Color Black,Galvanized Standard ISO,GB,DIN,JIS,ANSI,BSW Diameter M3.5-M6.3, 6#-14# Length […]

Paper Strip Nail
Product Information: Material Q195, Q235, stainless steel Surface Finish Bright, Galvanized, Hot Dipped Galvaized, Electro Galvanized, Zic Yellow, Zine Bule, MG, Dacro, etc. […]
Plastic Strip Nail
Product Information: Diameter/mm(±0.05mm) Length/mm(±1.5mm) 2.87 50/60/65/70/75 3.05 70/75/83/90 3.33 75/83/90 3.76 75/90/100/130 4.11 75/90/100/130 4.5 75/90/100/130 Featur […]
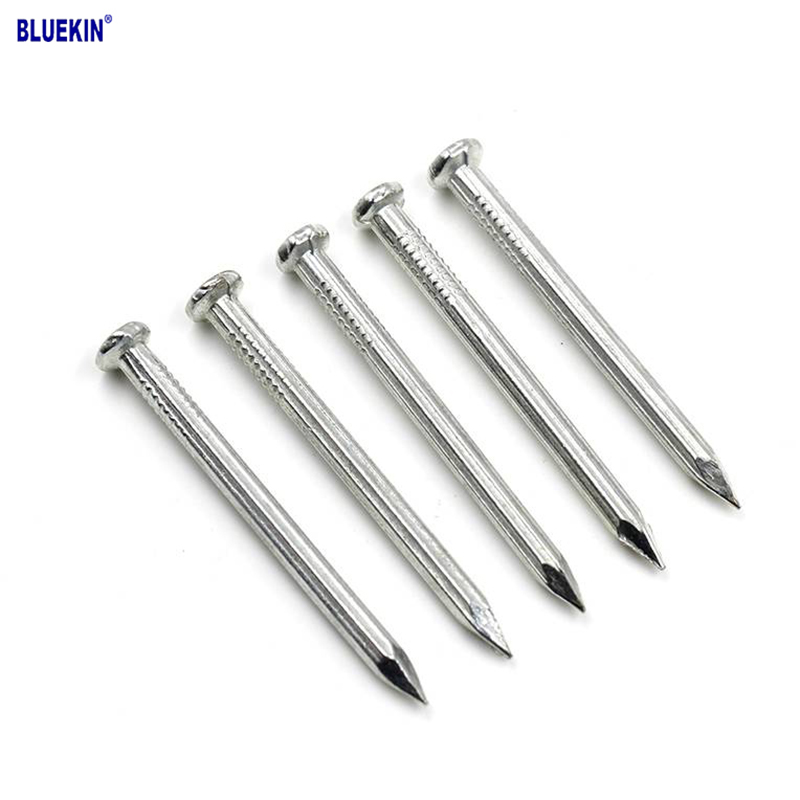
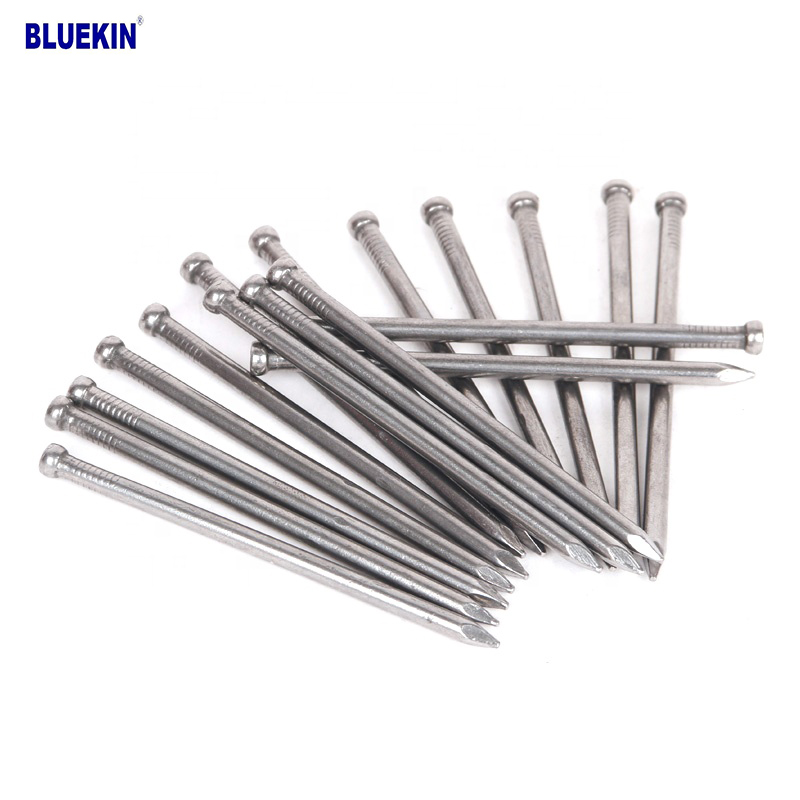
Common Nail
Product Information: Common Nail Material Q195, Q235 Shank diameter 1.2mm-10mm Length 19mm-300mm Finish polish/bright, electro galvanized, hot dip galvanized Head flated he […]
Headless Nail
Product Information: Cheap Lost Head Nails/ Headless Nails/ Finishing Nails Price Material Q195 or Q235 iron wire rod or according to request Size 1″ – 6″ Finish Polished or […]

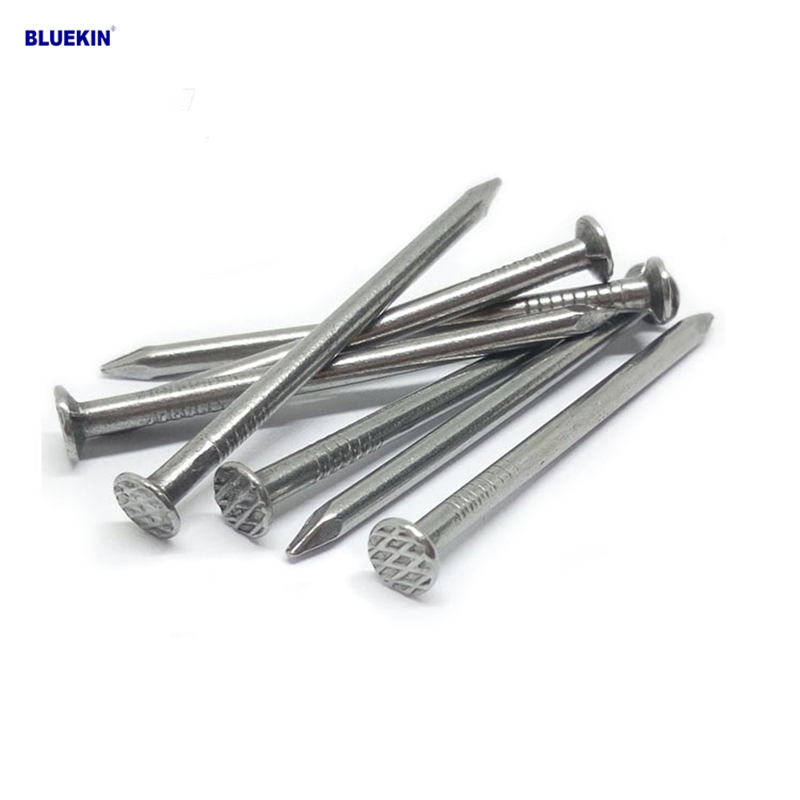
Black concrete nail
concrete nail with special materials, concrete nails are specialty nails compared with common iron nails. It is harder, the shank is short and thick commonly and it has excellent p […]
