Attaching 2x4s to concrete foundations, floors, or walls doesn’t have to be an arduous job. By using the right tools and possessing a bit of knowledge, the task can become effortless. Read on as we provide all the information you need to nail 2x4s onto concrete structures.
Armed with a hammer drill, masonry bit, hammer, tape measure, and level – ensure the bit matches the nail – make certain you are in a well-ventilated environment to begin the task. Safety must become your first priority, always.
Once your apparatus is in place, you will want to find the exact spot to affix your 2×4. Carefully take measure and put a distinct mark on the spot, double-checking that the line is truly leveled. Employ the hammer drill to puncture a hole in the concrete to the equal depth of your chosen nail.
Once you have made the appropriate hole, take the nail and insert it. Check to make sure that it is in a straight position and is firmly placed against the concrete surface. If there is any kind of misalignment, you can make the necessary adjustments by pushing the nail further into the precise hole.
After placing it in the designated spot, firmly embed the nail in the concrete by lightly tapping it with a hammer. In this way, the nail can be secured to its intended area.
After the nail has been properly wedged into the concrete, you can affix the 2x4s. Place the 2×4 on top of the nail and then use a hammer to firmly push it in. Make sure that the nail is lined up parallel to the 2×4 and sits flush against the wood.
To join multiple 2x4s to the concrete, repeat the steps for each one. Be mindful to keep the 2x4s levelled and fasten the nails closely against the wood – ensuring their alignment is exact.
In a matter of minutes, it is possible to secure 2x4s to concrete surfaces with the correct hardware. To successfully undertake this feat, one must possess the necessary instruments and comprehension of the process. By taking proper care and exhibiting patience, anyone can mount 2x4s to concrete flooring, walls, and foundations.
For a DIY enthusiast or contractor, nailing 2×4 lumber to concrete may appear difficult, yet this project can be effortlessly completed with the correct instruments and know-how.
Nailing a 2X4 into concrete is a job that requires more than your run-of-the-mill standard nails – they are simply not long enough to effectively penetrate the hard surface. Meaning, you’ll need to upgrade to an alternative type of nail with superior strength and hassle-free precision. Options such as concrete nails or masonry nails have a thicker, sturdier shaft and a pointed tip to maximize their efficiency when driving into concrete.
In order to ensure that your nails take securely into the concrete, begin by giving the 2×4 a thorough scrub-down, wiping off any remnants of dust or grime. Once it’s clean, measure out the spot where you want the nail to go and mark it for precision. This will help make sure that the 2×4 is correctly secured in place.
Once you have established the precise site, it is time to make pilot holes in the concrete. A masonry drill bit should be your tool of choice for this task, as it is able to pierce through the concrete efficiently without making the nails too loose. After you have drilled the pilot holes, you can then proceed to insert the concrete nails; ensure that they are tightly fixed and all points are aligned in a single direction.
To finish, take a hammer with a claw to penetrate the concrete and securely fasten the galvanized nails. This will create a secure hold for your 2×4, preventing it from loosening or coming unstuck.
Nailing 2×4 lumber to concrete does not have to be a difficult endeavor. With the perfect tools and understanding, you could do it in no time. Search for the correct type of nail for the job and prepare the 2×4 for nailing. Then, drill into the concrete, insert the nails, and gently hit them into place. Following these steps correctly should result in a successful endeavor of nailing 2×4 to concrete.
Related Product
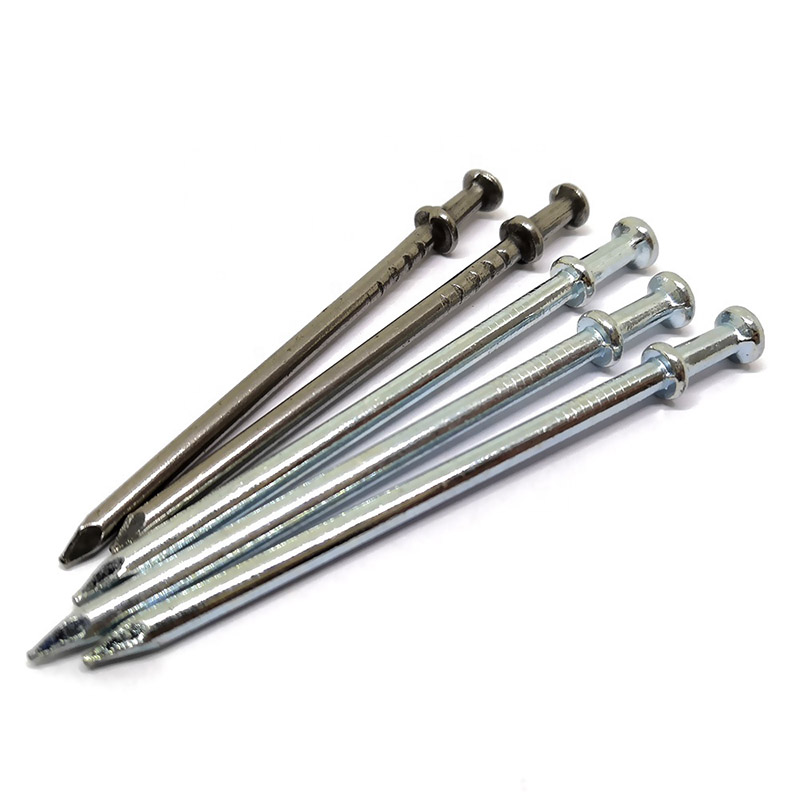
Double Head Nail
Product Information: Material Q195/Q235 Surface Treatment Bright, E.G, H.D.G, M.G, V.C, C.C, P.C and so on Head Two Head Shank Smooth Shank Point Diamond Point Kinds of pa […]
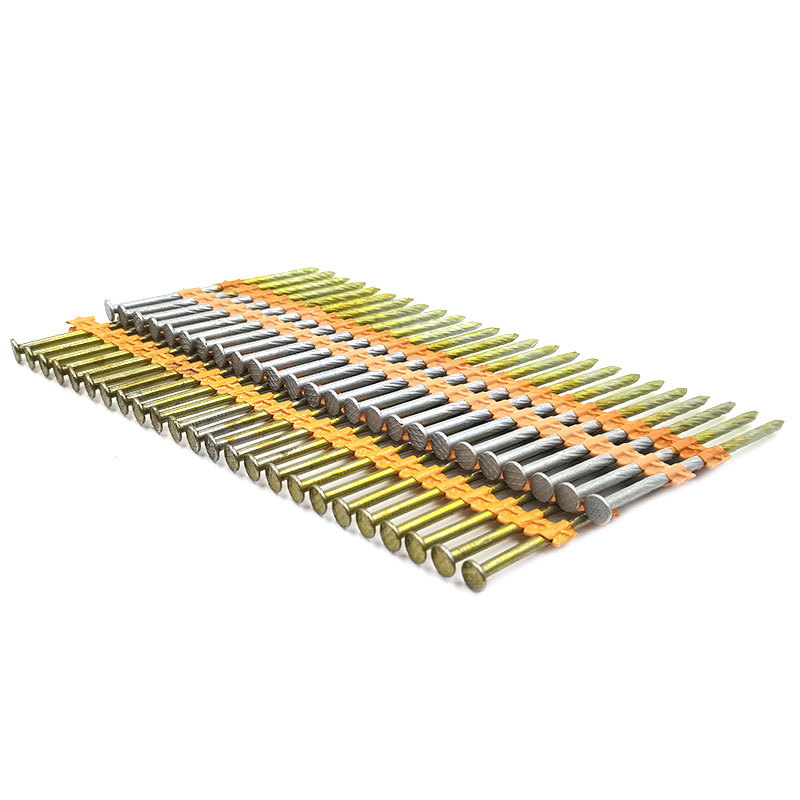
Plastic Strip Nail
Product Information: Diameter/mm(±0.05mm) Length/mm(±1.5mm) 2.87 50/60/65/70/75 3.05 70/75/83/90 3.33 75/83/90 3.76 75/90/100/130 4.11 75/90/100/130 4.5 75/90/100/130 Featur […]
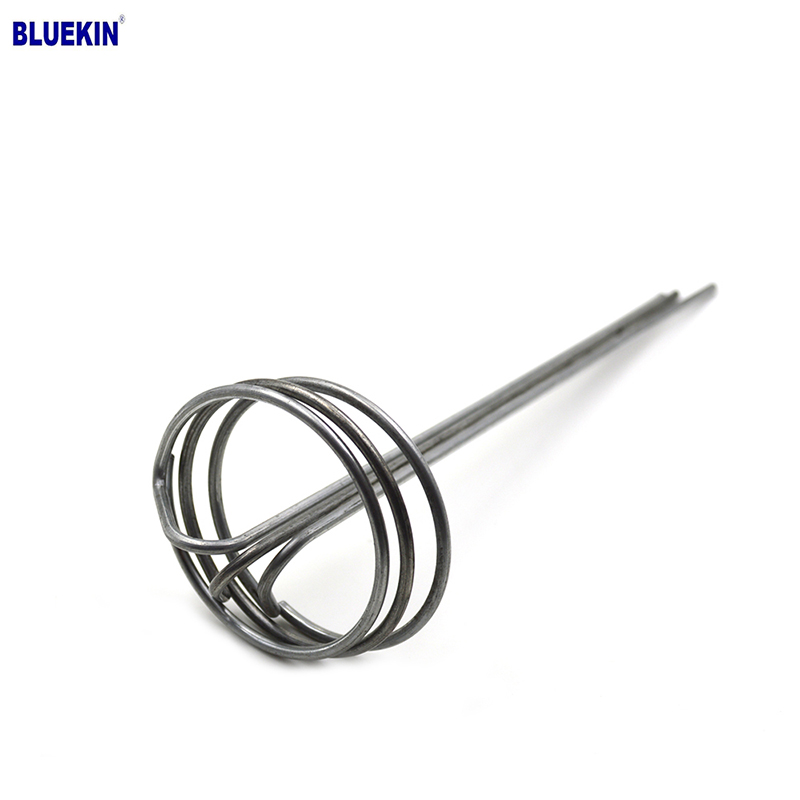
G Sod Staple
Product Information: Product name Sod Staple Material: Q195 /Q235 Size: 3/4X14GA, 3/4X9GA, 7/8X14GA, 1X9GA, 1-1/4X9GA, 1-1/2X9GA, 1-3/4X9GA Type: Round head with smooth shan […]

Garden Nail
Product Information: Black or yellow color plastic ground pegs are used for fix the ground cover or woven fabric or fleece on the ground. Material: Virgin PP OR PP +UV stabi […]

Paper Strip Nail
Product Information: Material Q195, Q235, stainless steel Surface Finish Bright, Galvanized, Hot Dipped Galvaized, Electro Galvanized, Zic Yellow, Zine Bule, MG, Dacro, etc. […]

Black concrete nail
concrete nail with special materials, concrete nails are specialty nails compared with common iron nails. It is harder, the shank is short and thick commonly and it has excellent p […]
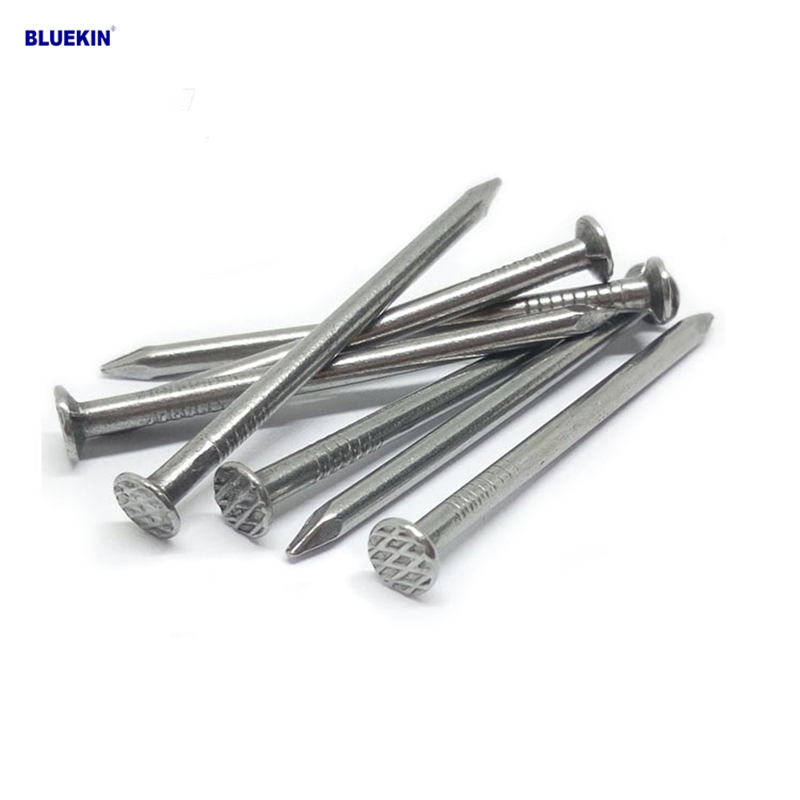
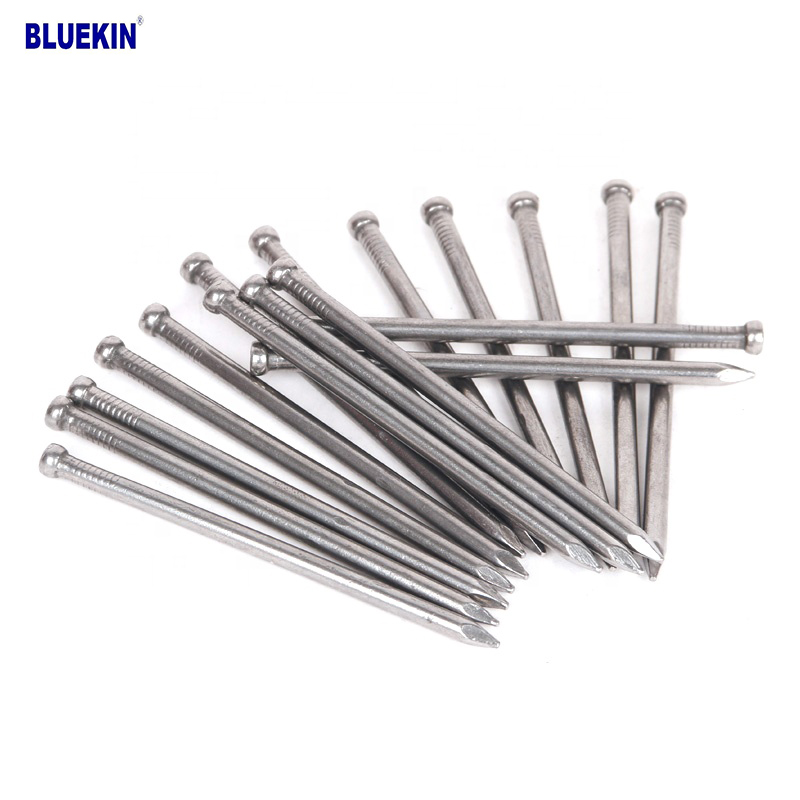
Common Nail
Product Information: Common Nail Material Q195, Q235 Shank diameter 1.2mm-10mm Length 19mm-300mm Finish polish/bright, electro galvanized, hot dip galvanized Head flated he […]
Headless Nail
Product Information: Cheap Lost Head Nails/ Headless Nails/ Finishing Nails Price Material Q195 or Q235 iron wire rod or according to request Size 1″ – 6″ Finish Polished or […]
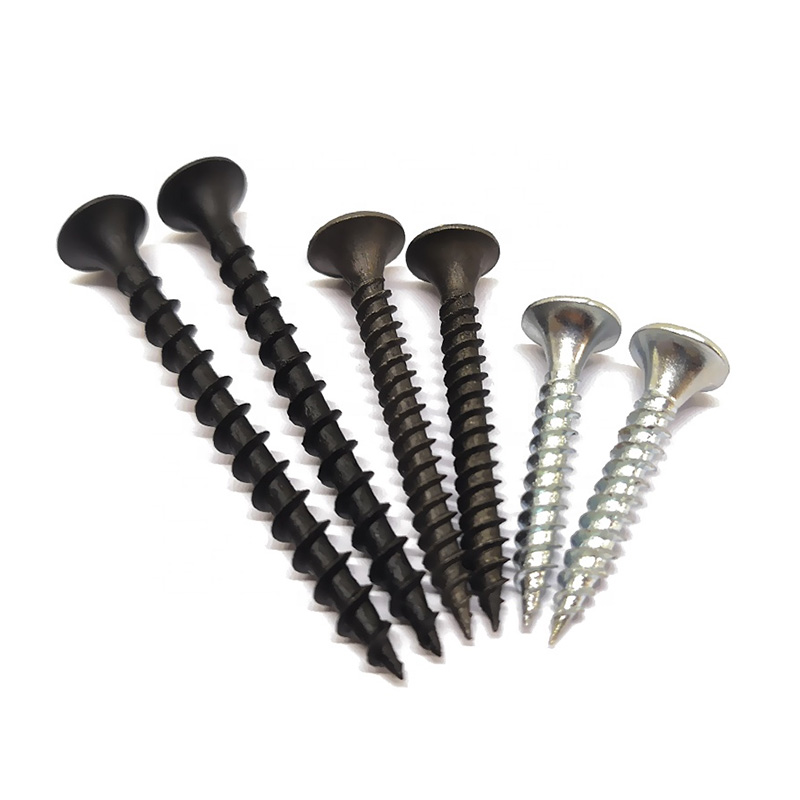
Drywall Screw
Product Information: Product Name Screws Drywall Nail Material Carbon steel C1022a Color Black,Galvanized Standard ISO,GB,DIN,JIS,ANSI,BSW Diameter M3.5-M6.3, 6#-14# Length […]
