It may seem overwhelming to tackle the task of securing tack strips into concrete, but it is not impossible! With the essential equipment and some principles to follow, you can effortlessly install tack strips successfully and without worry.
Uncovering the Mystery of Tack Strips
Thin slats of wood or metal, studded with nails or pins, are known as tack strips. These handy tools aid in keeping flooring materials like tile or carpeting in their correctly positioned place. The method is quite simple; the poor strip must be nailed or glued to the surface and the carpet material stretched over the top for a secure rugging installation.
Necessary Items for the Job
Before your endeavour begins, verify that you possess the correct equipment and components. You’ll want a hammer, a drill designed for concrete, a bit equal in size to the nails of the tack strips, a level, a measuring device, and the tack strips themselves. Additionally, ensure that protective eyewear and gloves are close at hand.
Before putting in the touche, starting point of the project should be to determine the borders and mark them with a pencil according to accurate measurements. Ensure that your lines are all even and undeviated from the right angles.
Precisely Pinning the Shingles
After delineating the boundary, don your safety equipment and prepare to secure the strips in place. Line them up along the designated line and check that the strip is level using a ruler or leveller. Hammer in the nails just sufficiently to hold them down onto the concrete – no need to drive them in all the way.
Setting Out the Carpet
With the tack strips installed, you can now roll out the carpet and make sure that it fits snugly against them. Utilize a tucker to secure it in place and use a carpet knife to cut away any extra material. The carpet needs to fit snugly, so take your time with the tucking and trimming.
For those hoping to successfully install carpet onto concrete, nailing down tack strips is an essential undertaking. Precision is key when it comes to proper measurement and alignment, so make sure to utilize a level to ensure everything is fitting nicely. After the task is completed, you’ll find yourself one step closer to having that much-desired perfect floor!
Ensuring that tack strips are correctly installed is of utmost importance when working with concrete flooring installations. These strips hold down the surface and provide long-lasting security and stability. If not embedded properly, however, tack strips can cause the flooring to slip or even get damaged. Therefore, it is essential to understand how to properly Secure tack strips into concrete for reliable and lasting results.
Prior to setting the tack strips in the concrete, it is imperative to make sure the area is spotless and without any sign of moisture. Any unsightly debris or lingering droplets of liquid can prove detrimental as they may prevent the nails from adhering properly and diminish the strength of the union between the tack strip and the concrete. When you are certain that no dirt or water can be seen, tapping in the nails is ready to begin.
To ensure a successful installation of the tack strips on concrete, you’ll need to invest in the right type of nails – stainless steel ones with a sharp point capable of piercing through. Additionally, the nails should slightly exceed the thickness of the strip to guarantee that they truly penetrate the concrete.
Securely setting up the tack strip involves having the proper tools and lining it up correctly. Place the strip against the concrete’s surface, then angle the nails into it – this will guarantee a solid hold for the strip in the concrete.
Setting the strip for affixation? It’s easy. Start by aligning the head of the nail towards the strip and use your hammer thwack it firmly into the ground. Applying too much force may impair bolster its tenacity – hence, an even hold is paramount, so make sure your nails are spaciously spread throughout.
After all the tack strips have been set into place, it is highly recommended to take a close look at them to ensure that they are firmly secured. Loose nails should be removed and replaced with new nails for optimal safety and durability. By doing so, you can guarantee that the tack strips will remain firmly installed for many years to come.
Although the installation of a tack strip into concrete is a relatively simple task, the key to success is taking one’s time to perform the task correctly. Thus, by pursuing the steps outlined below, you can ensure that your tack strip provides a secure hold for your flooring for many years into the future.
Related Product
Fence U Nail
Product Information: U TYPE NAIL 1.material: Q195/Q235 Low Carbon Iron Rod 2.shank: smooth shank, single barbed shank, double barbed shank and others 3.Point: side cut point or di […]
G Sod Staple
Product Information: Product name Sod Staple Material: Q195 /Q235 Size: 3/4X14GA, 3/4X9GA, 7/8X14GA, 1X9GA, 1-1/4X9GA, 1-1/2X9GA, 1-3/4X9GA Type: Round head with smooth shan […]
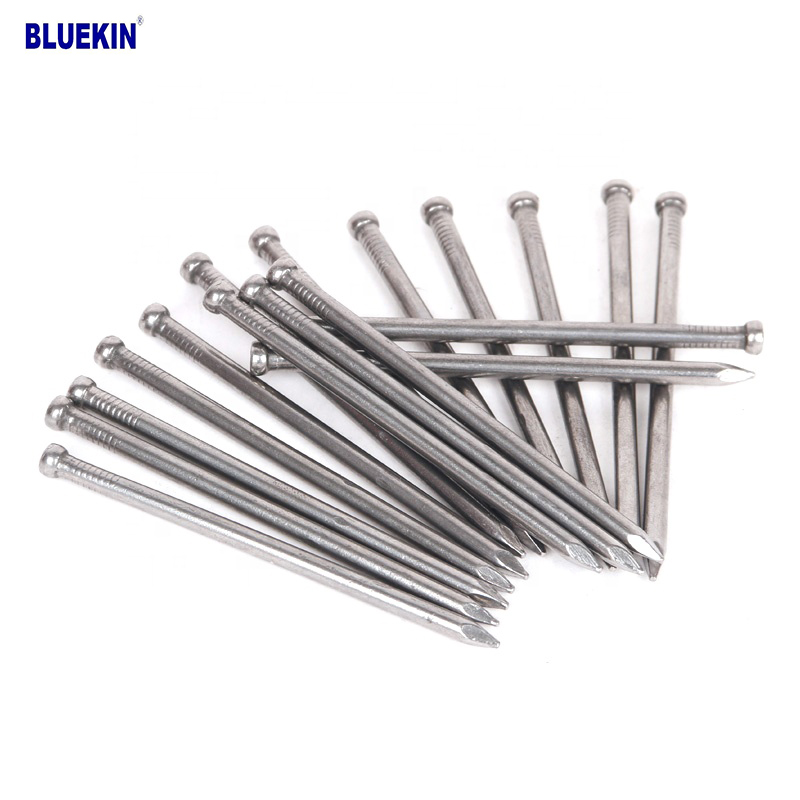
Common Nail
Product Information: Common Nail Material Q195, Q235 Shank diameter 1.2mm-10mm Length 19mm-300mm Finish polish/bright, electro galvanized, hot dip galvanized Head flated he […]
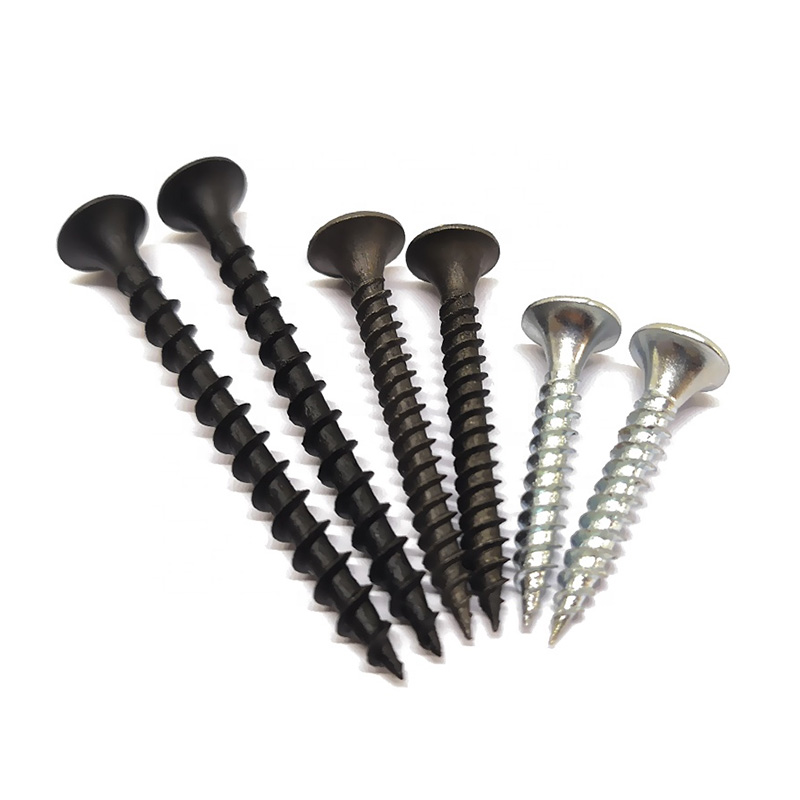
Drywall Screw
Product Information: Product Name Screws Drywall Nail Material Carbon steel C1022a Color Black,Galvanized Standard ISO,GB,DIN,JIS,ANSI,BSW Diameter M3.5-M6.3, 6#-14# Length […]
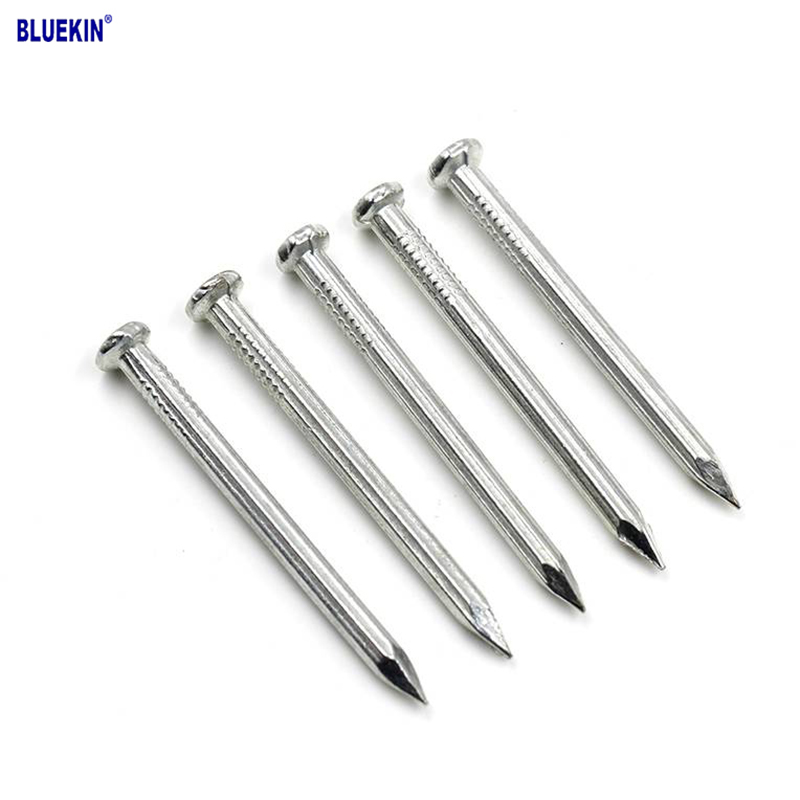
Concrete Nail
Product Information: Product name CONCRETE NAIL Material: #45 or #55 Steel Size: 1/2″-6″ Type: Round head with smooth shank or groove shank Treatment: Electro galvanized, ho […]

Black concrete nail
concrete nail with special materials, concrete nails are specialty nails compared with common iron nails. It is harder, the shank is short and thick commonly and it has excellent p […]
Headless Nail
Product Information: Cheap Lost Head Nails/ Headless Nails/ Finishing Nails Price Material Q195 or Q235 iron wire rod or according to request Size 1″ – 6″ Finish Polished or […]

Garden Nail
Product Information: Black or yellow color plastic ground pegs are used for fix the ground cover or woven fabric or fleece on the ground. Material: Virgin PP OR PP +UV stabi […]

U Sod Staple
Product Information: Landscape Staples * 11 GAUGE STEEL CONSTRUCTION: The points on the staples are sharp enough to pierce commercial ground cloth, and the staples are long […]
