Navigating the Removal of Concrete Nails: A Step-by-Step Guide
When it’s time to remove that concrete nail, you can confidently take on the challenge. After all, these necessities are used for all types of projects, like affixing wooden planks to concrete, securing sheet metal to subterranean surfaces, and attaching insulation to solid walls. However, to make sure you do it right, having the required knowledge is paramount. Glance over this guide for the advice you need to make the nail separation process swift and safe.
To safely remove a concrete nail, it’s crucial to prepare for the potential risks. Always wear glasses, gloves, and a protective face mask to safeguard your lungs from flying dust. Additionally, put on long garments to make sure that your arms and legs are guarded from any sharp edges or slivers that could arise in the process.
Necessary Apparatus and Supplies
To unhitch a concrete nail, the instruments and supplies required vary according to size and type. For minuscule nails, a hammer coupled with a flathead screwdriver or something akin to a pry bar should do the trick. If it is larger in size, a power drill and concrete bit might be necessary. Additionally, you may have to assemble a rubber mallet, chisel, and hammer in order to complete the job.
Liberating a Concrete Nail
Having secured the materials you need, it is time to take on the challenge of removing the nail. The initial step is to guarantee that the nail is properly situated in place. If it happens to be wobbly, it may be possible to extract it with your own strength. However, if it is solidly lodged in, you’ll need to resort to using a power drill and a concrete bit. After properly embedding the bit in the nailhole, use the drill to gradually loosen it up.
If you need to get the nail out of the concrete but the drill isn’t cutting it, you can combine the power of a hammer, chisel, and a rubber mallet to loosen it. Position the chisel above the head of the nail and use the hammer to strike it into the concrete – forming a ring around the head of the nail. Finally, utilize the rubber mallet to gently tap on the nail until it’s out of its original spot in the concrete.
Unbinding Concrete Nails Using Heat
For those with the right tools, getting rid of unwanted concrete nails can be done by heat. Primarily useful for smaller nails, you’ll need a propane torch to heat the metal head until it starts to glow. From there, a hammer can be used to carefully tap out any stubborn nails that don’t want to come loose.
Unearthing Concrete Nails with a Chemical Solution
If a conventional approach proves fruitless in trying to get a nail out from the concrete, a chemical option could be the answer. Start by pouring a rust remover or some lubricant onto the head of the nail. Leave it on for a few minutes, and then strike it with a hammer to loosen its grip and extract it from the surface.
Pulling out concrete nails may not come easy, but it is essential to know the right approach. This guide illustrates the steps important for safely and effectively disentangling the concrete nails. Safety measures such as safety glasses, gloves, and a face mask must be donned when conducting this action. Also, make sure the required resources and material necessary for success are present. With this useful information combined with the apt instrumentation, you can successfully remove concrete nails in no time.
The removal of concrete nails can be a precarious job, so you must employ the proper tools and methods to do so safely and productively. Concrete nails are frequently employed to attach objects to concrete floors or walls and, even though they are remarkably tough, their removal can be problematic. Heed these instructions and you will have success in extracting the concrete nails from any surface.
To keep yourself safe during the process of extracting concrete nails, protective gear is a must. Put on safety glasses, gloves, and a dust mask so that your eyes, hands, and lungs remain safeguarded from any debris or powder kicked up while you work.
Once your safety is guaranteed, it’s time to tackle the nail embedded in the concrete. If the nail is flush with the surface, a hammer and chisel could be employed to free it. On the other hand, if the nail is not flush with the layer above, a drill and a masonry bit will be necessary to make a hole around it and eventually loosen it.
Once you expose the nail, it’s time to remove it with your trusty pair of pliers. If the nail is sticking out, grip it with your pliers and gently tug until it disengages from the surface. On the other hand, if the nail is buried beneath the surface, hold it with your pliers and twist it methodically until there’s just enough give for it to come out.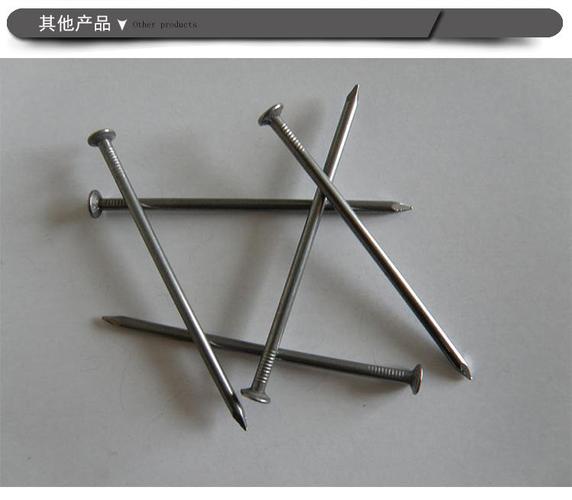
If your hand just isn’t strong enough to remove a tiny nail, you should consider investing in a nail puller. This specially-made tool is designed with the power to tug on even the most minuscule of nails. Handling it can be tricky though, as too much pulling can snap the head off of notably undersized nails.
Once that pesky nail is out of the way, there will be an unappealing gap remaining. To cover it up and restore your wall’s original countenance, consider using a patching compound made of concrete. Make sure to thoroughly read the instructions included in the package as some of these products may require additional steps prior to their application.
When working with concrete, it is essential to remain safe and have the appropriate tools on hand to properly remove any concrete nails. Cautious examination of the nail can determine the safest procedure to eliminate it before patching the area with a compound. With the correct instruments and techniques, extraction of concrete nails from all surfaces can be carried out successfully and safely. Applying appropriate safety gear is nonnegotiable when performing these tasks near concrete.
Related Product
Double Head Nail
Product Information: Material Q195/Q235 Surface Treatment Bright, E.G, H.D.G, M.G, V.C, C.C, P.C and so on Head Two Head Shank Smooth Shank Point Diamond Point Kinds of pa […]

U Sod Staple
Product Information: Landscape Staples * 11 GAUGE STEEL CONSTRUCTION: The points on the staples are sharp enough to pierce commercial ground cloth, and the staples are long […]
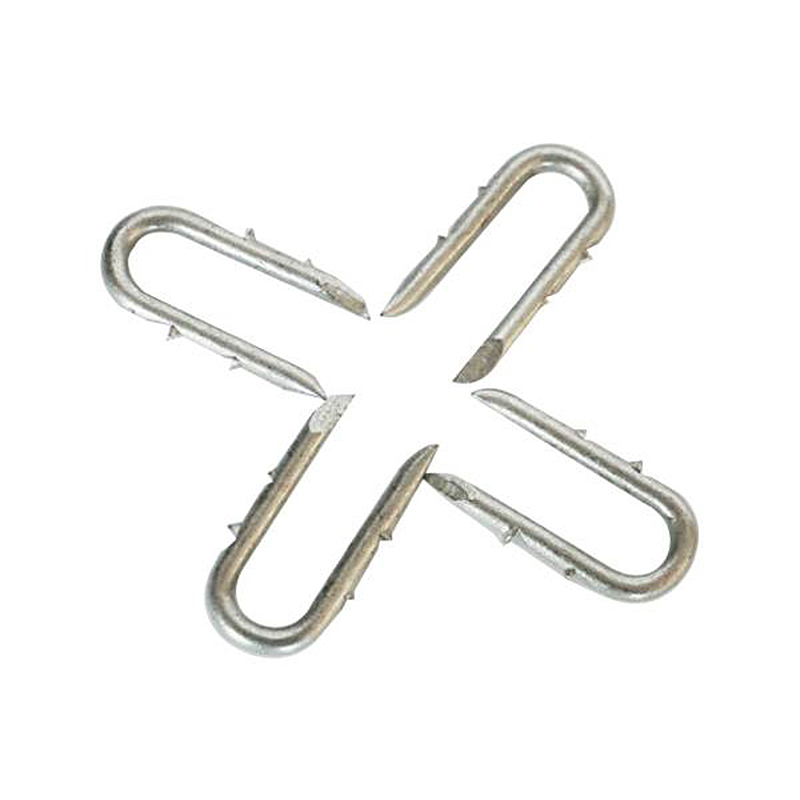
Fence U Nail
Product Information: U TYPE NAIL 1.material: Q195/Q235 Low Carbon Iron Rod 2.shank: smooth shank, single barbed shank, double barbed shank and others 3.Point: side cut point or di […]

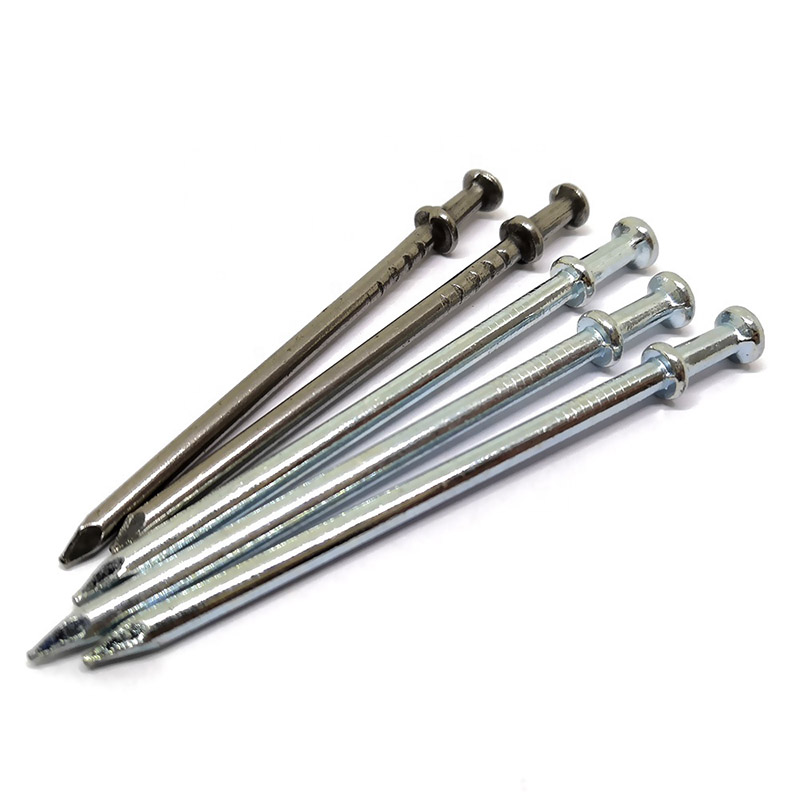
Black concrete nail
concrete nail with special materials, concrete nails are specialty nails compared with common iron nails. It is harder, the shank is short and thick commonly and it has excellent p […]
G Sod Staple
Product Information: Product name Sod Staple Material: Q195 /Q235 Size: 3/4X14GA, 3/4X9GA, 7/8X14GA, 1X9GA, 1-1/4X9GA, 1-1/2X9GA, 1-3/4X9GA Type: Round head with smooth shan […]
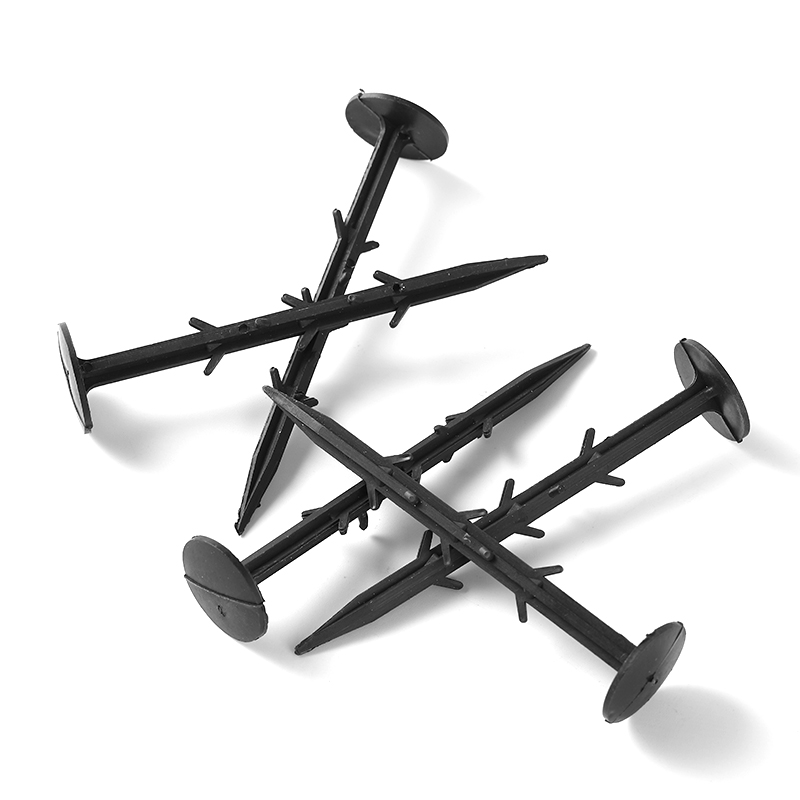
Garden Nail
Product Information: Black or yellow color plastic ground pegs are used for fix the ground cover or woven fabric or fleece on the ground. Material: Virgin PP OR PP +UV stabi […]
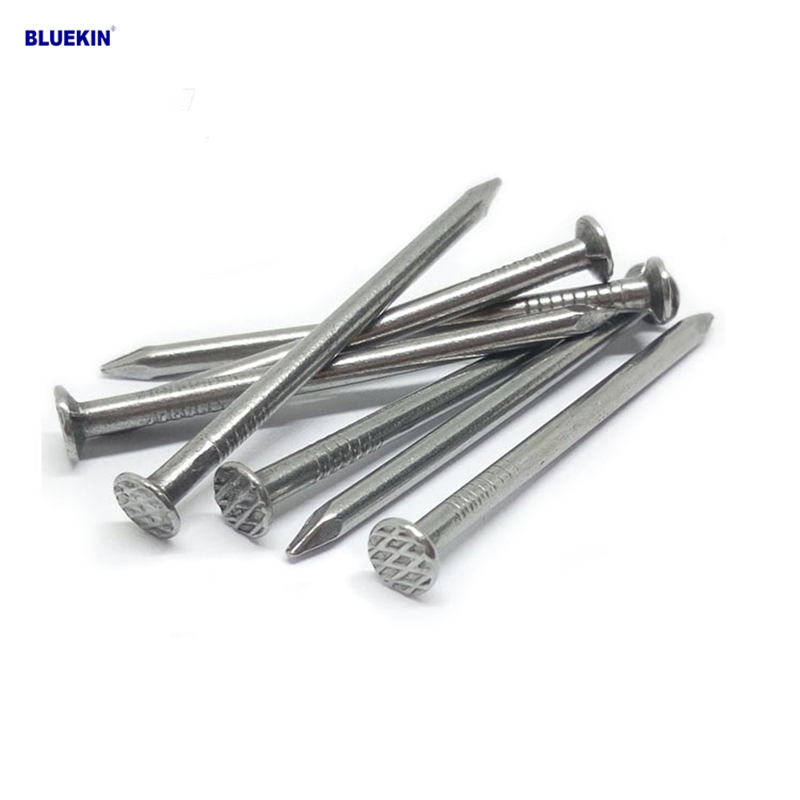
Common Nail
Product Information: Common Nail Material Q195, Q235 Shank diameter 1.2mm-10mm Length 19mm-300mm Finish polish/bright, electro galvanized, hot dip galvanized Head flated he […]
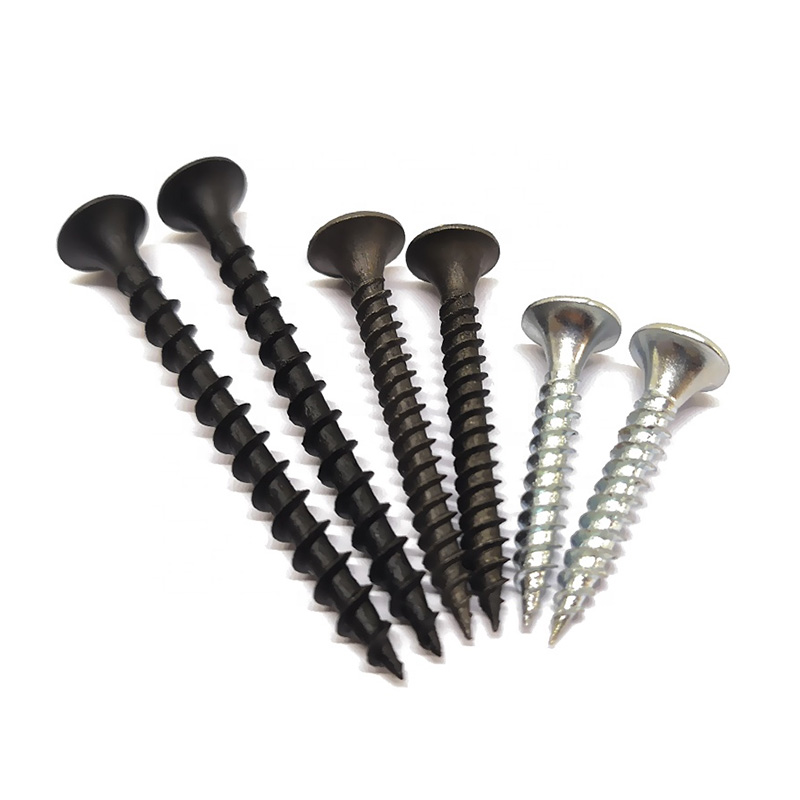
Drywall Screw
Product Information: Product Name Screws Drywall Nail Material Carbon steel C1022a Color Black,Galvanized Standard ISO,GB,DIN,JIS,ANSI,BSW Diameter M3.5-M6.3, 6#-14# Length […]
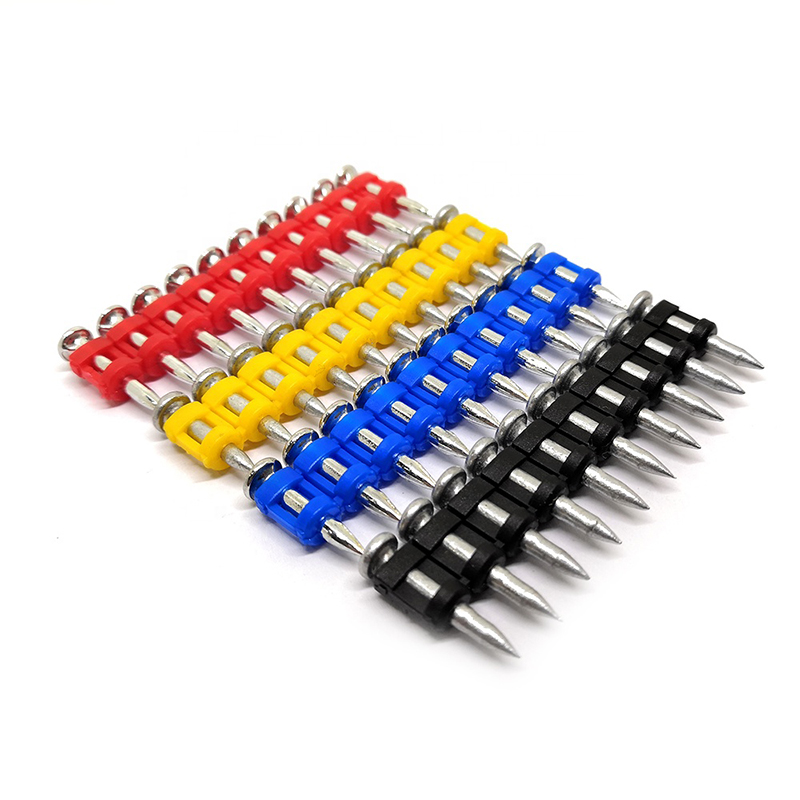
Shooting Nail
Product Information: GAS CONCRETE PIN NAIL raw material steel#45,#60 diameter 2.6mm,2.7mm,3.0mm,3.2mm length 13mm,16mm,19mm,22mm,27mm,32mm,37mm shank smooth shank & shri […]
