Hammering wood to concrete might be a tricky undertaking if you don’t understand what you are doing. But with the right knowledge and procedures, it could be an incredibly gratifying project. This article will provide insight into nailing wood to concrete, from the necessary supplies needed to the steps to follow and other helpful tips.
Achieving success in any masonry project requires the right tools. To kick off your endeavors, you’ll need a hammer, a masonry drill and bit, screws, and a concrete nail gun. Of course, selecting the proper sized nail is essential for guaranteeing that the wood stays secure – the longer the nail, the better!
With the essential materials collected, it’s time to get to work. Start by utilizing the masonry drill bit to drive a pilot hole into the concrete- the diameter of this hole needs to be functionally equal to that of your fastening nail, guaranteeing a steady and secure hold.
After gathering your materials, fire up the concrete nail gun and begin driving each nail into the stony surface. This power tool is crafted specifically for embedding nails into the hard material without having to resort to traditional hammering. As you go, ensure that each rising nail is placed straight, deeply rooted into the concrete.
Once the nail is inserted securely, the next step is to properly attach the wood. The two options are screws or nails, and if you opt for screws, ensure that their size matches the hole that was previously drilled in the concrete. Otherwise, if you decide on nails, they must be synchronized in size and length to the nail which was set in the concrete.
With the screws and nails securely fixed, your project is ready for the final touches. The wood should be secured to the concrete with nothing left loose or missing – this will keep it firmly in place, so there’s no need to worry about it slipping out of place.
If you have chosen to affix wood to concrete, there are certain considerations that can help make the job easier. First, appropriate size nails and screws should be utilized for the task. Secondly, goggles are indispensable for safety when driving in the nails or screws. Lastly, if an option, a nail gun can be employed to aid quickness and reduce manual labor in comparison to the usage of a hammer.
With patience, practice, and the correct materials, nailing wood to concrete is an easy task. This article has the steps you need to know for success. Follow the advice provided, and you’ll soon be a master of this process!
Connecting wood to concrete is a job that both DIYers and professional craftsmen often come across. Whatever the task may be, if it’s hanging a rack, anchoring a doorway frame, or mounting a handrail – having the necessary gear and approaches can make completing the assignment simpler and guarantee the project is successful.
If you want to ensure success with your building project, it’s critical to assess the wood and concrete varieties you’re dealing with. While softwoods such as pine, spruce, and cedar may be more accessible to work with, they may not last as long in comparison to hardwoods like oak and maple. Additionally, you’ll want to ensure that the concrete is wholly cured so it will be able to withstand anything that comes its way.
In order to effectively secure wood to concrete, let’s explore the appropriate tools and methods.
With concrete and masonry operations, having a hammer drill is essential for success. This device, which is designed specifically to cut through such surfaces, serves as the perfect method for creating appropriately-sized holes for your nails. Be sure that the drill bit is equal to the measurement of the nail shank to ensure maximum accuracy.
If you want the job done, you will absolutely need a hammer. The classic claw hammer is sufficient, but I suggest adding a mallet hammer to your toolkit, as not only will it prove helpful when placing nails into holes, but it never hurts to be prepared.
To gain better support for hardwoods when hammering into concrete, a masonry bit should be used to initially bore a pilot hole. This small action will make all the difference, helping to ensure the nail will remain securely fixed.
With the ideal tools in tow, you’re ready to progress to honing your skills.
When starting, carefully mark the place on the wood you’d like to secure the nail to. Subsequently, utilize a hammer drill to make a hole through the concrete that will be just a bit wider than the nail’s shank, enabling it to be easily inserted.
Give the nail a place to rest; begin by crafting a hollow in the wood with the help of a hammer and masonry bit. If hardwood is present, pre-drill a pilot hole to make insertion easier. Insert the nail and firmly hammer it into the wood.
Before you call it a job done, take the last moment to verify that the nail is firmly secured. If it isn’t, then a masonry anchor should be implemented to bind the wood to the solid concrete surface.
While connecting wood to concrete, it’s paramount to remember safety first. Put on essential equipment such as protective goggles, gloves, and a face mask for drilling and pounding. What’s more, make absolutely sure your stance is secure and the surrounding area is clear of any objects that may cause losing your footing or a misstep.
Securing wooden components to concrete is a straightforward job that can be undertaken by novices and pros alike. With the correct instruments and steps, you can accomplish the work expediently and with self-assurance. Remember to apply cautiousness and verify that the nail is embedded safely before continuing with your task.
Related Product
Double Head Nail
Product Information: Material Q195/Q235 Surface Treatment Bright, E.G, H.D.G, M.G, V.C, C.C, P.C and so on Head Two Head Shank Smooth Shank Point Diamond Point Kinds of pa […]
Drywall Screw
Product Information: Product Name Screws Drywall Nail Material Carbon steel C1022a Color Black,Galvanized Standard ISO,GB,DIN,JIS,ANSI,BSW Diameter M3.5-M6.3, 6#-14# Length […]

U Sod Staple
Product Information: Landscape Staples * 11 GAUGE STEEL CONSTRUCTION: The points on the staples are sharp enough to pierce commercial ground cloth, and the staples are long […]
Fence U Nail
Product Information: U TYPE NAIL 1.material: Q195/Q235 Low Carbon Iron Rod 2.shank: smooth shank, single barbed shank, double barbed shank and others 3.Point: side cut point or di […]
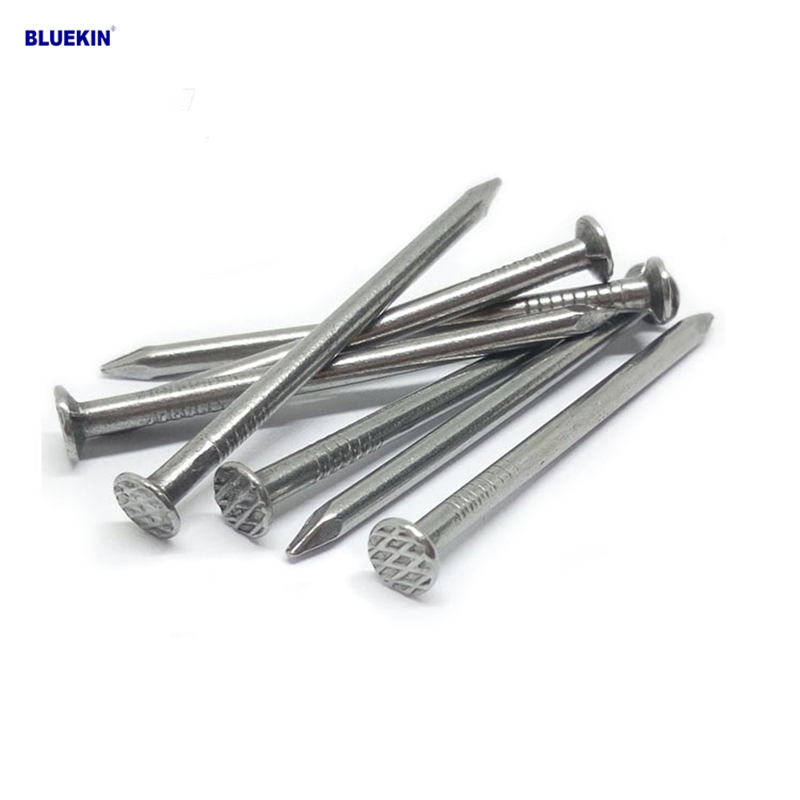
Common Nail
Product Information: Common Nail Material Q195, Q235 Shank diameter 1.2mm-10mm Length 19mm-300mm Finish polish/bright, electro galvanized, hot dip galvanized Head flated he […]
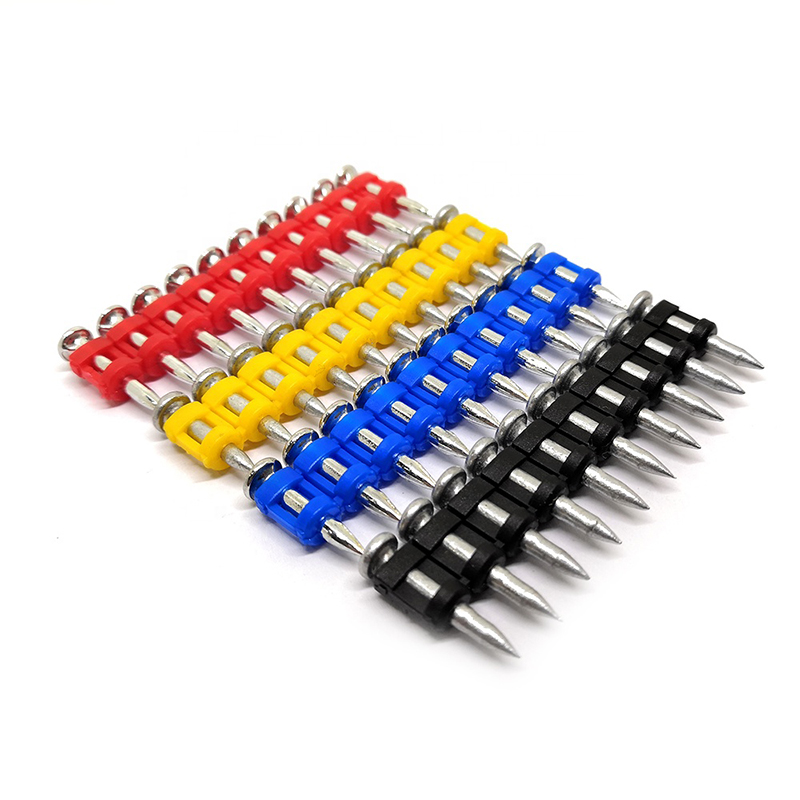
Shooting Nail
Product Information: GAS CONCRETE PIN NAIL raw material steel#45,#60 diameter 2.6mm,2.7mm,3.0mm,3.2mm length 13mm,16mm,19mm,22mm,27mm,32mm,37mm shank smooth shank & shri […]
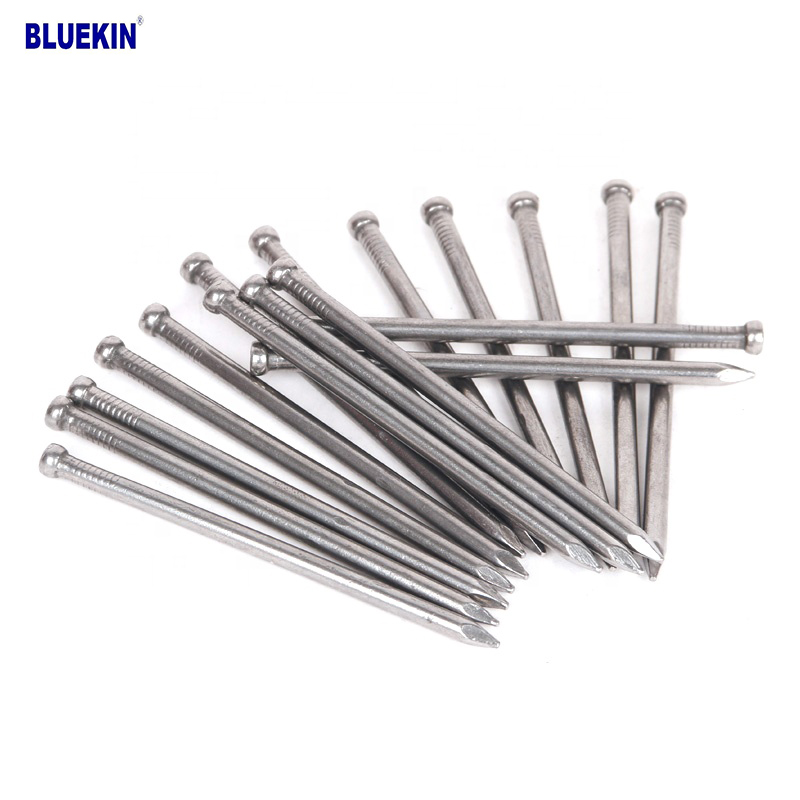
Headless Nail
Product Information: Cheap Lost Head Nails/ Headless Nails/ Finishing Nails Price Material Q195 or Q235 iron wire rod or according to request Size 1″ – 6″ Finish Polished or […]

Black concrete nail
concrete nail with special materials, concrete nails are specialty nails compared with common iron nails. It is harder, the shank is short and thick commonly and it has excellent p […]
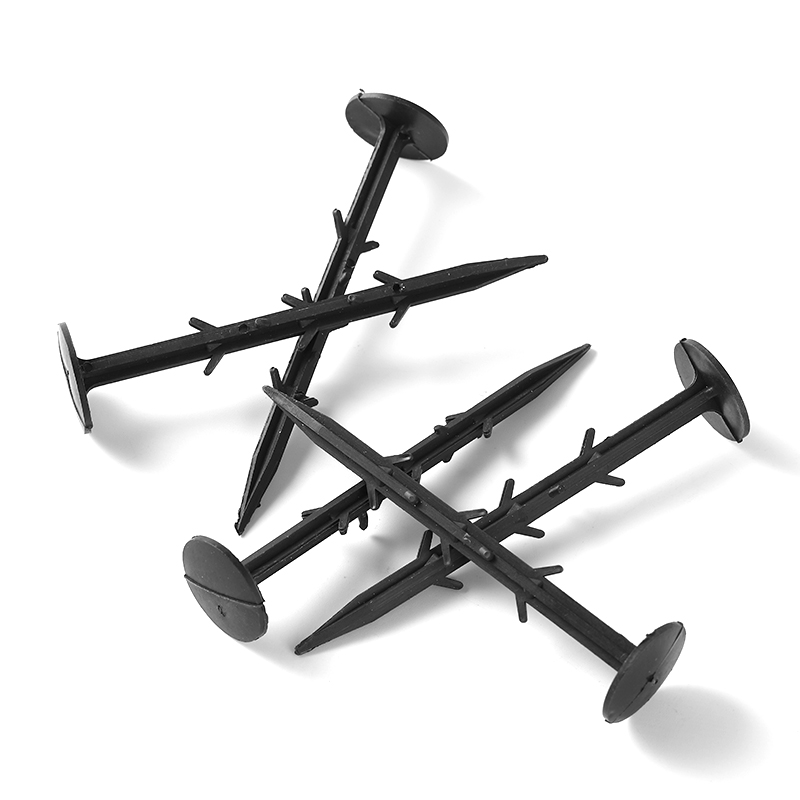
Garden Nail
Product Information: Black or yellow color plastic ground pegs are used for fix the ground cover or woven fabric or fleece on the ground. Material: Virgin PP OR PP +UV stabi […]
