Hammering nails into concrete is no easy feat, but it can be done with the right amount of accuracy, time, and tools. Despite its density and hardness, it is possible to penetrate the concrete when the appropriate method is followed. Here, we will provide you with all the details necessary to hammer nails into concrete in a step-by-step process.
When it comes time to affix something to concrete, you must have the right type of nail and hammer on hand. Nails made especially for concrete use should be up to the mark, and should be of a length that would penetrate the object being attached with relative ease. sixteen-penny nails generally get the job done, each of them about 3.5 inches long. Hammer-wise, no regular model will suffice – masonry hammers are specially engineered with a flat, chisel-shaped head that can be used to create a pocket for the nails. This is necessary if you want a successful job.
To ensure no damage occurs to the surface below, start by clearing off any dust or particles where the nail is to be hammered. Mark the desired spot if the nail is intended for support. This will guarantee accuracy and precision when hammering.
Trying to hammer a nail into concrete can be tough; the material is quite hard and dense. To ensure the nail goes in, you’ll need to help it along. A masonry drill bit can create a Pilot hole that’s slightly smaller than the nail; this will guide it in the right direction.
Before filling in a concrete hole, take great care to ensure that any crumbling bits and pieces are removed. You can do this simply by taking a brush with stiff bristles and giving the area a good sweeping out. This basic cleansing process will guarantee that the hole is prepped and ready for patching up with concrete.
For the safety of your eyes and hands, make sure to wear goggles and fluid-resistant gloves before beginning the job in order to avoid contact or exposure to any foreign particles.
Keeping the nail firmly placed within the hole, carefully use the hammer to gently tap it into place.
With a firm grip on the head of the nail by the pliers, use the hammer to strike and sink the nail into place.
Driving the nail into the concrete until it is level with the surface, persist until it is securely set.
To prevent the nail from bending or breaking, gentle taps are preferable when striking the nail’s head.
Proven Strategies for Success
For those who find it tough to drive nails into concrete, here are a few ways to make the work easier:
If you need to hammer plenty of nails into solid concrete, then a nail gun may be the tool for you.
When you encounter concrete that is very solid and resistant, take a carbide masonry drill bit in hand to put in a practice hole.
Prior to hammering the nail into place, take care to ensure it’s resting in the center of the hole for maximum accuracy and precision.
As a further avenue, one can employ a chemical anchor, yet this demands possession of special tools as well as knowledge in its usage.
Troubleshooting the Most Common Missteps: How to Overcome Mistakes and Get It Right.
If your nail is not quite hitting the mark, so to speak, and appears to be bending, this signals that it has made contact with something hard rather than the hole’s center. Take out the nail and try again for better results.
While hammering in a nail, it may snap if the nail is larger than the pilot hole. To avoid this, one can switch to something smaller or enlarge the size of the hole.
When the nail is refusing to penetrate into the wood, make certain that the hole you’ve created is not impeded by any obstruction. Clear away all debris for an at-ease installation.
Hammering nails into concrete may seem tedious, but by utilizing the correct tools and process, it’s achievable with ease. To ensure a successful endeavor, make sure to don protective gear, select the appropriate nail and hammer, and take your time. With thetips offered in this guide, driving nails into concrete will be easier!
Related Product
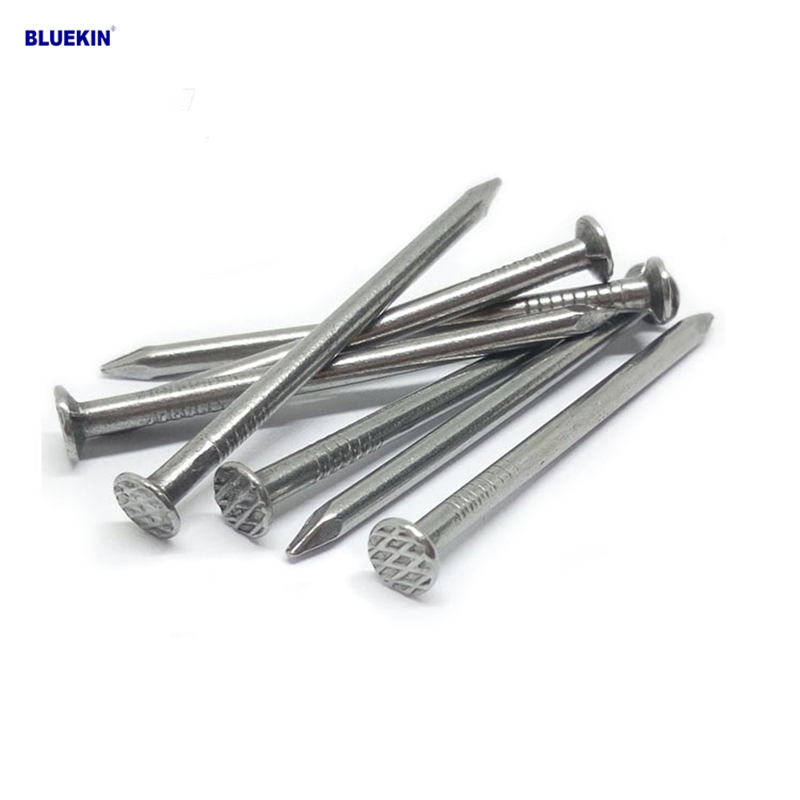
Headless Nail
Product Information: Cheap Lost Head Nails/ Headless Nails/ Finishing Nails Price Material Q195 or Q235 iron wire rod or according to request Size 1″ – 6″ Finish Polished or […]
Fence U Nail
Product Information: U TYPE NAIL 1.material: Q195/Q235 Low Carbon Iron Rod 2.shank: smooth shank, single barbed shank, double barbed shank and others 3.Point: side cut point or di […]

Paper Strip Nail
Product Information: Material Q195, Q235, stainless steel Surface Finish Bright, Galvanized, Hot Dipped Galvaized, Electro Galvanized, Zic Yellow, Zine Bule, MG, Dacro, etc. […]
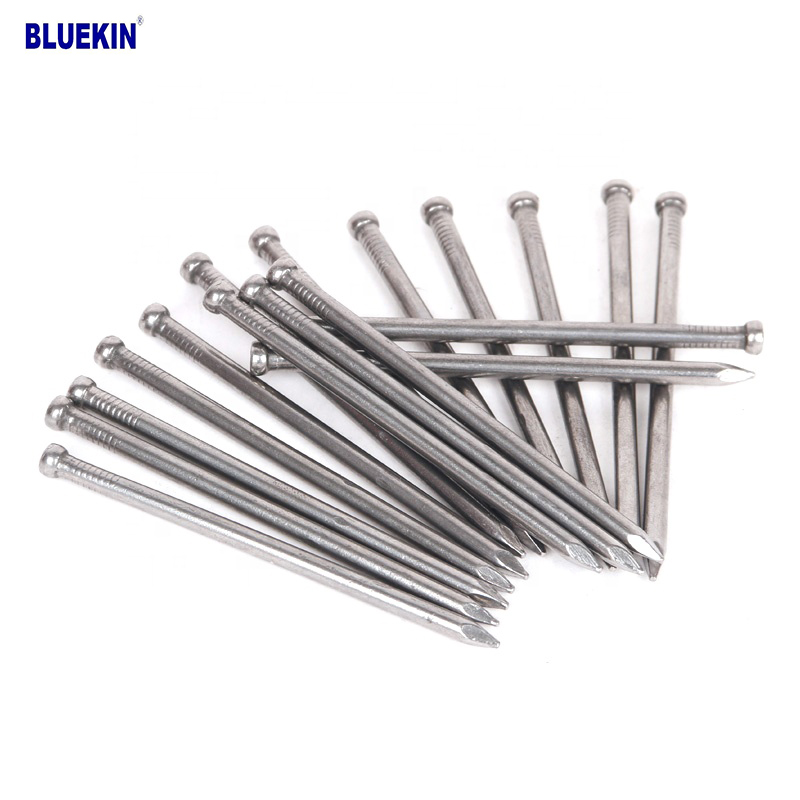
Common Nail
Product Information: Common Nail Material Q195, Q235 Shank diameter 1.2mm-10mm Length 19mm-300mm Finish polish/bright, electro galvanized, hot dip galvanized Head flated he […]

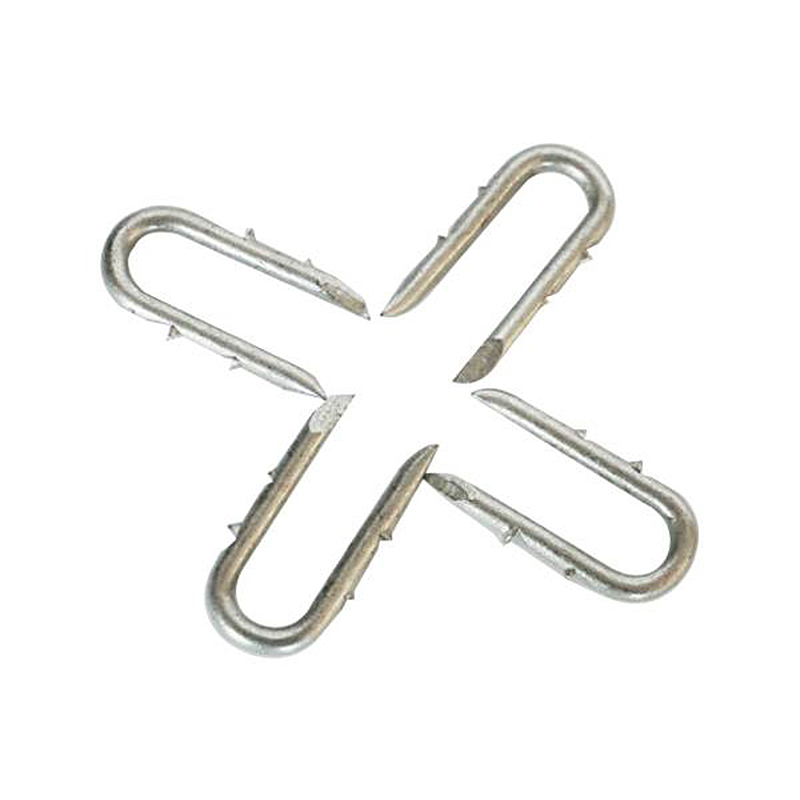
U Sod Staple
Product Information: Landscape Staples * 11 GAUGE STEEL CONSTRUCTION: The points on the staples are sharp enough to pierce commercial ground cloth, and the staples are long […]
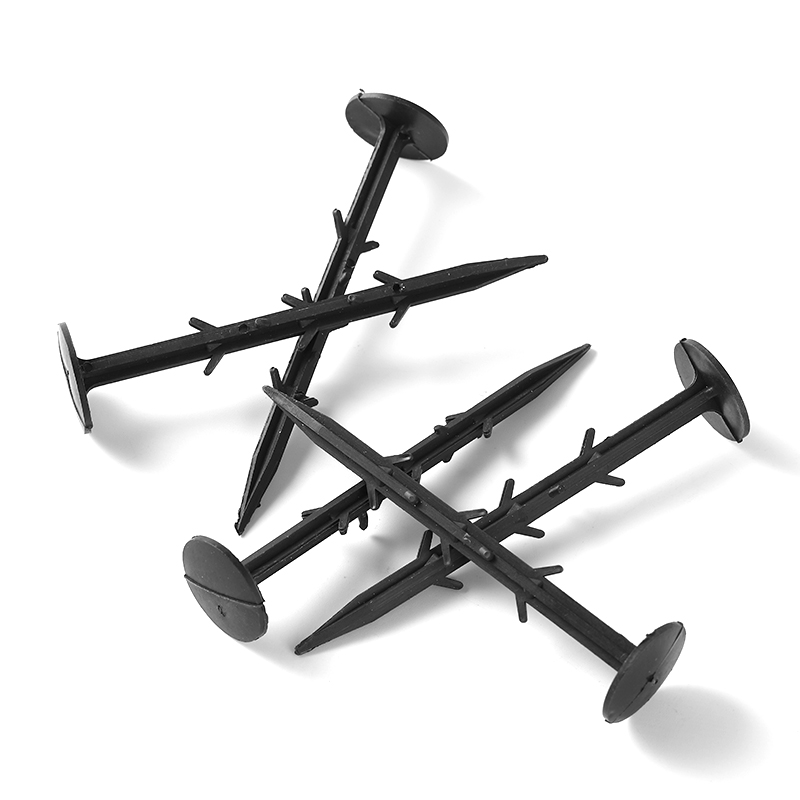
Garden Nail
Product Information: Black or yellow color plastic ground pegs are used for fix the ground cover or woven fabric or fleece on the ground. Material: Virgin PP OR PP +UV stabi […]
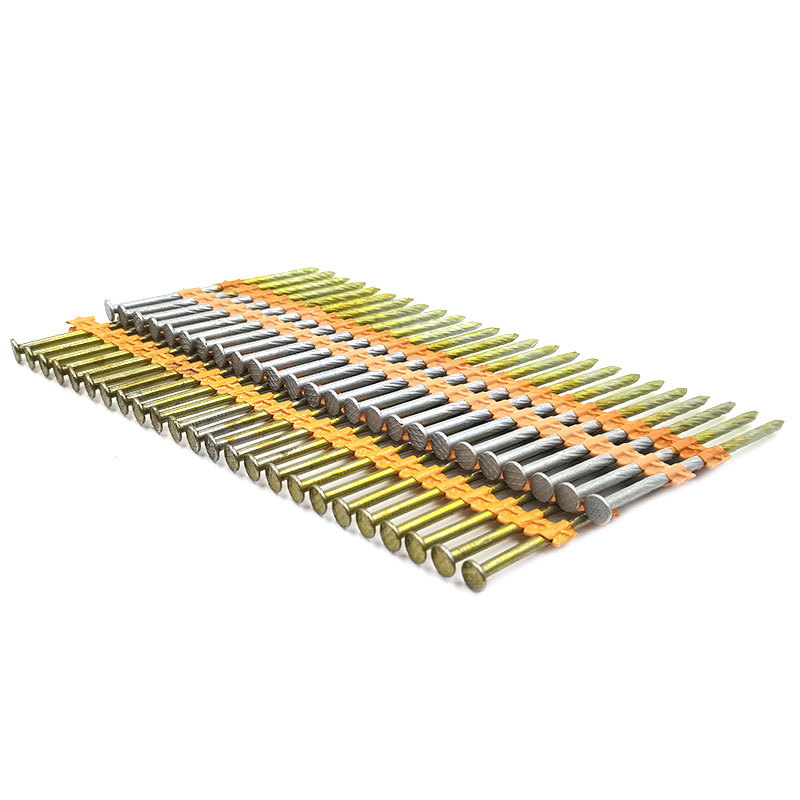
Shooting Nail
Product Information: GAS CONCRETE PIN NAIL raw material steel#45,#60 diameter 2.6mm,2.7mm,3.0mm,3.2mm length 13mm,16mm,19mm,22mm,27mm,32mm,37mm shank smooth shank & shri […]
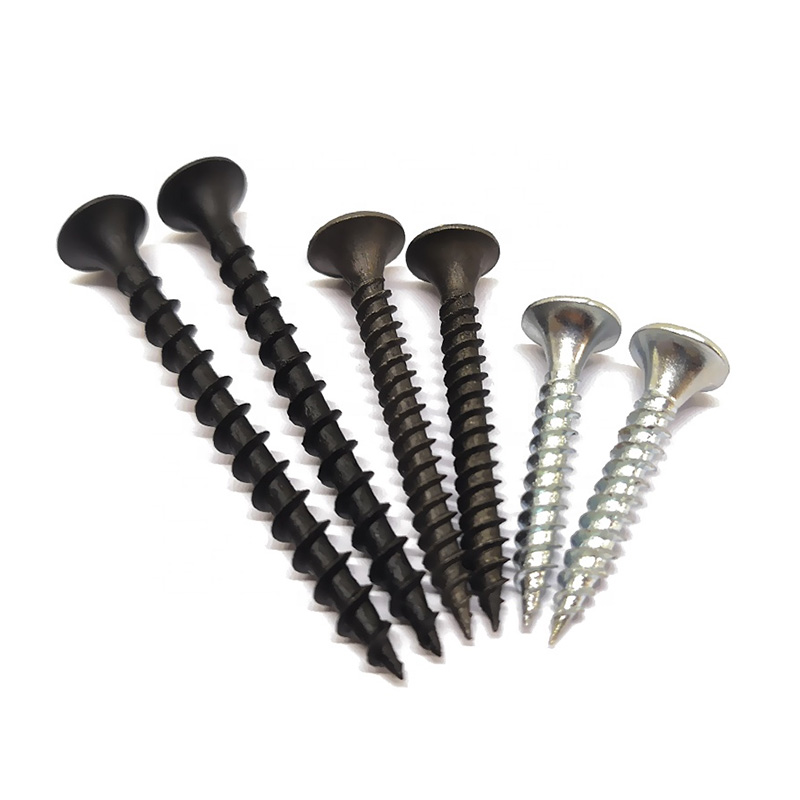
Drywall Screw
Product Information: Product Name Screws Drywall Nail Material Carbon steel C1022a Color Black,Galvanized Standard ISO,GB,DIN,JIS,ANSI,BSW Diameter M3.5-M6.3, 6#-14# Length […]
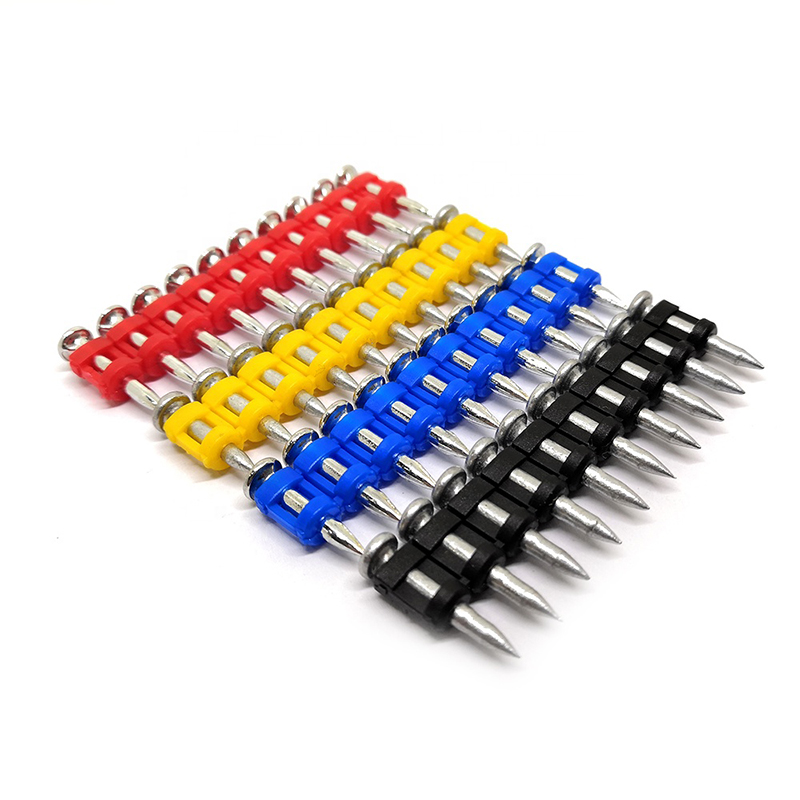
Plastic Strip Nail
Product Information: Diameter/mm(±0.05mm) Length/mm(±1.5mm) 2.87 50/60/65/70/75 3.05 70/75/83/90 3.33 75/83/90 3.76 75/90/100/130 4.11 75/90/100/130 4.5 75/90/100/130 Featur […]
