Nailing into concrete projects have increased in popularity, making it unavoidable why DIYers are investing in concrete nails. While it may seem difficult, it can be achieved successfully by taking the right steps with the relevant tools. Here is a closer look at how to drive concrete nails with ease.
Getting the Cement Ready
It is indispensable to always begin the process by readying the concrete backdrop. If setting off to affix concrete nails into an already ensconced concrete construction, you need to be meticulous in cleaning the area to make sure a solid amalgamation is established between the concrete and the nail. Utilize a wire brush or a scraper to remove any dirt, grim, or remnants that might be present on the facade.
Identifying the Spot for the Nail
After the surface area has been tidied up, you’ll need to indicate the precise location where you are about to drive the concrete nails. To guarantee precision, utilize a pencil or marker to draw a small circle within the place you want to inject the nails. This will guarantee that you make contact with the specific spot on the concrete.
3rd Step: Selecting the Optimum Hammer and Nails
The strength of your hammer and the weight of nails you use to fasten into concrete depend on the size of the nail and the concrete you’re dealing with. For smaller nails, a basic hammer can provide adequate support, but larger nails necessitate a heavier sledge for achievements. Furthermore, ensure your nails are meant to work with concrete – purchasing for any other material could result in an inferior finish.
Nailing it Down: The Fourth Step in the Process
With the correct equipment in your possession and the nail set up, you’re well on your way to hammering it in. Get a good grip on the hammer and solidly thump the nail with one impact. Ensure the head of the hammer is pointed directly at the target and exert moderate force. This will help to push the nail securely into the concrete surface without cracking it.
Completing the Journey: Last Steps
Once the nail is securely situated in the concrete foundation, you can easily add the finishing touch by running a flathead screwdriver over the surface surrounding it. This simplifies the appearance of the area and prevents any potential damage to the integrity of the concrete.
Tackling the job of driving concrete nails is no small feat, but it can definitely be done. All you need is the right tools and a few simple techniques. You don’t have to be afraid to take on this challenge- with a bit of effort, your project will be just the way you want it!
Concrete nails provide an efficient and dependable solution if you need to affix wood, metal, or plastic to concrete, brick, block, or stone. Regular nails are not designed to be used on concrete – a special type of nail is required for this type of job. Crafted from a hardy steel material that can handle the force of being hammered into concrete, concrete nails are sure to remain secure and steadfast in such applications.
When it comes to driving nails into concrete, there are a few crucial steps and considerations to keep in mind. To make sure you fasten objects securely and comfortably, we’ll go over the tools needed as well as essential safety practices. After mastering the process, you’ll be successfully hammering nails into concrete in no time.
Before you join the ranks of concrete nail drivers, you’ll need to equip yourself with the right tools. A hammer drill stands on top of the tool list. This unique drill produces a powerful hammering action instead of the regular rotation, making it much easier to go through concrete. To drive these nails safely and successfully, a hammer drill is an absolute must-have—no regular drill would make the cut.
If your project involves concrete nails, you must make sure to equip yourself with a hammer that is purpose-built for this type of material. This specialized hammer is heavier than the usual hammer, and its head is shaped in such a way that it easily accepts the head of the concrete nail.
After obtaining all the necessary items, you’ll want to have a suitable set of concrete nails at the ready. Depending on the task, you’ll need to purchase the appropriate size for your project, as the nails come in various dimensions.
In order to stay safe while working with concrete nails and a hammer drill, it pays to take precautions. By donning safety glasses you’ll keep your eyes safe from any bits of debris that could be sent flying while the mask should help protect you against injesting concrete dust. Always remember to wear the appropriate eye and respiratory protection!
Maintaining control and precision while driving nails is imperative. Ensure your arms and wrists are straight when holding the hammer drill, and maintain a robust grip on the nail itself to prevent it from sliding out of the bit. Take caution with every action to ensure accuracy in the process.
Hammering Home the Concrete Nails
To get started, make sure you have the proper tools and safety equipment on hand. Then mark the environment in need of the nail. Clear out any debris that could hinder the power of the hammer.
Affix the nail to the hammer drill with a firm grip. Ensure that the top of the nail is properly cradled within the drill and that it is set at a precise angle for efficient penetration of the concrete surface.
After you have prepared yourself, make sure to switch on the hammer drill and start driving in the nail. Keeping a tight grasp on the drill button is key, and you should angle it in a way that allows the nail to penetrate the concrete in a directed, even manner. Moving slowly and steadily is fundamental for successful entry through the hard surfaces without inflicting any breakages.
After the nail is sinked into its spot, the hammer drill should be power downed and the nail taken away. Successfully executing this step will mean you can move ahead with installing the next nail.
Completing concrete nailing projects is a breeze when you possess the required instruments and adhere to the correct technique. Whether attaching wood, metal, or plastic to concrete, brick, block, or stone, you’ll want a high-performance hammer drill, reliable hammer, and quality concrete nails for best results. Don’t forget to wear suitable safety gear throughout the process, too. With the right preparation and a steady hand while nailing, you can confidently tackle cement-based fasteners with ease.
Related Product
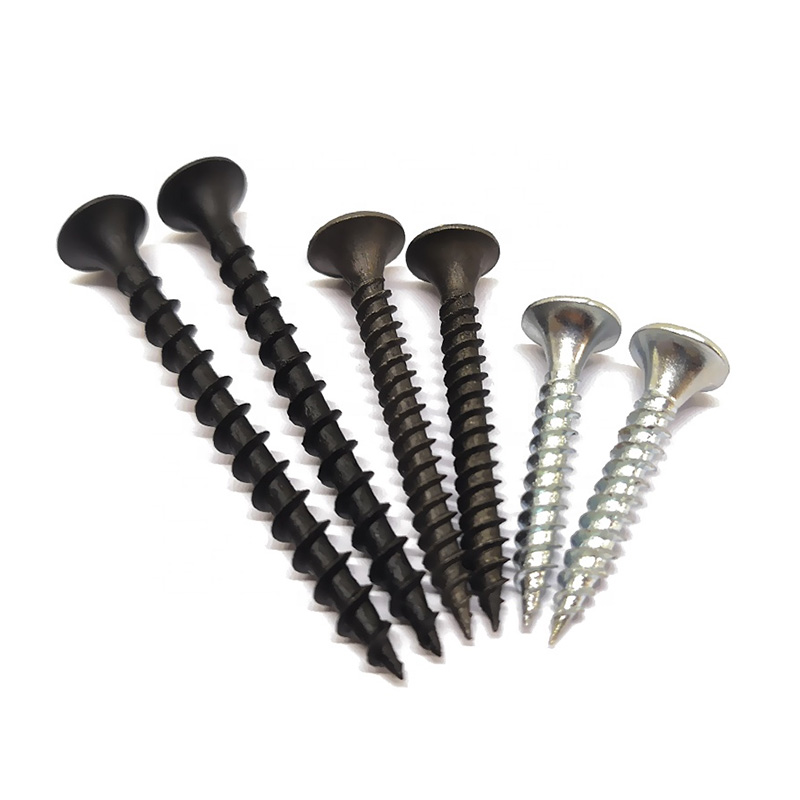
Drywall Screw
Product Information: Product Name Screws Drywall Nail Material Carbon steel C1022a Color Black,Galvanized Standard ISO,GB,DIN,JIS,ANSI,BSW Diameter M3.5-M6.3, 6#-14# Length […]
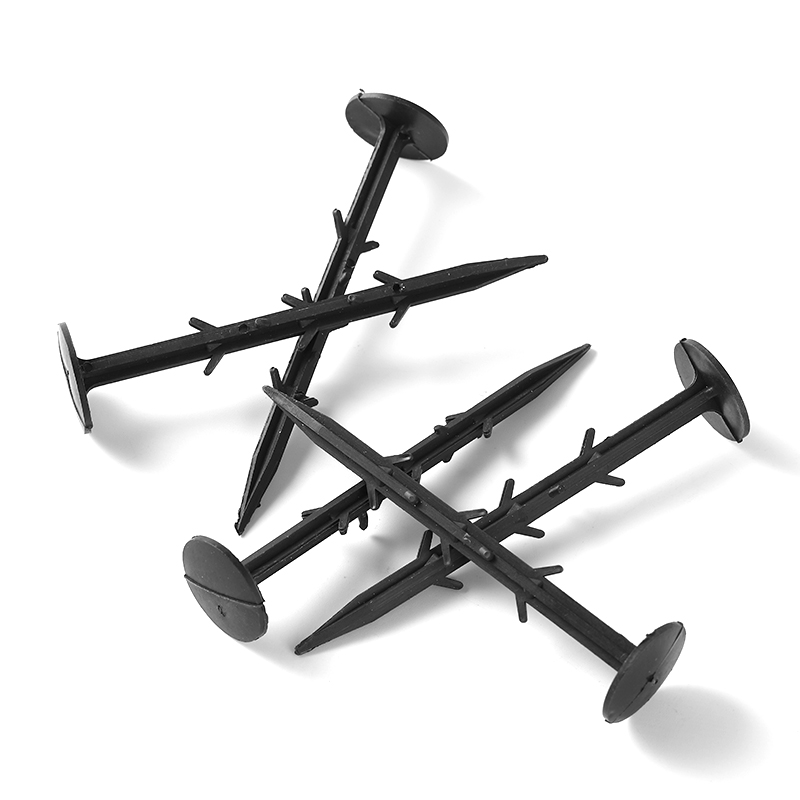
Garden Nail
Product Information: Black or yellow color plastic ground pegs are used for fix the ground cover or woven fabric or fleece on the ground. Material: Virgin PP OR PP +UV stabi […]
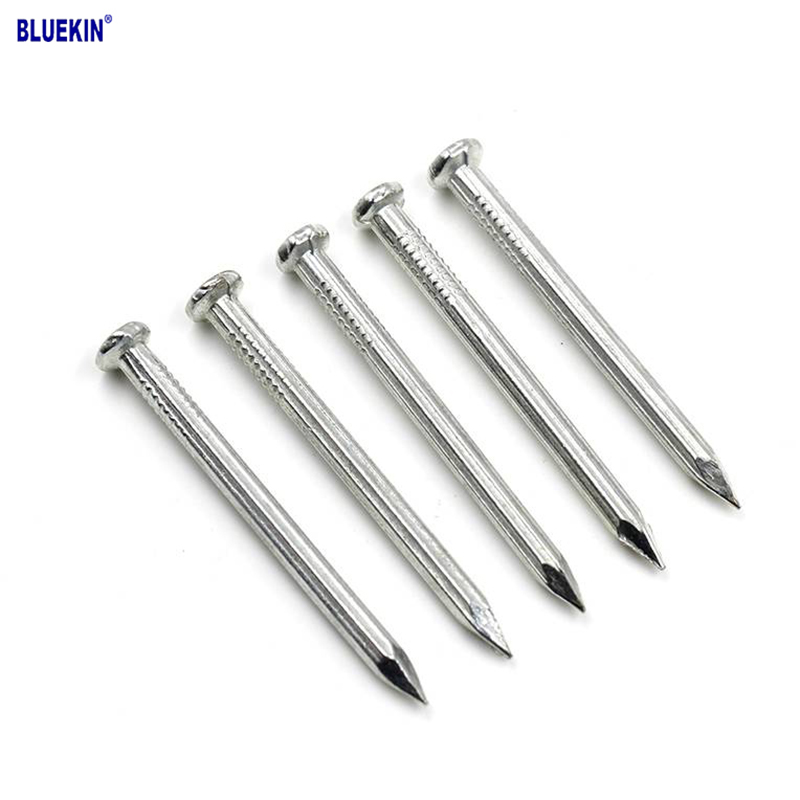
Concrete Nail
Product Information: Product name CONCRETE NAIL Material: #45 or #55 Steel Size: 1/2″-6″ Type: Round head with smooth shank or groove shank Treatment: Electro galvanized, ho […]

Black concrete nail
concrete nail with special materials, concrete nails are specialty nails compared with common iron nails. It is harder, the shank is short and thick commonly and it has excellent p […]
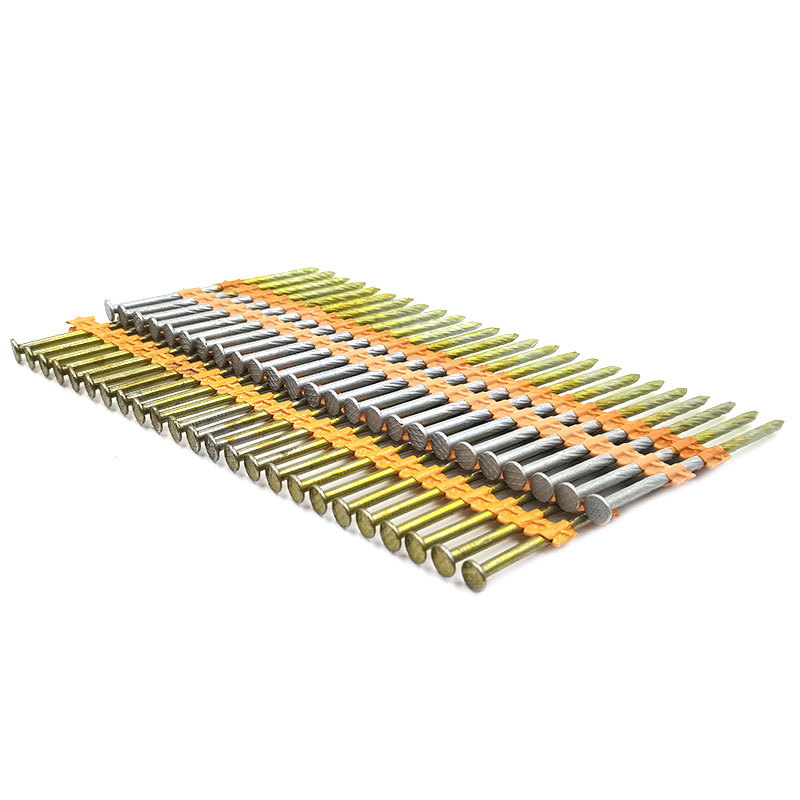
Plastic Strip Nail
Product Information: Diameter/mm(±0.05mm) Length/mm(±1.5mm) 2.87 50/60/65/70/75 3.05 70/75/83/90 3.33 75/83/90 3.76 75/90/100/130 4.11 75/90/100/130 4.5 75/90/100/130 Featur […]
Headless Nail
Product Information: Cheap Lost Head Nails/ Headless Nails/ Finishing Nails Price Material Q195 or Q235 iron wire rod or according to request Size 1″ – 6″ Finish Polished or […]

Paper Strip Nail
Product Information: Material Q195, Q235, stainless steel Surface Finish Bright, Galvanized, Hot Dipped Galvaized, Electro Galvanized, Zic Yellow, Zine Bule, MG, Dacro, etc. […]
Fence U Nail
Product Information: U TYPE NAIL 1.material: Q195/Q235 Low Carbon Iron Rod 2.shank: smooth shank, single barbed shank, double barbed shank and others 3.Point: side cut point or di […]
Double Head Nail
Product Information: Material Q195/Q235 Surface Treatment Bright, E.G, H.D.G, M.G, V.C, C.C, P.C and so on Head Two Head Shank Smooth Shank Point Diamond Point Kinds of pa […]
