When embarking on a construction project, hammering concrete nails into concrete is a reliable way to make sure materials are securely in place. This is the reason why a hammer is an indispensable tool for any job that involves the installation of concrete nails – whether it be fashioning a wooden fence, erecting a concrete wall, or building something else entirely. Without the proper implements, it can be difficult to ensure a successful outcome.
Hammering metal fasteners into cement demands some careful consideration. To begin, it is critical to select a hammer with a masonry or concrete head. Unlike a regular tool, this type of head is built for the rigors of pounding the sturdy cement surface. Furthermore, the nails should be concrete nails; they have an amplified head in comparison to traditional nails and are forged from hardened steel that disallows them from becoming deformed or shattered.
To protect concrete and secure holes for nails, one should always take a slow, deliberate approach when pounding them into a concrete surface. Rapidly whacking them in is a surefire way not only to achieve an inferior hold, but also to drive the nail unwelcomely deep; beyond the concrete’s surface. As such, they should be inserted until the head of the nail is level with the exterior and no further.
To achieve the most effective nail-hammering, the head of the hammer should be directly above the nail, at a 90 angle for the entire duration of the process. Keeping the hammer in a perpendicular orientation will guarantee a successful installation of the nail, avoiding potential issues like impairing the concrete surface.
When pounding in concrete nails, the force of the hammer can cause shards of concrete to become airborne, posing risk of eye injury. To protect your eyes, safety glasses are essential; for your ears, ear protection is key in order to shield against loud noises during the hammering process.
To avoid damaging concrete while hammering in nails, the correct technique and tools must be applied. Too harsh of an approach could cause the nail to bend or break, leading to further destruction of the concrete. Incorrect positioning of the hammer or inadequate depth of the nail can compromise its ability to secure in the material. The necessary approach and gear needed to drive concrete nails into concrete can be ensured utilized for optimal and secure results.
Concrete nails can be easily and confidently driven into concrete when the proper hammer, nails, and techniques are applied. To ensure a successful outcome, it is critical to adhere to the right protocols. By following these tips, you can enjoy the peace of mind that your concrete nails will be securely embedded.
For those wanting to take on home improvement projects without seeking professional help, learning how to tap concrete nails into place is a must. Though the process appears straightforward, there are a few important steps to make sure your nails are embedded correctly and will endure.
In order to effectively hammer into concrete, the foremost consideration is the type of nail being used – specifically, a masonry nail is most suitable for the task. Making sure you have the right size for your project is key, as masonry nails come in different measurements.
When picking out the perfect nail for the job, remember to draw a guide-line onto the concrete surface with a pencil or marker – this will help you ensure that the nail is inserted into the concrete at a 45 degree angle. By taking this extra step you can guarantee that it will be firmly entrenched for whatever purpose you need it.
The moment has arrived to drive in the nail. Begin by positioning the point of the nail onto the marked spot on the concrete. Utilizing a hammer, then, hit the nail until it is equal with the surface of the concrete. Ensure you strike forcefully, so it is adequately inserted into the cement.
To complete the installation, encase the nail with a protective sealant. With a bristled brush, slather on a silicone caulk or concrete-specific sealant to cover the nail and its head entirely. This will keep hazardous moisture and dirt away from the head of the nail and make sure it remains securely in place.
To finish the process of ensuring a secure hold on the nail, you need to layer the area with a protective covering of grout. Utilize a trowel to evenly spread the grout around the nail and ensure that all areas in its vicinity receive a covering. This will help to shield the sealant and make sure that it remains secure and further enclosed.
Achieving a secure hold for your concrete nails doesn’t have to be hard. Taking a few extra moments to make sure your task is done correctly can result in years of reliable performance. Hammering these sturdy fasteners is an easy route to successful projects.

Related Product
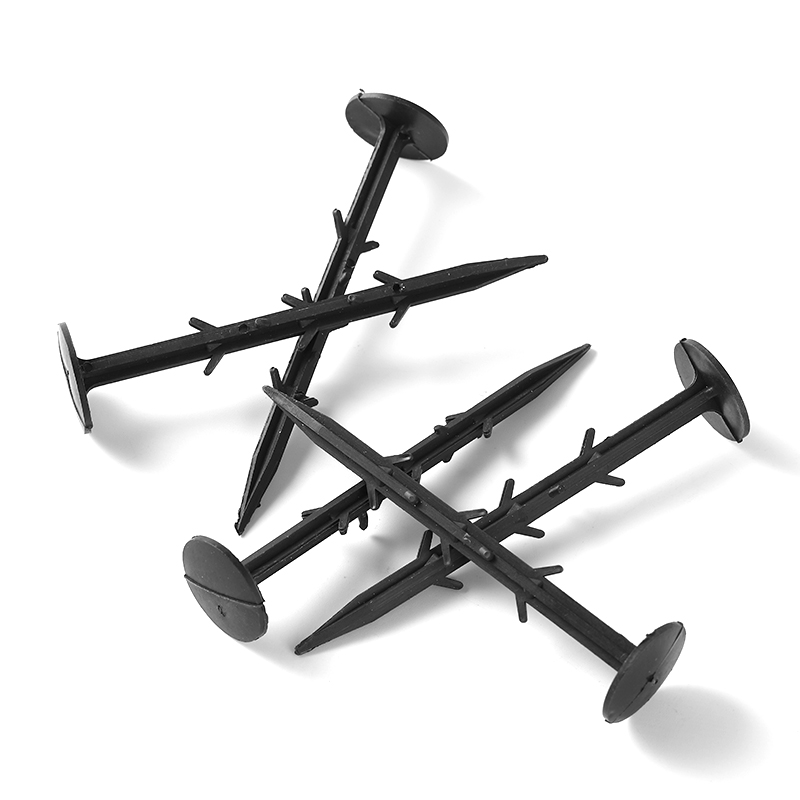
Garden Nail
Product Information: Black or yellow color plastic ground pegs are used for fix the ground cover or woven fabric or fleece on the ground. Material: Virgin PP OR PP +UV stabi […]
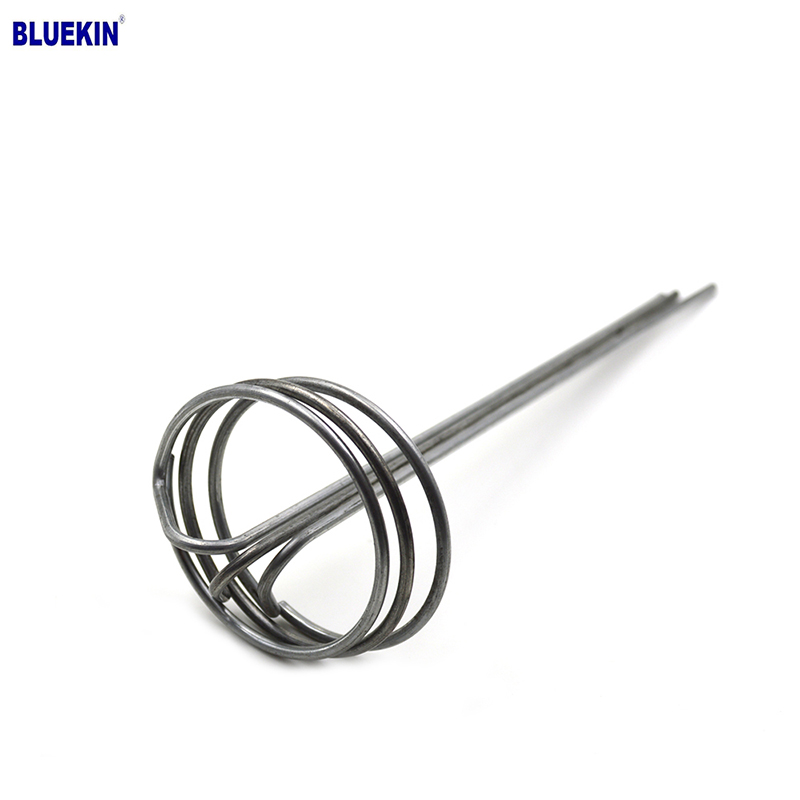
G Sod Staple
Product Information: Product name Sod Staple Material: Q195 /Q235 Size: 3/4X14GA, 3/4X9GA, 7/8X14GA, 1X9GA, 1-1/4X9GA, 1-1/2X9GA, 1-3/4X9GA Type: Round head with smooth shan […]
Double Head Nail
Product Information: Material Q195/Q235 Surface Treatment Bright, E.G, H.D.G, M.G, V.C, C.C, P.C and so on Head Two Head Shank Smooth Shank Point Diamond Point Kinds of pa […]
Headless Nail
Product Information: Cheap Lost Head Nails/ Headless Nails/ Finishing Nails Price Material Q195 or Q235 iron wire rod or according to request Size 1″ – 6″ Finish Polished or […]
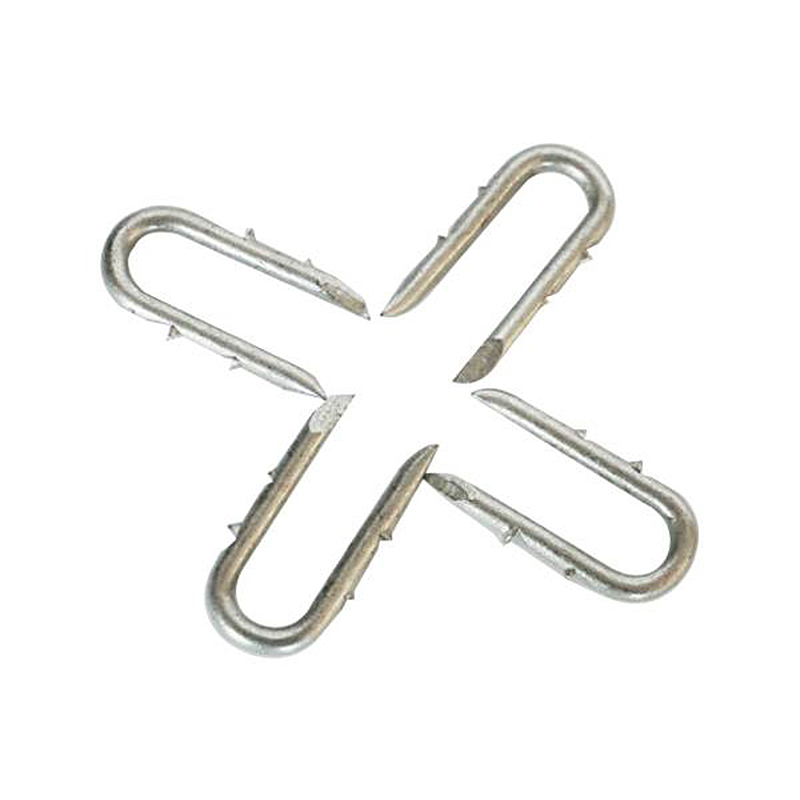
Fence U Nail
Product Information: U TYPE NAIL 1.material: Q195/Q235 Low Carbon Iron Rod 2.shank: smooth shank, single barbed shank, double barbed shank and others 3.Point: side cut point or di […]
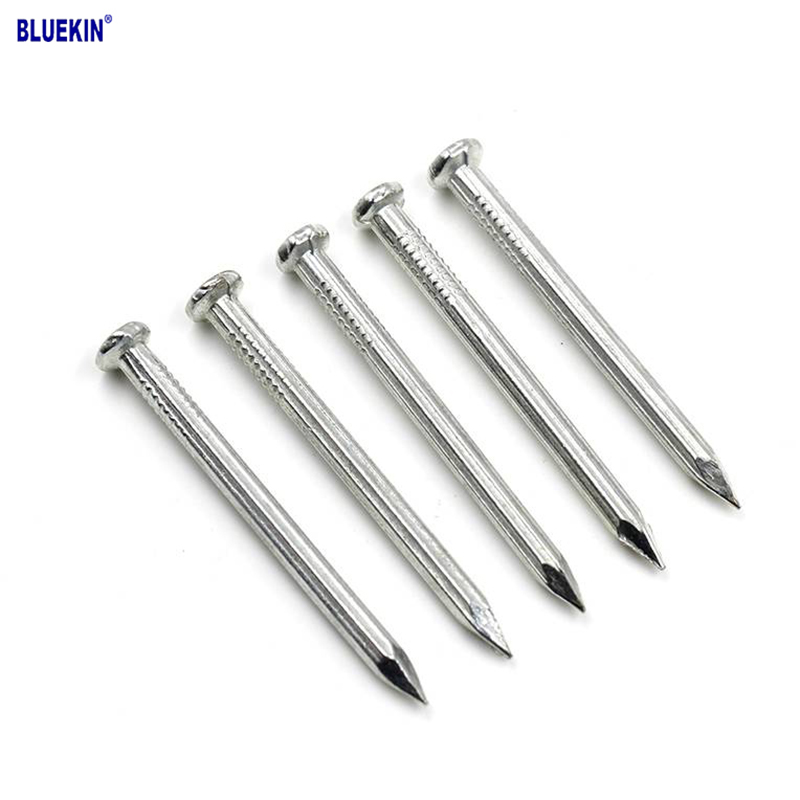
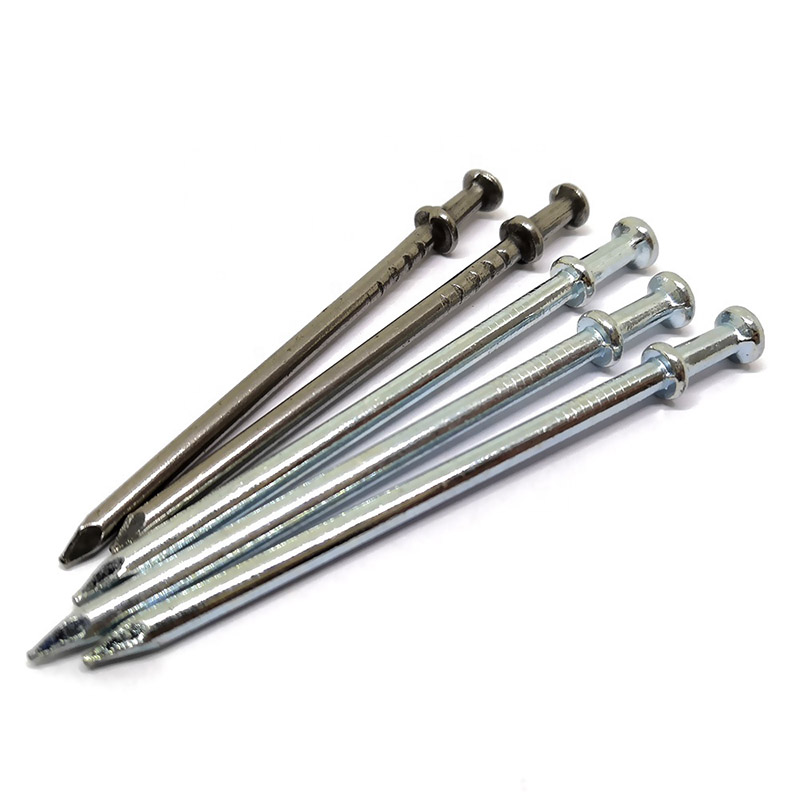
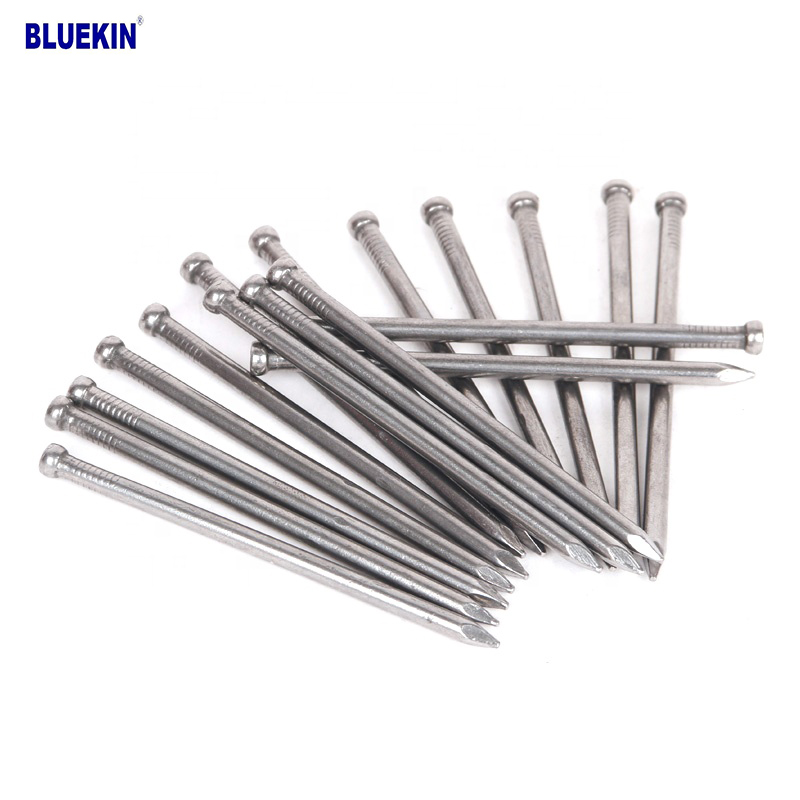
Concrete Nail
Product Information: Product name CONCRETE NAIL Material: #45 or #55 Steel Size: 1/2″-6″ Type: Round head with smooth shank or groove shank Treatment: Electro galvanized, ho […]

Black concrete nail
concrete nail with special materials, concrete nails are specialty nails compared with common iron nails. It is harder, the shank is short and thick commonly and it has excellent p […]
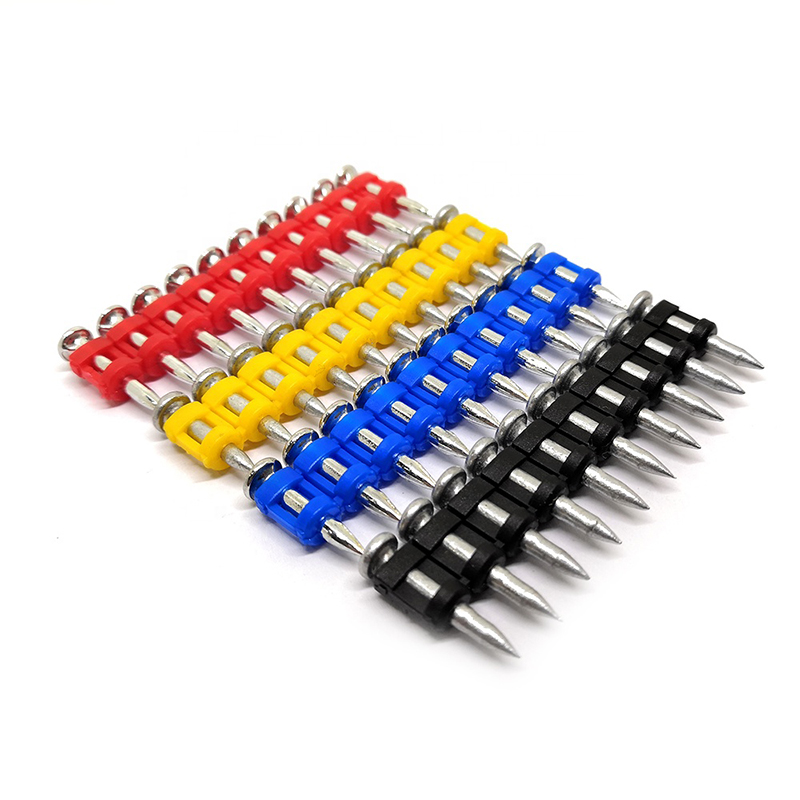
Shooting Nail
Product Information: GAS CONCRETE PIN NAIL raw material steel#45,#60 diameter 2.6mm,2.7mm,3.0mm,3.2mm length 13mm,16mm,19mm,22mm,27mm,32mm,37mm shank smooth shank & shri […]
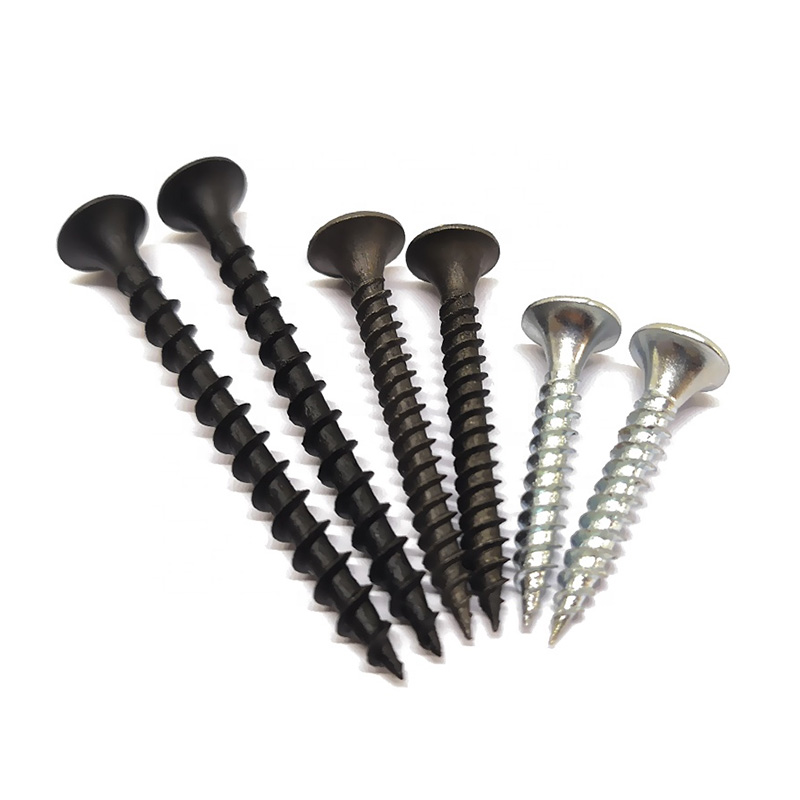
Drywall Screw
Product Information: Product Name Screws Drywall Nail Material Carbon steel C1022a Color Black,Galvanized Standard ISO,GB,DIN,JIS,ANSI,BSW Diameter M3.5-M6.3, 6#-14# Length […]
