Hammering Wooden Planks into Concrete Basement Walls
Homeowners must ensure that their basement is equipped with the highest-grade material possible in order to safeguard the structure and contents of the house. Nailing wood directly to concrete walls is an effective, budget-friendly way to complete the basement, providing both stability and extra living space for the home. The basement’s foundation is as important as that of the rest of the house, requiring durable materials that can withstand wear and tear.
Ensuring that wood is securely fastened to the concrete walls of an underground space requires careful planning and the correct instruments. The kind of wood selected for the job is integral. Softwood is generally the most suitable option, as it withstands wear and tear better than other variations and doesn’t warp as easily. Before beginning installation, it is also vital to make sure that the wood is indestructibly guarded against moisture with a lasting sealant or coat of paint.
When tackling a project that requires nailing into concrete, it is important to pick out the right kind of nails. For this particular job, choose nails no shorter than 1″, and make sure they either have a galvanized or stainless steel coating to ward off the damaging effects of rust and moisture prevalent in basement settings. Following that, make sure to fire up the drill and pair it with a specifically designed masonry bit – allowing this crucial tool to create pre-drilled holes that will enable you to properly inset the nails without facing any unpleasant difficulties. Skipping this step will certainly limit your success�stressing the need to pay keen attention to even the smallest of details.
The drilling of the holes serves as a preface to the insertion of the nails – making sure they are driven into the holes at a 45-degree angle for an uncompromising hold. Care should be taken that the nails are not hammered physically straight, otherwise, they may not achieve a complete immersion in the concrete. Once the nails have been fitted thusly, the wooden elements can be affixed, ensuring promptitude that it is level and securely fastened before continuing with further pieces.
In conclusion, a protective layer of paint or sealant should be applied to the wood to maintain its integrity. This will defend it from moisture which can lead to warping and deterioration. Furthermore, the top coat serves as an additional deterrent for the growth of mold and mildew that can accumulate in basements.
When tasked with adding wood to basement walls, the challenge of nailing it into concrete can seem daunting. However, the proper supplies and techniques bring about a cost-effective and aesthetically pleasing outcome. With meticulous preparation and implementation, the final result will be an attractive addition to any abode.
Nailing Wood to the Basement’s Concrete Wall
Creating detailed custom designs in basements by nailing wood to concrete walls is no easy feat. It takes a skilled hand, the right set of tools, and an understanding of the steps in order to get the job done just right. Whether it be for a one-of-a-kind flair, or simply hanging shelves and cabinets, nailing wood to concrete walls can make a statement all its own.
Before embarking on the journey of affixing wood to a concrete wall, meticulous readying is suggested. Ensure that the wall is entirely devoid of any soil or flyaway particles, as this guarantees a robust connection between the piece of wood and the concrete encasement. Additionally, take the time to investigate that the solidity of the wall is unblemished and there are no fractures or any other forms of detriment.
Preparing a wall is step one; the second imperative task is pinpointing the appropriate nails. Concrete nails are built for concrete walls and come in several sizes, making it necessary to select carefully. As a smart principle, use a nail which is twice the width of the timber being nailed. Also makle sure that the nail is long enough that it goes through the wood and at least an inch into concrete.
Once a decision has been made on the perfect nails for the job, it’s time to map out where they will go. Making use of either a pencil or some sort of marker to pinpoint the best locations for your nails is key. It is paramount that they are inserted accurately into the middle of the wood – this will ensure a sturdy and reliable bond. Additionally, take extra attention to avoid placing the holes too close to the wood’s edges as this could potentially compromise the reliability of your connection.
All the marks have been made – time to drill pilot holes into the concrete wall. Utilizing a masonry bit that is slighter than the size of the nail, bore each opening at least two inches into the wall, ensuring a solid grip so the nail won’t instantly come undone.
Following the drilling of the pilot holes, the insertion of nails into the concrete is the next step along the way. Hammering or using an air hammer works well for this, but keep in mind that it is essential to make sure they are inserted diagonally to ensure they have a firm purchase. After being inserted, the next task is giving them a good hammering so that they are flush with the wood.
Finally, to guarantee the secure positioning of the nails, tapping them with a hummer or employing a nail punch for assurance are the final touches to be applied. This will guarantee that the nails are firmly embedded in the wood’s structure.
Crafting the perfect connection between wood and concrete is a challenge, but with the right resources and a bit of precision anyone can pull it off! Utilizing these steps will ensure durable and visually pleasing results. No costly tools are necessary; just a good technique and you can create a strong bond between the two materials!
Related Product
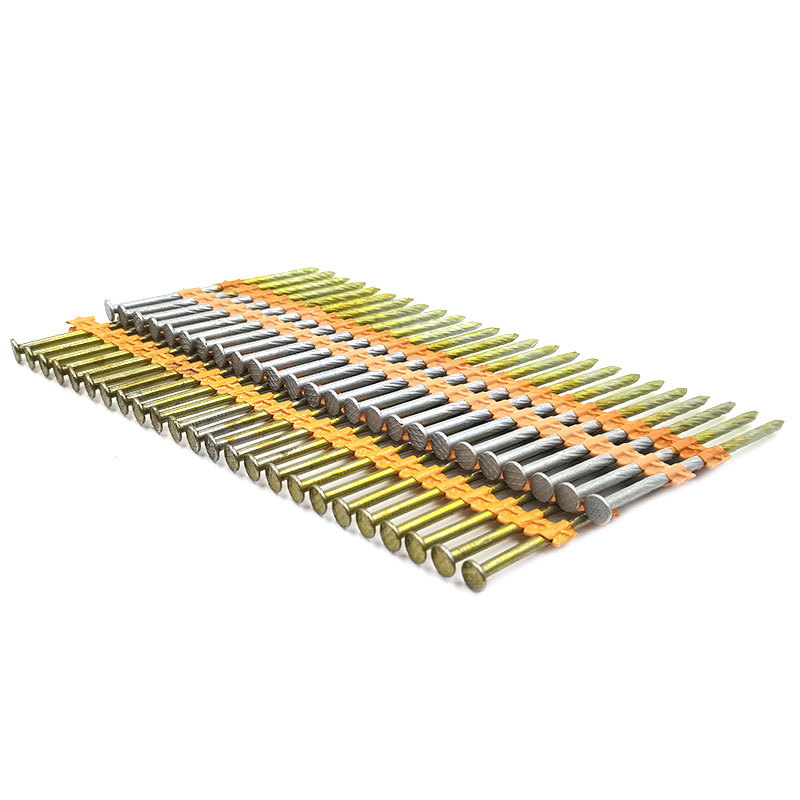
Plastic Strip Nail
Product Information: Diameter/mm(±0.05mm) Length/mm(±1.5mm) 2.87 50/60/65/70/75 3.05 70/75/83/90 3.33 75/83/90 3.76 75/90/100/130 4.11 75/90/100/130 4.5 75/90/100/130 Featur […]
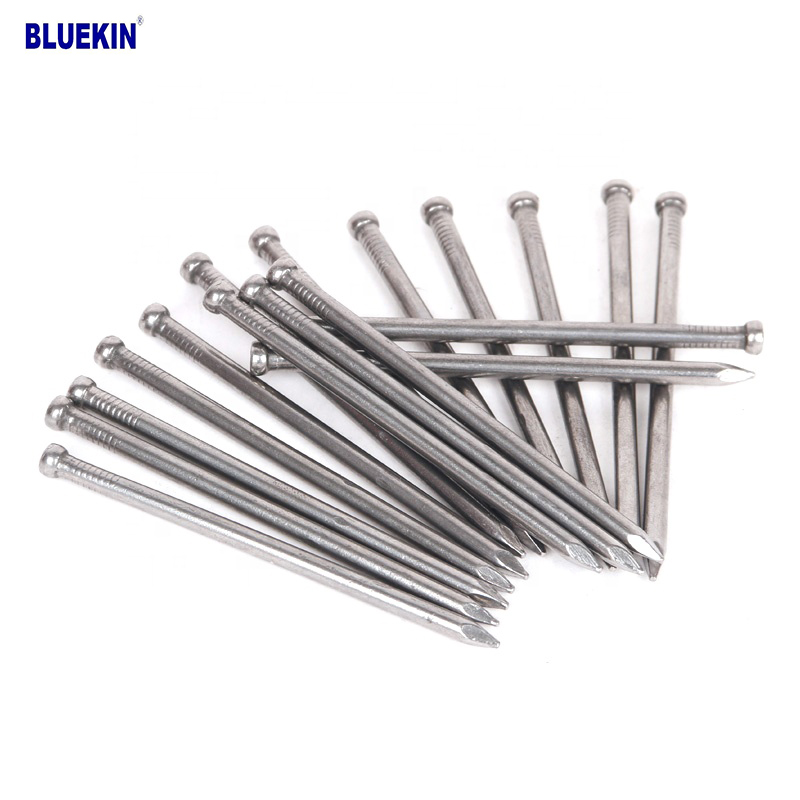
Headless Nail
Product Information: Cheap Lost Head Nails/ Headless Nails/ Finishing Nails Price Material Q195 or Q235 iron wire rod or according to request Size 1″ – 6″ Finish Polished or […]

Paper Strip Nail
Product Information: Material Q195, Q235, stainless steel Surface Finish Bright, Galvanized, Hot Dipped Galvaized, Electro Galvanized, Zic Yellow, Zine Bule, MG, Dacro, etc. […]

Black concrete nail
concrete nail with special materials, concrete nails are specialty nails compared with common iron nails. It is harder, the shank is short and thick commonly and it has excellent p […]
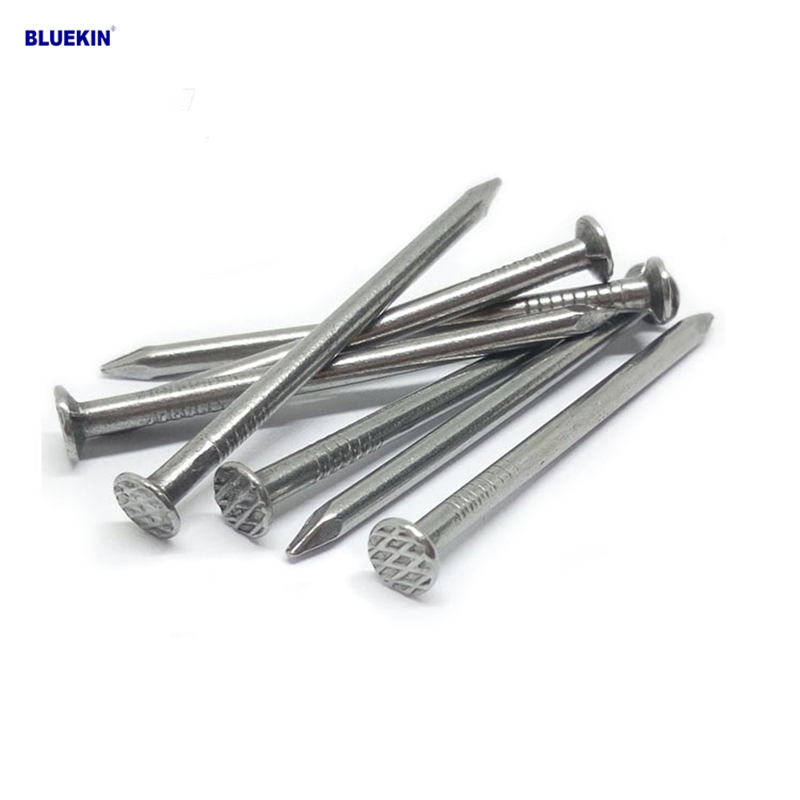
Common Nail
Product Information: Common Nail Material Q195, Q235 Shank diameter 1.2mm-10mm Length 19mm-300mm Finish polish/bright, electro galvanized, hot dip galvanized Head flated he […]

U Sod Staple
Product Information: Landscape Staples * 11 GAUGE STEEL CONSTRUCTION: The points on the staples are sharp enough to pierce commercial ground cloth, and the staples are long […]

Garden Nail
Product Information: Black or yellow color plastic ground pegs are used for fix the ground cover or woven fabric or fleece on the ground. Material: Virgin PP OR PP +UV stabi […]
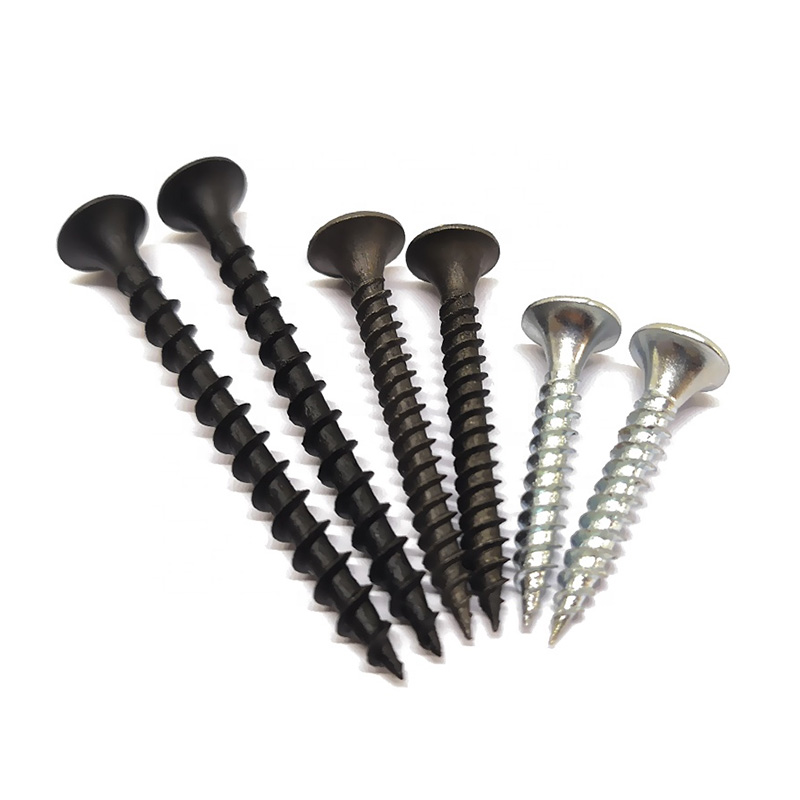
Drywall Screw
Product Information: Product Name Screws Drywall Nail Material Carbon steel C1022a Color Black,Galvanized Standard ISO,GB,DIN,JIS,ANSI,BSW Diameter M3.5-M6.3, 6#-14# Length […]
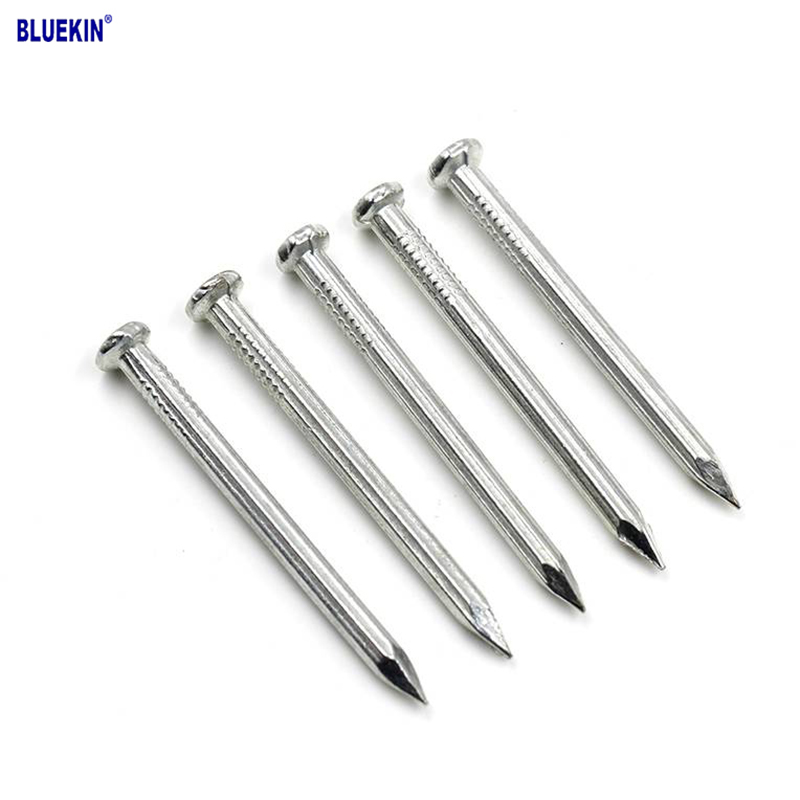
Concrete Nail
Product Information: Product name CONCRETE NAIL Material: #45 or #55 Steel Size: 1/2″-6″ Type: Round head with smooth shank or groove shank Treatment: Electro galvanized, ho […]
