Securing items to a concrete wall or floor necessitates a specific type of fastener, as being one of the most robust materials, it needs a reliable lock to ensure that whatever is attached remains firmly in place. Achieving this can often be challenging, but one of the most dependable approaches is to employ nail studs. These fittings are explicitly designed for use in concrete and can guarantee a steady hold that won’t fail over time.
Nail studs offer considerable strength when compared to regular nails, especially when used in concrete. Crafted with a thicker shaft and wider head than traditional nails, the stud’s design allows the force of the hammer blows to be evenly distributed across its entire head – reducing the risk of splitting both the nail and the concrete when driven in. Comprised of metal and a pointy end, nail studs are a distinct, tailor-made alternative to regular nails.
To prepare for the insertion of a nail stud into concrete, the surface must first be clarity. Any traces of dust or dirt can interfere with the nail’s adhesion, leading to a weakened hold. Once the area is satisfactorily clean, it is time to move on to drilling a pilot hole in the concrete. Crucially, it is essential to use a drill bit with the right size and diameter for your nail stud of choice, as this will make it easier to hammer into place.
After creating an introductory hole, the nail stud can be carefully inserted, with the pointed end facing the desired attachment direction. A firmly applied hammer strike on the head of the nail should drive it into the concrete; watch out for uneven striking, as this could lead to insecure fixation. Allowing it to go only partially in dangers that it may not provide adequate security.
When the nail stud is embedded and sound, whatever is being affixed can be put in place. Depending on the size of the item, you may need to establish more solid fasteners like screws or bolts. If the object you’re attaching is bulky, it is wise to employ a few nail studs to guarantee a secure connection.
Protective eyewear and gloves should always be worn when hammering studs into concrete. The scattered force of the hammer can result in a ricochet of nail studs that could otherwise be dangerous. For additional safety, an open and well-ventilated area should be chosen, as the dust generated by drilling and pounding could prove to be hazardous.
Objects can be firmly set in place on both concrete walls and floors using nail studs. Using the right procedure and taking the necessary precautions makes for a reinforced connection that can endure for a lengthy duration of time.
How to Hammer Home Studs in Concrete: A Step-by-Step Instructional Guide.
The procedure of firmly affixing studs to concrete may look intimidating at first, but with a bit of dedication and proper guidance, you can effortlessly conquer this challenge. It’s not a complicated feat; just gather the necessary tools and you’re all set!
With the right set of instruments in hand, you can begin your project. Among these, a hammer, some nails, a drill with a corresponding masonry bit, a stud finder, and a level should all be included for the task. Now that you are equipped with the required gear, you can start your journey.
In order to locate the studs within the concrete, a stud finder should be deployed. As one moves the tool across the surface of the cement, a bump will go unnoticed to most but will alert you to a potential stud. Once located, mark its exact coordinate prudently with a pencil or marker.
After you’ve pinpointed where the studs are situated, it’s time to start boring the holes with a masonry bit for nailing down. Drill a shallow hole at every stud location that’s just slightly wider than the nails you want to employ.
To finish the job, it’s time to set the nails. Gently tap them into the pre-drilled holes with a hammer, ensuring they stay straight and even with the concrete’s surface. Provide a firm push to make sure they’re firmly in place.
With your nails ready for use, it’s time to connect up the studs. Place each stud firmly onto the nails, ensuring they’re straight and that the bottom of the studs are even with your concrete foundation. If you feel unsure, make use of a level to double check your work is evenly levelled.
With the studs in their allotted spots, they must be secured to the concrete. Employ a hammer and gently beat each one until they fit snugly; the nails should not protrude from the concrete surface, and the studs should be even.
As you secure the studs into the concrete, pat yourself on the back – you’ve just accomplished a job well done! You’ve achieved a feat of excellence in nailing in those studs.
Don’t let the idea of hammering studs into concrete scare you – with some guidance and patience, this task is more than achievable. Gather the correct equipment and you’ll master this skill in no time. So, fear not, because following these instructions will have you nailing studs into concrete like a professional in no time!
Related Product
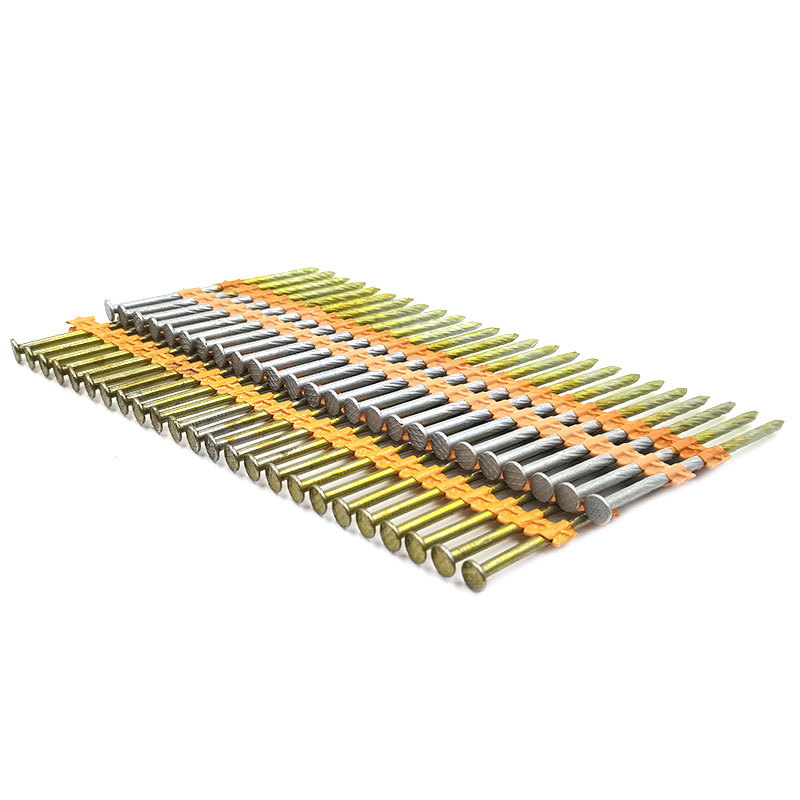
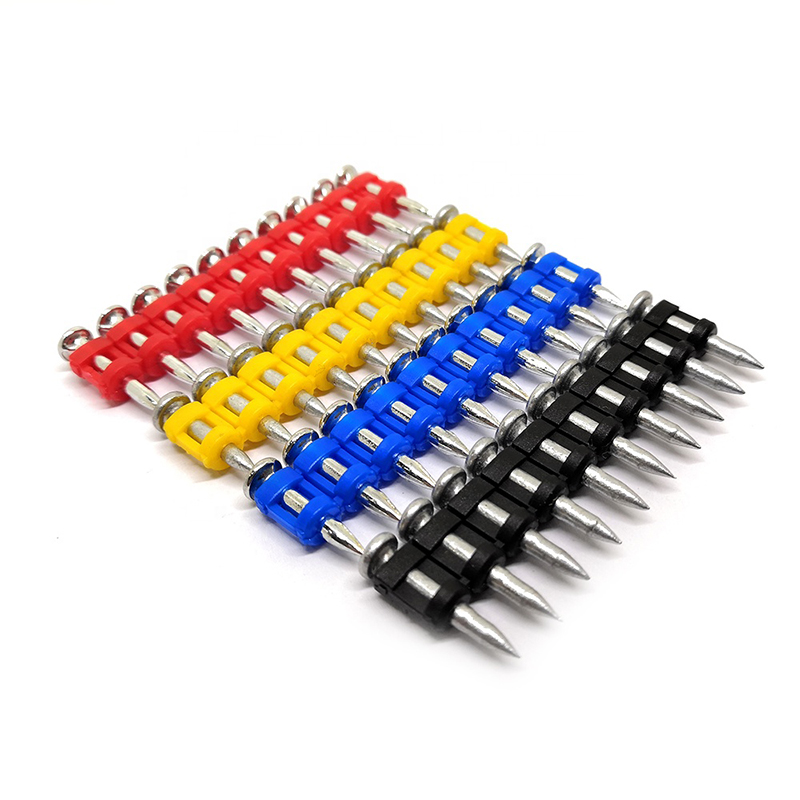
Plastic Strip Nail
Product Information: Diameter/mm(±0.05mm) Length/mm(±1.5mm) 2.87 50/60/65/70/75 3.05 70/75/83/90 3.33 75/83/90 3.76 75/90/100/130 4.11 75/90/100/130 4.5 75/90/100/130 Featur […]

U Sod Staple
Product Information: Landscape Staples * 11 GAUGE STEEL CONSTRUCTION: The points on the staples are sharp enough to pierce commercial ground cloth, and the staples are long […]
Shooting Nail
Product Information: GAS CONCRETE PIN NAIL raw material steel#45,#60 diameter 2.6mm,2.7mm,3.0mm,3.2mm length 13mm,16mm,19mm,22mm,27mm,32mm,37mm shank smooth shank & shri […]
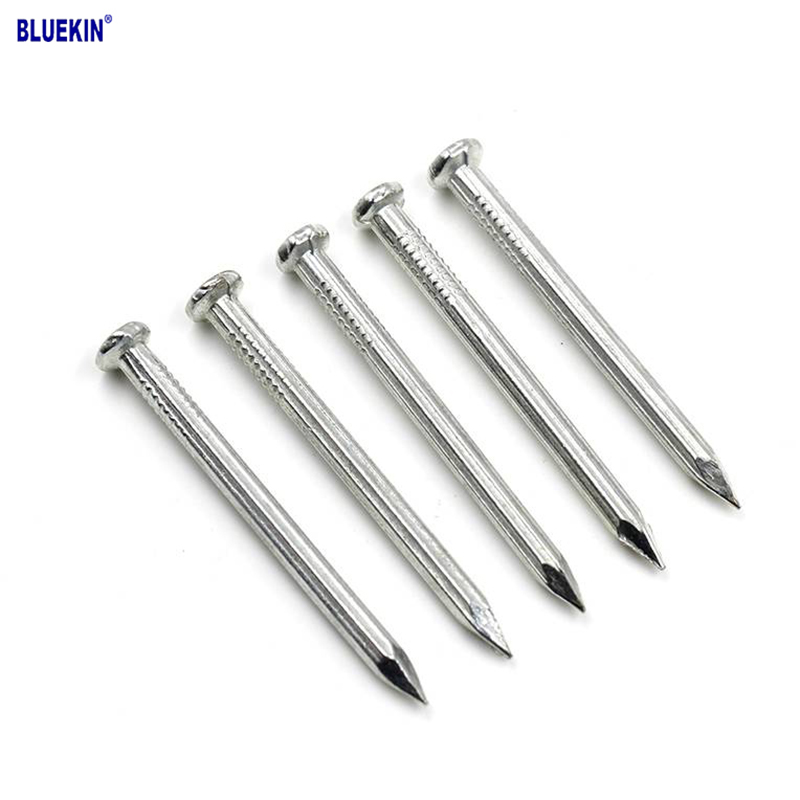
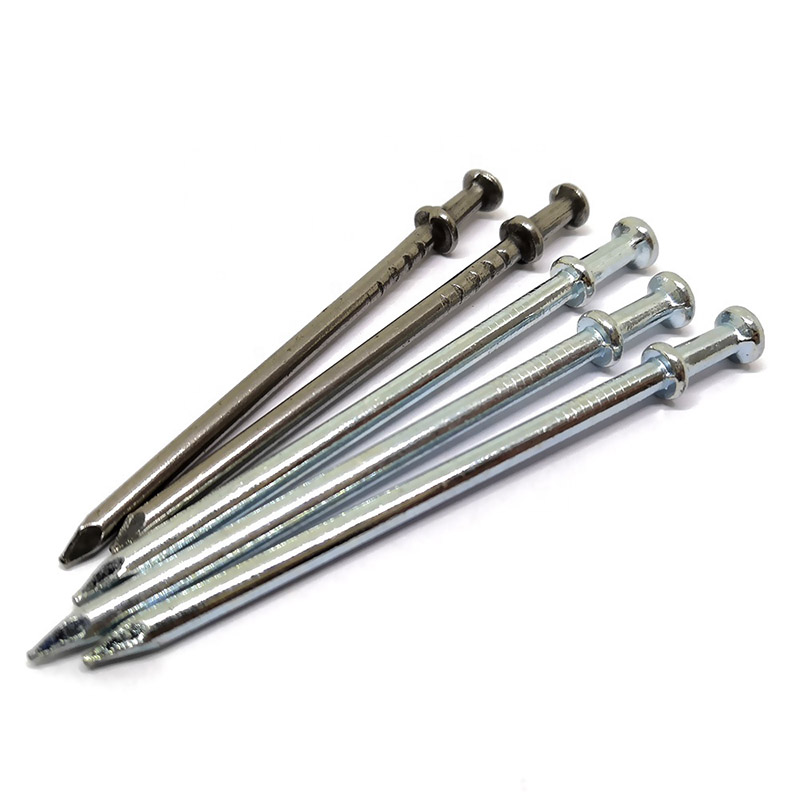
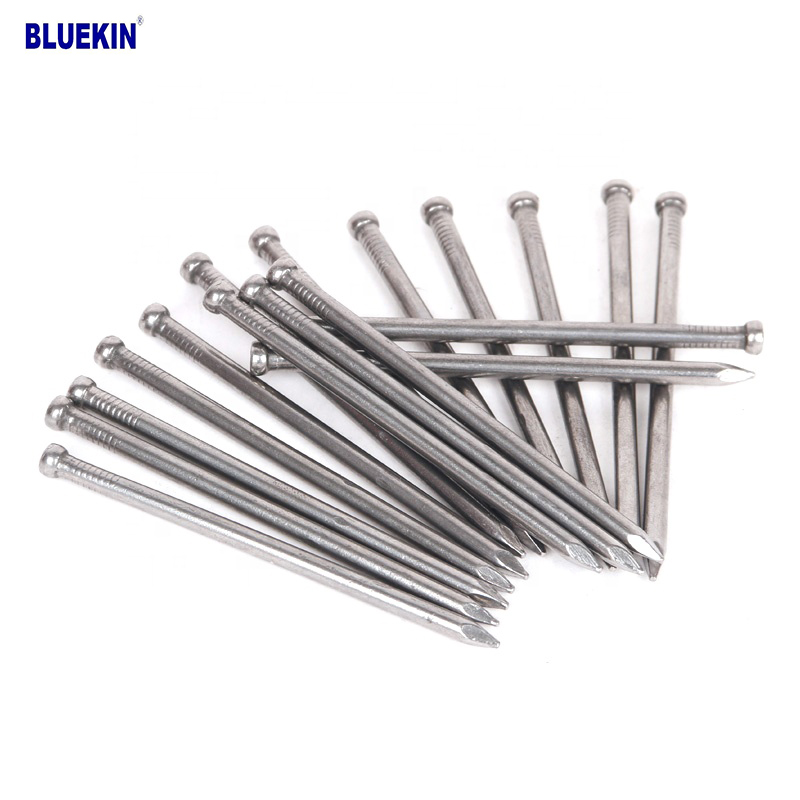
Concrete Nail
Product Information: Product name CONCRETE NAIL Material: #45 or #55 Steel Size: 1/2″-6″ Type: Round head with smooth shank or groove shank Treatment: Electro galvanized, ho […]

Black concrete nail
concrete nail with special materials, concrete nails are specialty nails compared with common iron nails. It is harder, the shank is short and thick commonly and it has excellent p […]
Double Head Nail
Product Information: Material Q195/Q235 Surface Treatment Bright, E.G, H.D.G, M.G, V.C, C.C, P.C and so on Head Two Head Shank Smooth Shank Point Diamond Point Kinds of pa […]
Headless Nail
Product Information: Cheap Lost Head Nails/ Headless Nails/ Finishing Nails Price Material Q195 or Q235 iron wire rod or according to request Size 1″ – 6″ Finish Polished or […]
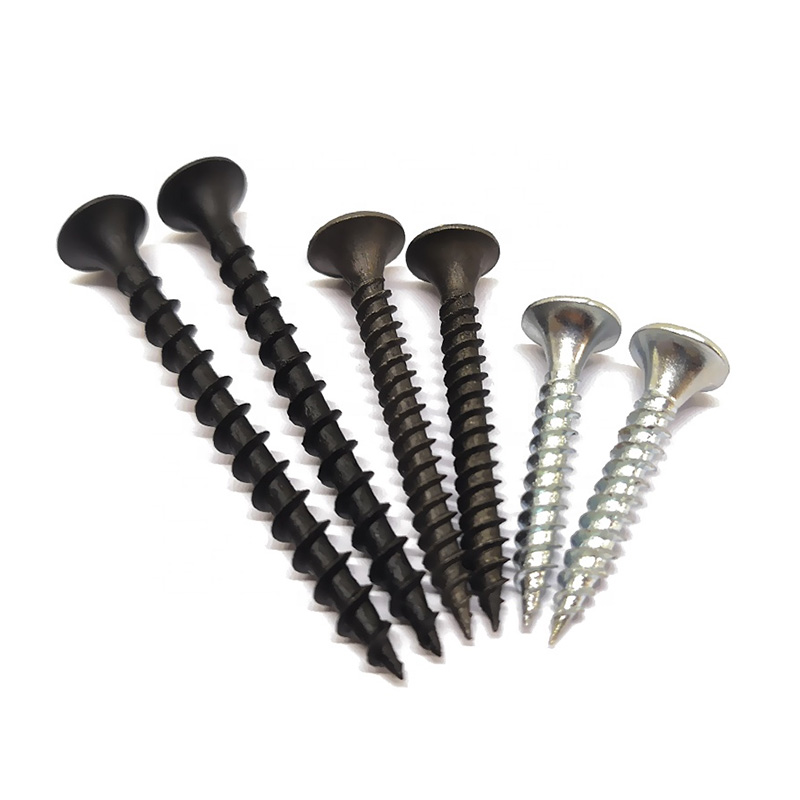
Drywall Screw
Product Information: Product Name Screws Drywall Nail Material Carbon steel C1022a Color Black,Galvanized Standard ISO,GB,DIN,JIS,ANSI,BSW Diameter M3.5-M6.3, 6#-14# Length […]
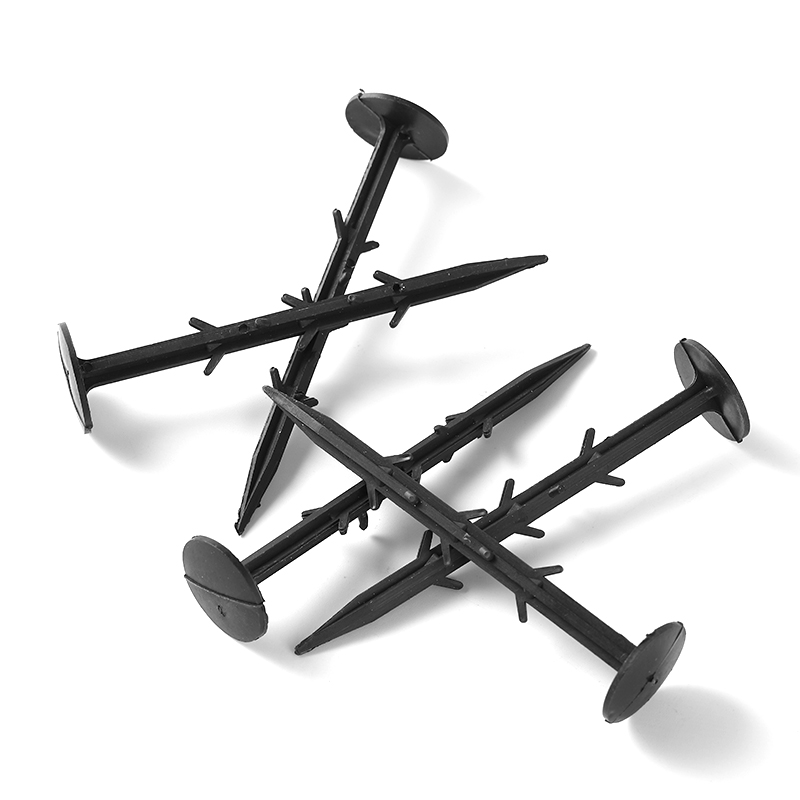
Garden Nail
Product Information: Black or yellow color plastic ground pegs are used for fix the ground cover or woven fabric or fleece on the ground. Material: Virgin PP OR PP +UV stabi […]
