For a variety of home improvement tasks such as hanging decorations, mounting furniture, or putting up a shelf, nailing into concrete slabs may be essential. Though it may appear intimidating, with appropriate equipment and strategies this task is not overly complicated.
To effectively drive into a concrete surface, it’s vitally important to choose the right nail. Look for concrete nails, which are crafted from a material that won’t corrode and will be robust enough to tunnel through the rock-like consistency. These nails come in an array of sizes in packs, ensuring you have the correct one for the task at hand. Need one? Many hardware stores have them for sale.
Prior to fixing a nail, the concrete slab must be prepped with no trace of dirt or build-up. This step is essential to ensure that the nail properly seals into the surface, allowing it to hold in place securely. A spotless preparation prevents the nail from sliding off while in use.
Visualizing where the nail is about to be driven is possible once the surface area’s preparation has been completed – just make a small pencil mark at the desired location. Doing this enables you to have a clear idea of approximately where the nail will go.
Prior to nailing, a pilot hole must be drilled; this cavity serves as a navigational channel for the nail. To ensure the nail is installed at the right depth, opt for a masonry bit that is just slightly wider than the size of the nail and drill away. Keep in mind that you don’t want to drill too deep–the nail should not penetrate all the way through the concrete slab.
Once you have bored the pilot hole, slip in the nail. Position the nail inside the hole and make controlled taps with the hammer to embed it in the concrete. Exercise caution by not hitting it too hard – that could make it break or buckle. Pay close attention to make sure the tail is going deep into the concrete vertcially and not in a slanted direction.
When driving the nail into the concrete, it should be held in place with an appropriate anchor or plug. A metal nail could benefit from a concrete anchor whereas a wooden nail may need to be reinforced with a wooden plug. This will guarantee that the nail stays securely in place.
Nailing into a concrete slab may not be straightforward, but it’s certainly possible with patience and attention to detail. Selecting the correct type of nail, preparing the surface and pre-drilling a pilot hole are critical to ensure your project is fastened firmly in place. Follow these critical steps for a successful outcome!
Crafting a durable fastening solution in concrete may be intimidating to some, yet the entire process is simple and attainable with the suitable expertise and tools. Nailing into a concrete slab is easy when you have the right know-how, proving that it doesn’t take an expert to carry out this task.
The right nails can make or break any concrete slab project, so it is important to select wisely. Annular nails are an ideal choice due to their unique design allowing them to sit securely in the slab without requiring a drill bit. Furthermore, these specialist nails come in a range of sizes and shades, so they are sure to suit any task.
Once you have your nails picked out, your work area demands prep. Give it a thorough cleansing by banishing any unwanted dust or dirt from the slab. Doing so will help boost the grip of the nails, guaranteeing a more secure hold for your project.
Marking the spots where the nails will eventually be firmly grounded is a critical step. Utilize a pencil or other marking instrument to leave enough space between each nail to prevent wrinkling or overlapping when pounded in. This will guarantee that the nails are evenly spaced, and stay embedded in the concrete.
Once the area has been demarcated and prepped, it’s time to press ahead and hammer into the concrete. Start by boring a hole into the concrete where you’ll insert your nail. Make certain to use a drill bit of the correct dimension so the hole isn’t bigger than the nail. Additionally, take care to incline your drill so that your nail is pushed in straight.
Once the drill has made a hole, your next step is to firmly press the nail within. Push until it is fully nested in the aperture. It is essential to ensurelevelness and that it has not been skewed. Once it is in position, pull out the hammer and drive it securely into the concrete. Make sure the nail remains upright and does not come out of the opening as you hit it.
With the job nearly complete, you may want to gently sink the nail further into the concrete for a little extra security. To do this, you can use a nail set, or simply apply a piece of masking tape over the head of the nail. This way, it’ll be tucked beneath the surface and less likely to be accidentally toed out.
Hammering into a concrete slab may seem intimidating to some, however, with the right products and understanding, anyone can nail with accuracy and confidence. All it takes is creating the ideal environment and selecting studs that are suitable to guarantee the job is correctly accomplished and that the nails remain securely embedded in the concrete slab. With the correct equipment and intelligence, nailing into a concrete slab can be accomplished exceptionally by anyone.
Related Product

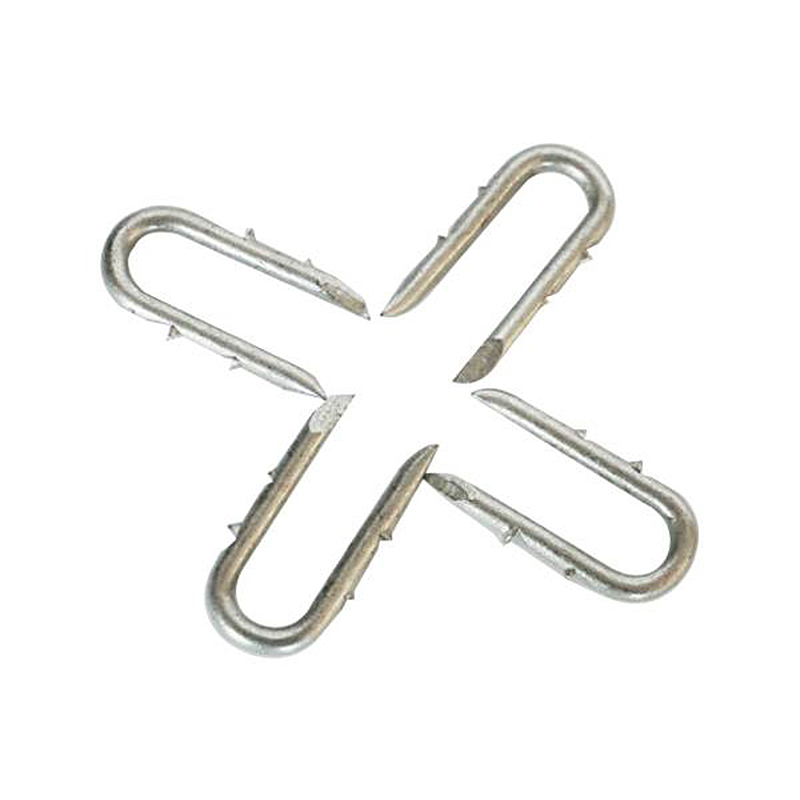
U Sod Staple
Product Information: Landscape Staples * 11 GAUGE STEEL CONSTRUCTION: The points on the staples are sharp enough to pierce commercial ground cloth, and the staples are long […]
Fence U Nail
Product Information: U TYPE NAIL 1.material: Q195/Q235 Low Carbon Iron Rod 2.shank: smooth shank, single barbed shank, double barbed shank and others 3.Point: side cut point or di […]
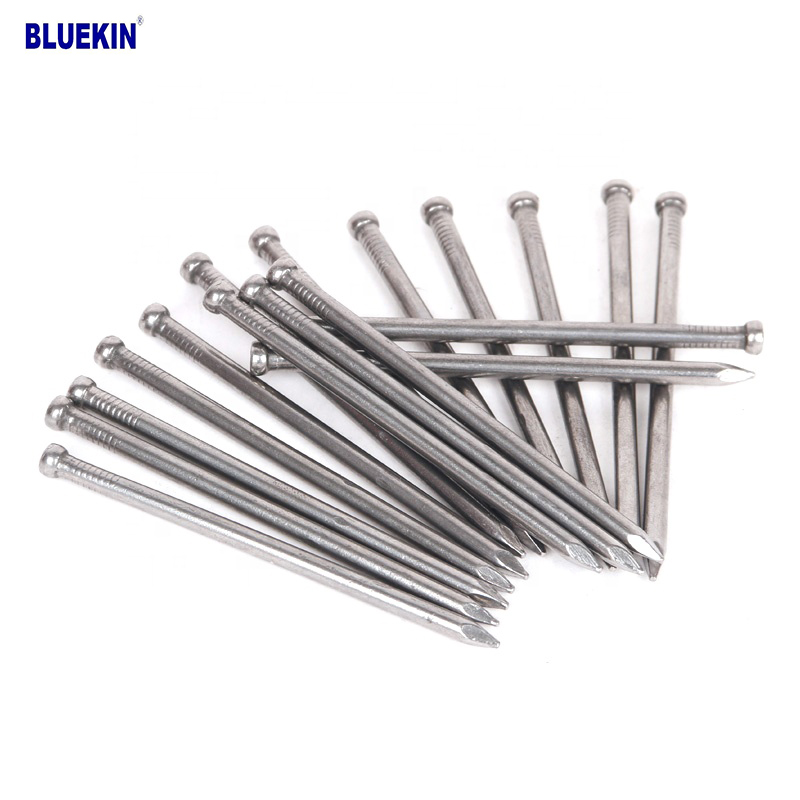
Headless Nail
Product Information: Cheap Lost Head Nails/ Headless Nails/ Finishing Nails Price Material Q195 or Q235 iron wire rod or according to request Size 1″ – 6″ Finish Polished or […]
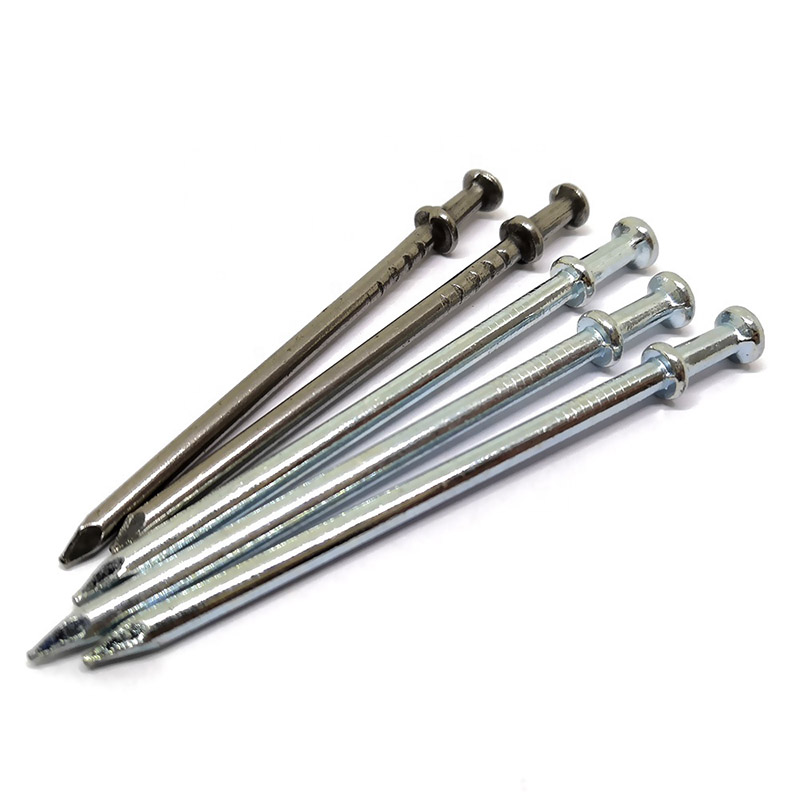
Double Head Nail
Product Information: Material Q195/Q235 Surface Treatment Bright, E.G, H.D.G, M.G, V.C, C.C, P.C and so on Head Two Head Shank Smooth Shank Point Diamond Point Kinds of pa […]
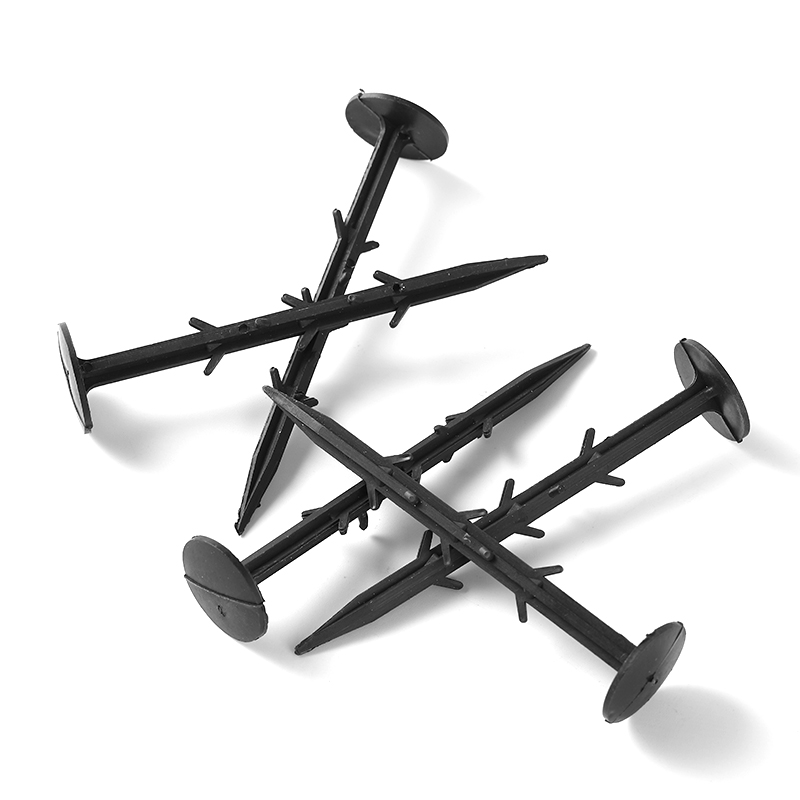
Garden Nail
Product Information: Black or yellow color plastic ground pegs are used for fix the ground cover or woven fabric or fleece on the ground. Material: Virgin PP OR PP +UV stabi […]
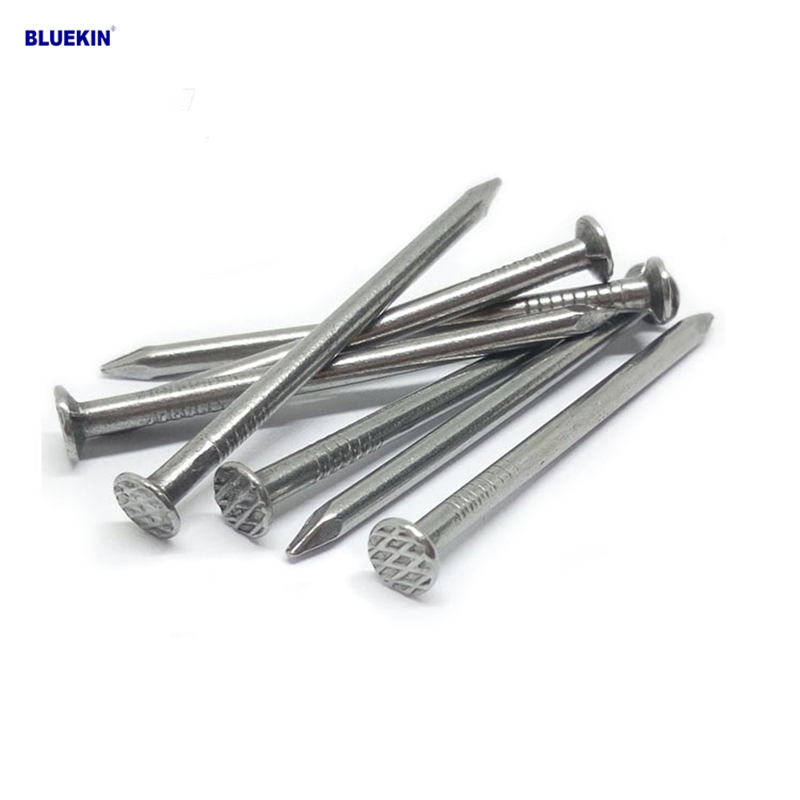
Common Nail
Product Information: Common Nail Material Q195, Q235 Shank diameter 1.2mm-10mm Length 19mm-300mm Finish polish/bright, electro galvanized, hot dip galvanized Head flated he […]
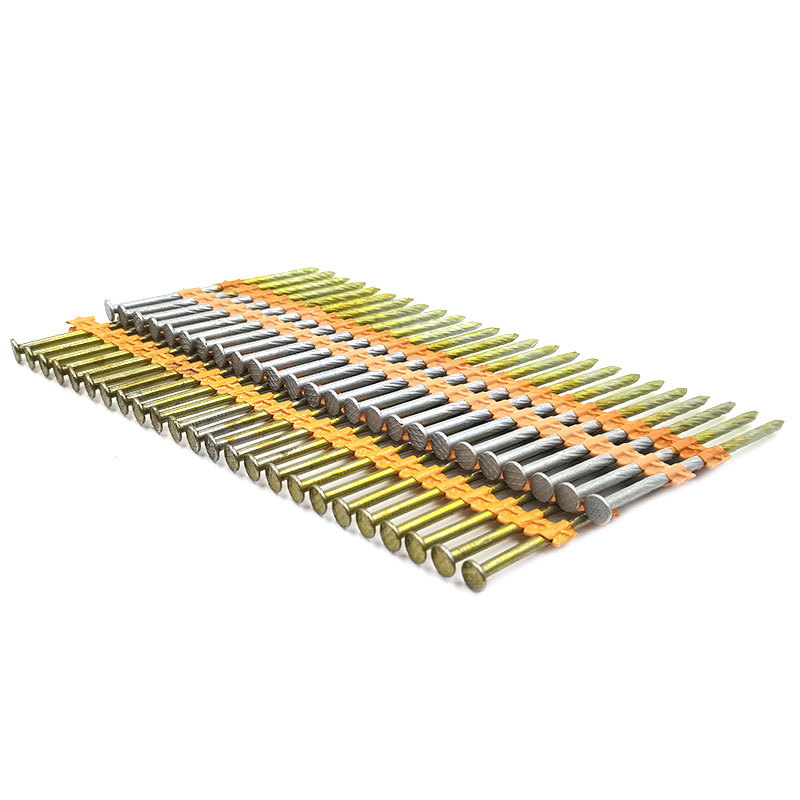
Shooting Nail
Product Information: GAS CONCRETE PIN NAIL raw material steel#45,#60 diameter 2.6mm,2.7mm,3.0mm,3.2mm length 13mm,16mm,19mm,22mm,27mm,32mm,37mm shank smooth shank & shri […]
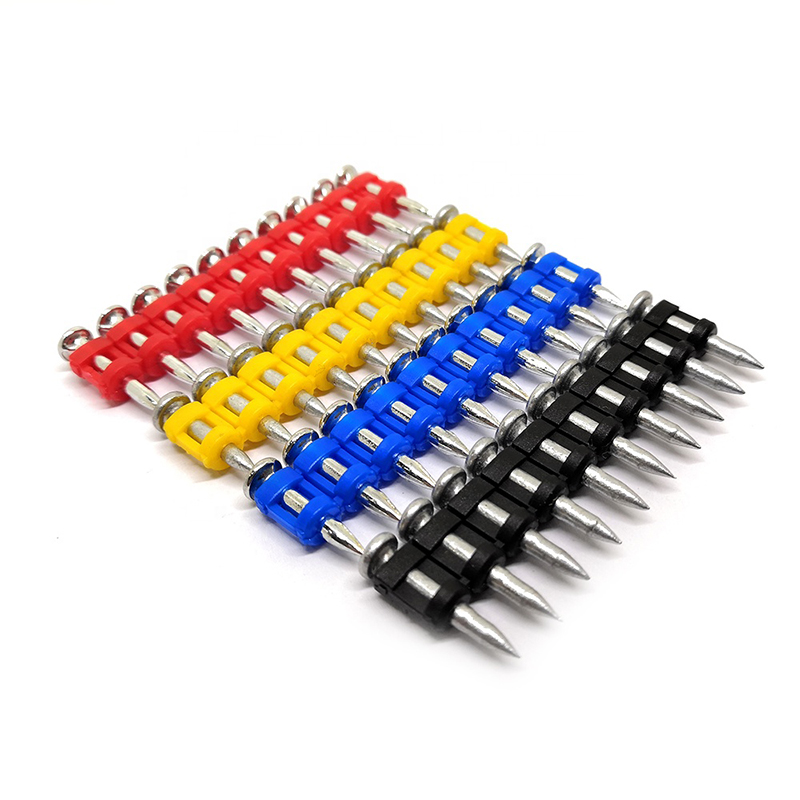
Plastic Strip Nail
Product Information: Diameter/mm(±0.05mm) Length/mm(±1.5mm) 2.87 50/60/65/70/75 3.05 70/75/83/90 3.33 75/83/90 3.76 75/90/100/130 4.11 75/90/100/130 4.5 75/90/100/130 Featur […]
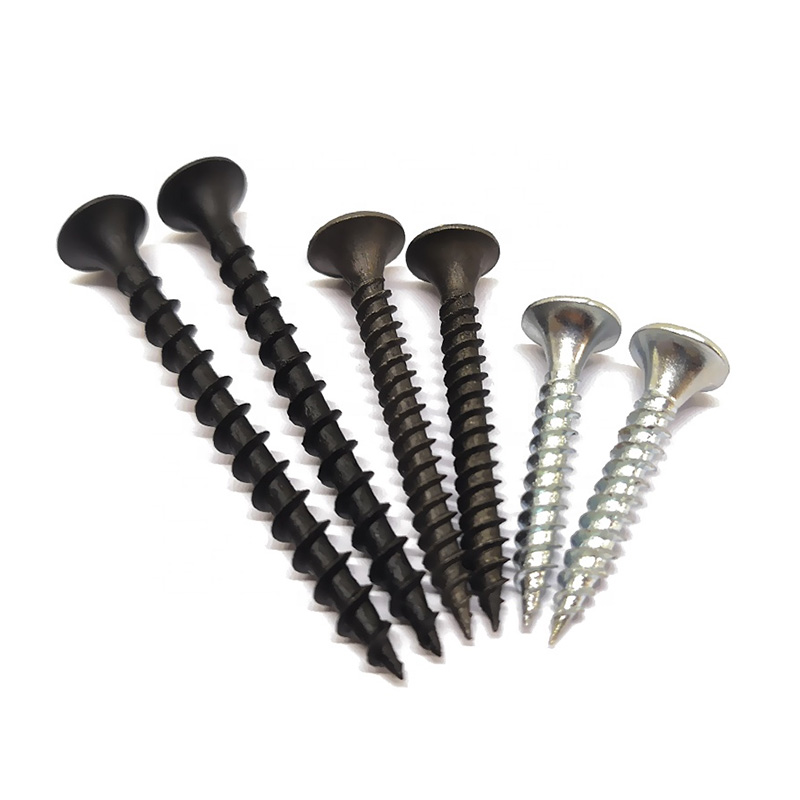
Drywall Screw
Product Information: Product Name Screws Drywall Nail Material Carbon steel C1022a Color Black,Galvanized Standard ISO,GB,DIN,JIS,ANSI,BSW Diameter M3.5-M6.3, 6#-14# Length […]
