Hammers and nails are staples of any DIY home project, and by following the guidance of this article, securing a nail into a concrete wall should be a breeze. Learning the proper way to put a nail in concrete not only essential but also easy. Let’s begin our exploration of the simple steps required for this straightforward task.
Step 1: Stockpiling Supplies
Before embarking on your task, it is wise to gather the essential resources and materials. This includes a hammer, concrete screw, masonry drill bit, drill, pencil and a pair of safety goggles.
Spot Your Destination
Utilizing the appropriate implements, you want to demarcate the location where you intend to insert the nail. Take a pencil and scribe a meandering orbit around that point. That way, you can guarantee the nail will be placed in its appointed place.
Boring Into The Hole: Step 3.
Once the area is identified, employ a masonry drill bit to pierce a hole in the concrete surface. Make sure that the opening is slightly bigger than the nail you plan to insert to create an effortless insertion process.
Nailing It: 4 Easy Steps for a Secure Installation
Having created an aperture, it is essential to secure the nail within. Working with meticulous attention to detail, tenderly place the spike into its cavity and pound it with the hammer to ensure a tight fit. Only move on to the subsequent step after the nail has been safely lodged into the wall.
Finalizing Touches
Once the labor is complete, it is time to finish the job up right. Wipe away all rogue particles and particles of dust so that the wall remains pristine and untainted, having a spick-and-span appearance.
With the proper equipment and understanding, putting a nail into a concrete wall is a task that can easily be accomplished. This article provides simple directions to help ensure you make your way through the process without fuss.
Trying to hammer a nail into a concrete wall may seem intimidating at first, but with the appropriate equipment and the correct approach, it’s really not that hard. No matter if you need to hang a photograph, an organizer, or some other item, here’s how to get it done.
Get the Necessary Gear
Prior to starting, ensure that you have all the provisions necessary to complete the task. Chief among them is a masonry drill bit, crafted for bore into concrete and masonry surfaces. Additionally, you’ll need a drill, hammer, and masonry nail – essential components for the job.
Mark the Spot
Before you dive in and start pounding away, it’s essential that you first mark where the nail needs to go. To do this, you can use something as simple as a pencil, marker, or even a piece of tape. Once the precise location is marked, its vital that you verify that it is both aligned and centered in the right spot.
Bore a Guiding Hole
Once the target has been identified, it’s time to start drilling; put on some protective eyewear, pick up the masonry drill bit, and make a pilot hole with precision. Be sure to keep the borehole slightly slimmer than your chosen nail in order to prevent any inadvertent damage to the wall. Safety is paramount here; exercise caution and keep your eyewear on at all times while drilling.
Pound the Nail
After the pilot hole has been accurately created, it is time to firmly insert the nail. Secure the nail in position within the hole, then carefully tap it with the hammer. Take caution to avoid striking it with excessive force, which could result in warping or breaking of the nail.
Fasten the Nail
Affixing the nail in its desired spot can be solidified with a smidge of adhesive, so that it won’t wiggle free in the future and will maintain its place uncompromised.
After you have inserted and secured the nail, tidying up any mess that may have been made is a must. You can effectively clear away the debris using either a vacuum or even simply a wet cloth.
If you’ve ever tried to affix a nail to a concrete wall before, you may have encountered some difficulties. Not to worry! The job can be done with just a little bit of extra planning and prep. Gather up the necessary materials, mark down the position of the nail, then drill a pilot hole. Next up is hammering in the nail, followed by securing it with adhesive. Make sure to sweep away any debris afterwards and – abracadabra – you’ll be seeing your finished project in no time!
Related Product
Drywall Screw
Product Information: Product Name Screws Drywall Nail Material Carbon steel C1022a Color Black,Galvanized Standard ISO,GB,DIN,JIS,ANSI,BSW Diameter M3.5-M6.3, 6#-14# Length […]

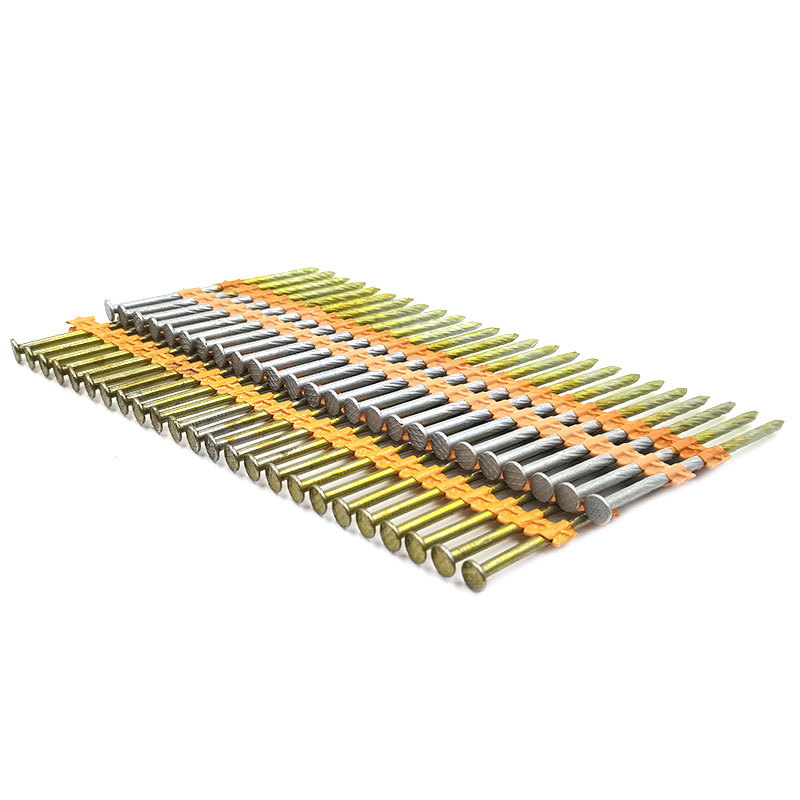
Paper Strip Nail
Product Information: Material Q195, Q235, stainless steel Surface Finish Bright, Galvanized, Hot Dipped Galvaized, Electro Galvanized, Zic Yellow, Zine Bule, MG, Dacro, etc. […]
Fence U Nail
Product Information: U TYPE NAIL 1.material: Q195/Q235 Low Carbon Iron Rod 2.shank: smooth shank, single barbed shank, double barbed shank and others 3.Point: side cut point or di […]
Garden Nail
Product Information: Black or yellow color plastic ground pegs are used for fix the ground cover or woven fabric or fleece on the ground. Material: Virgin PP OR PP +UV stabi […]
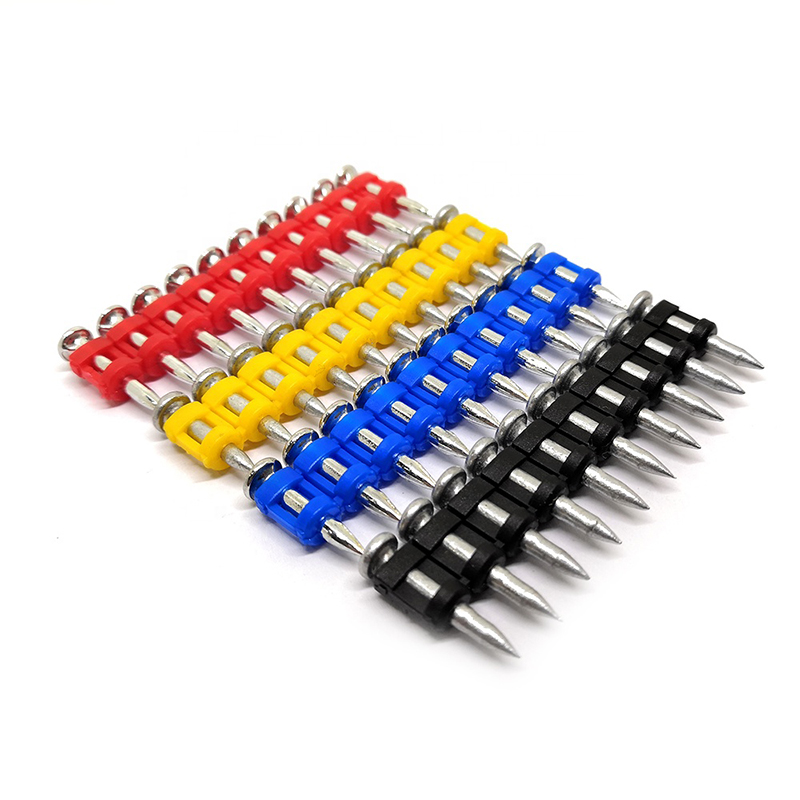
Plastic Strip Nail
Product Information: Diameter/mm(±0.05mm) Length/mm(±1.5mm) 2.87 50/60/65/70/75 3.05 70/75/83/90 3.33 75/83/90 3.76 75/90/100/130 4.11 75/90/100/130 4.5 75/90/100/130 Featur […]
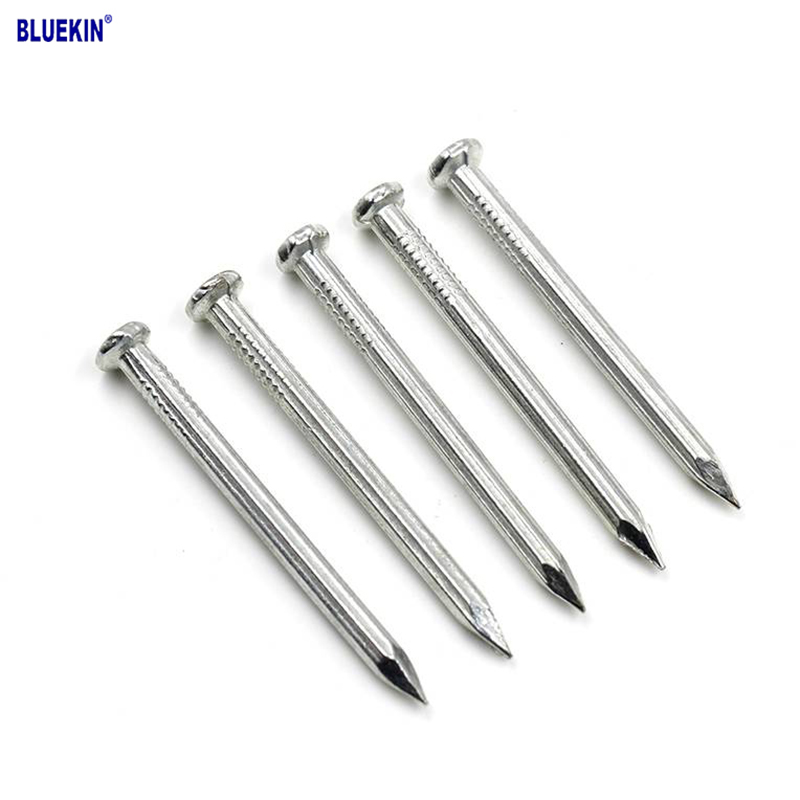
Concrete Nail
Product Information: Product name CONCRETE NAIL Material: #45 or #55 Steel Size: 1/2″-6″ Type: Round head with smooth shank or groove shank Treatment: Electro galvanized, ho […]
Shooting Nail
Product Information: GAS CONCRETE PIN NAIL raw material steel#45,#60 diameter 2.6mm,2.7mm,3.0mm,3.2mm length 13mm,16mm,19mm,22mm,27mm,32mm,37mm shank smooth shank & shri […]

Black concrete nail
concrete nail with special materials, concrete nails are specialty nails compared with common iron nails. It is harder, the shank is short and thick commonly and it has excellent p […]
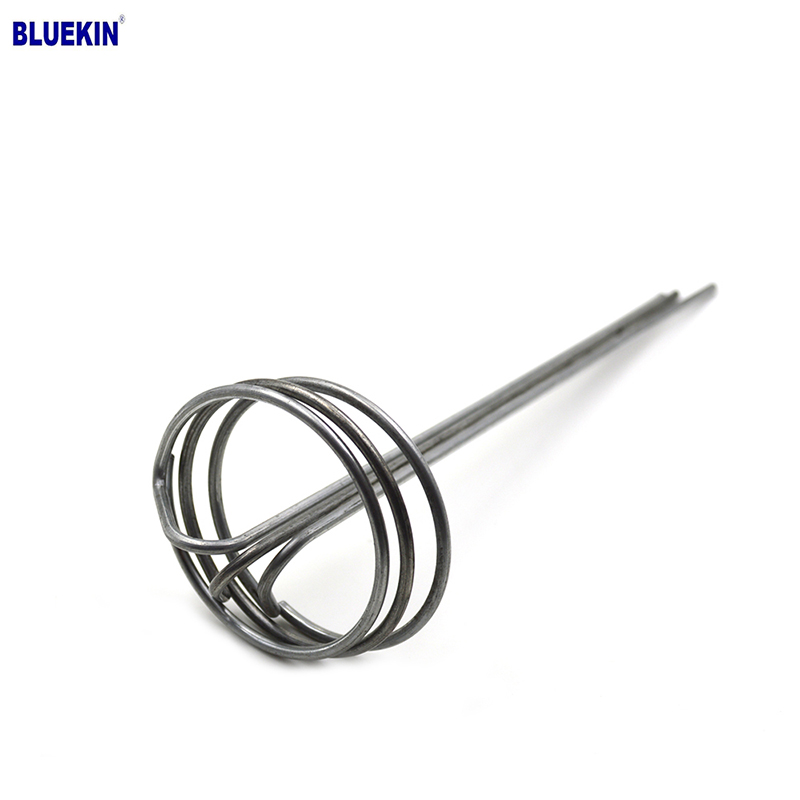
G Sod Staple
Product Information: Product name Sod Staple Material: Q195 /Q235 Size: 3/4X14GA, 3/4X9GA, 7/8X14GA, 1X9GA, 1-1/4X9GA, 1-1/2X9GA, 1-3/4X9GA Type: Round head with smooth shan […]
