Whether you’re a budding DIY enthusiast or a veteran tinkerer, you’ve likely come across the task of hammering wood into concrete. It can seem intimidating from the get-go, yet with the proper tools and a smidgen of proficiency, you’ll soon master the art of nailing wood to concrete walls with ease.
To provide a reliable installation in concrete, brick, or any other masonry surface, special anchors are needed – concrete nails, otherwise known as concrete anchors. These come in various shapes and sizes to suit your needs, constructed from long-lasting metals like galvanized steel or stainless steel. With concrete anchors, nailing into concrete is made simple and secure.
Before beginning your task, double-check that you possess all the necessary items you’ll require. Gather your hammer, drill, masonry bit, and the necessary anchors for concrete. Moreover, you should take a moment to acquire a level, tape measure, and pencil to round out your materials.
Before you can attach wood to a concrete wall, you must first put in the concrete anchors. First, mark the exact area on the wall where you want to insert these anchors – a level and a pencil are your best bet for drawing an accurate guide line. Once that is done, use a drill with a masonry bit to make holes larger than the anchors – this allows them to fit in comfortably.
After the holes have been bored, insertion of the anchors is the next step. Ensure that the anchors are in line with the wall and accurately fitted into the openings. With an efficient tender tap of your hammer, you can easily slide them into their spot.
With the wooden pieces prepared, it’s time to set them against the wall. Balanced and even alignment is essential here – make use of a level and measure to guarantee that there will be no miscreant edges separating from the wall. This extra step clearly demonstrates that attention to detail is being paid, and it makes a huge difference.
With the wood in its rightful spot, it’s time to give the wall a helping hand by introducing some concrete nails. Start off by placing the nail head directly against the wall and then get to hammering. Keep an even depth throughout the process so that each nail is locked in and won’t come out easily. The end result? A solid grasp of the wall.
To bring this endeavor to a successful close, you will need to drive one or two screws or nails into the wood, anchoring it securely into place on the wall. Pay particular attention to this step–it’s essential that the fasteners appropriately penetrate the wood and not the concrete underneath.
No matter your level of skill at DIY projects, attaching wood to concrete walls can be daunting. With the proper instruments and sufficient knowledge, though, you can master this technique easily. Ensure that you are diligent and follow the instructions closely. Before you know it, staying wood against concrete will be a breeze with a little practice.
Hammering wood pieces to a concrete wall can seem irritating, but with the right gear, some patience, and a methodical strategy, fantastic results can be achieved. With a few simple actions regardless of your purpose of adorning a shelf, or showcasing some artwork, it is possible to attach a wooden structure to a cemented surface in no time. Here is a comprehensive guide on how to nail wood to concrete wall efficiently.
Amass the Necessary Resources
Before you begin, double-check you have the necessary equipment for the task. A drill, hammer, masonry bit, concrete screws and masonry drill bit are all required. Alternatively, if you own a power drill with a masonry bit, it can be used; although it’s prudent to be mindful of not causing the bit to become overheated.
Charting the Wall: Step 2
Prior to commencing your drilling, ensure you take the time to accurately map out the area where you want to attach your wood. The use of a tape measure will allow you to precisely plot the dimensions and mark it with a pencil which will help you to guarantee you are drilling in the exact location that suits your needs.
Unearthing the Pilots: Drilling
You’ve reached a new milestone – it’s time to get the drill out! Make sure you choose the masonry bit, and carefully drill two pilot holes – slightly wider than the concrete screws, so you can easily attach them to the wall.
Preparing to Position the Concrete Screws.
Once you’ve pried the tiny holes into your structure, it’s time to thread in the concrete screws. These must be securely fixed into the wall before you move ahead, which will reinforce the bond between the wood and the wall.
Securing Wood to the Wall: The Fifth Step.
Now that the screws are in position, you can affix the timber to the wall. If nails are your desire, use a hammer to embed them in the wall. If screws are the preferred choice, then a drill is your ally. Ensure each connection is sturdy and secure before heading forward.
Completing the Task at Hand
After the wood has been firmly mounted onto the wall, the final touches can be applied. Where screws are involved, utilize a screwdriver to ensure they are tightly fastened. If nails have been selected, use a hammer to make them properly secure. With both elements affixed to the desired level, the task is successfully complete.
Completed with the correct set of tools, patience, and a few easy steps, it can be easily attained to attach wood securely to a concrete wall. Follow the steps above if you desire to master this challenge and acquire great results in a flash!
Related Product
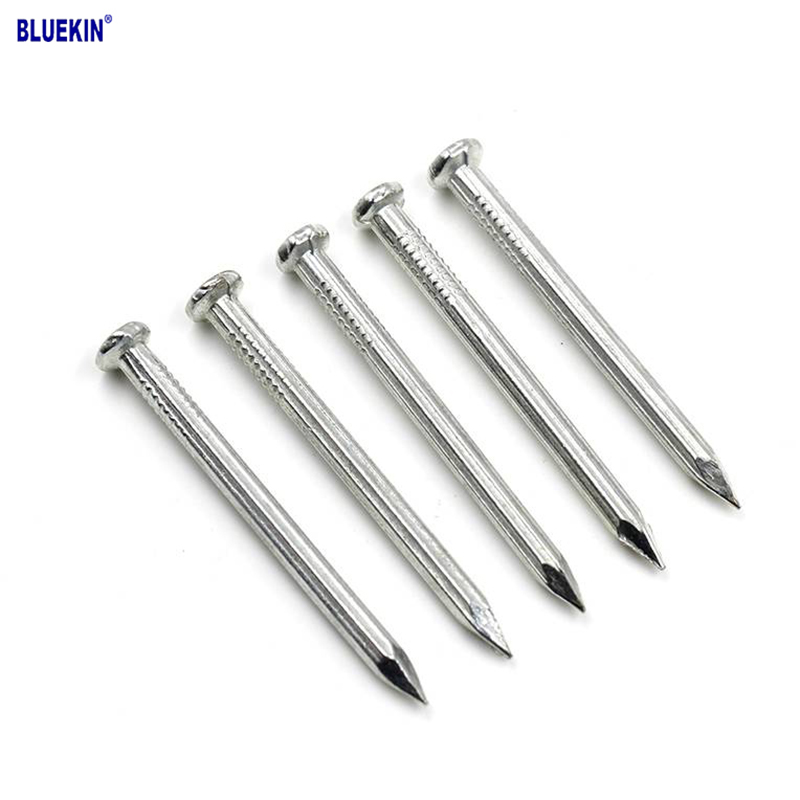
Concrete Nail
Product Information: Product name CONCRETE NAIL Material: #45 or #55 Steel Size: 1/2″-6″ Type: Round head with smooth shank or groove shank Treatment: Electro galvanized, ho […]

Paper Strip Nail
Product Information: Material Q195, Q235, stainless steel Surface Finish Bright, Galvanized, Hot Dipped Galvaized, Electro Galvanized, Zic Yellow, Zine Bule, MG, Dacro, etc. […]
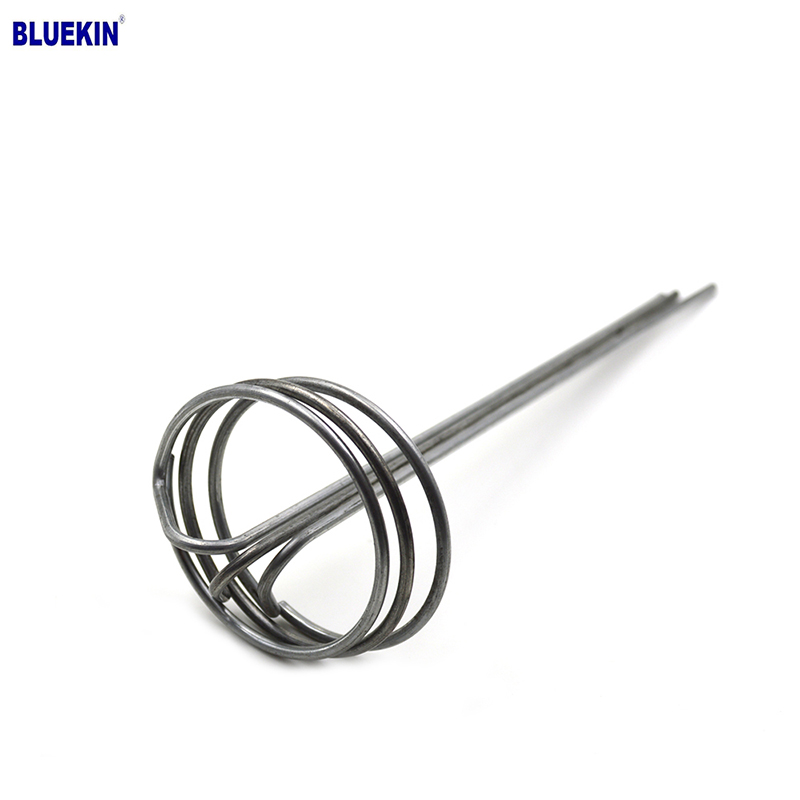
G Sod Staple
Product Information: Product name Sod Staple Material: Q195 /Q235 Size: 3/4X14GA, 3/4X9GA, 7/8X14GA, 1X9GA, 1-1/4X9GA, 1-1/2X9GA, 1-3/4X9GA Type: Round head with smooth shan […]

Black concrete nail
concrete nail with special materials, concrete nails are specialty nails compared with common iron nails. It is harder, the shank is short and thick commonly and it has excellent p […]
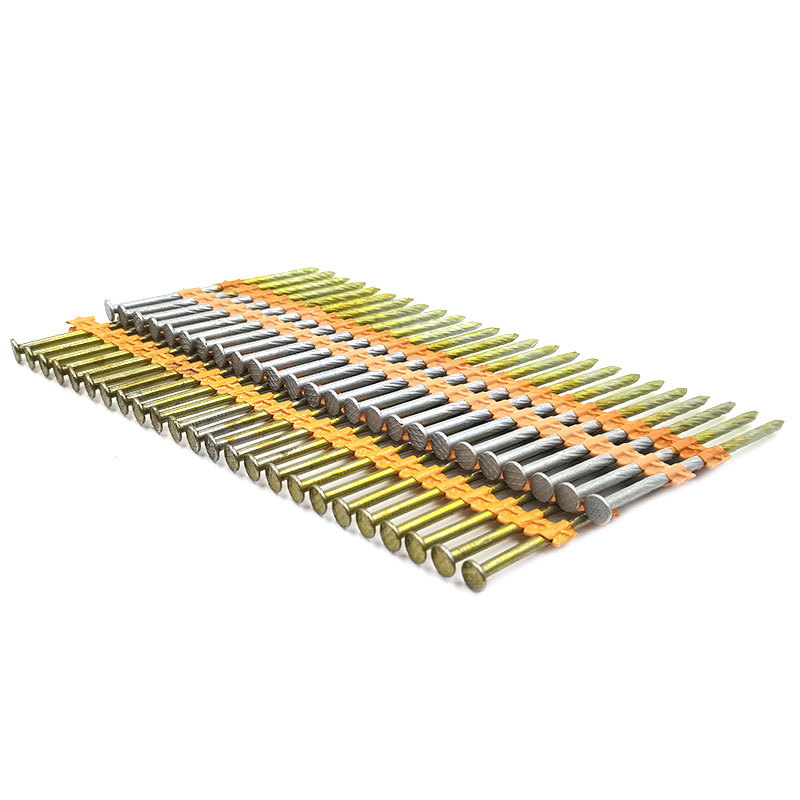
Plastic Strip Nail
Product Information: Diameter/mm(±0.05mm) Length/mm(±1.5mm) 2.87 50/60/65/70/75 3.05 70/75/83/90 3.33 75/83/90 3.76 75/90/100/130 4.11 75/90/100/130 4.5 75/90/100/130 Featur […]
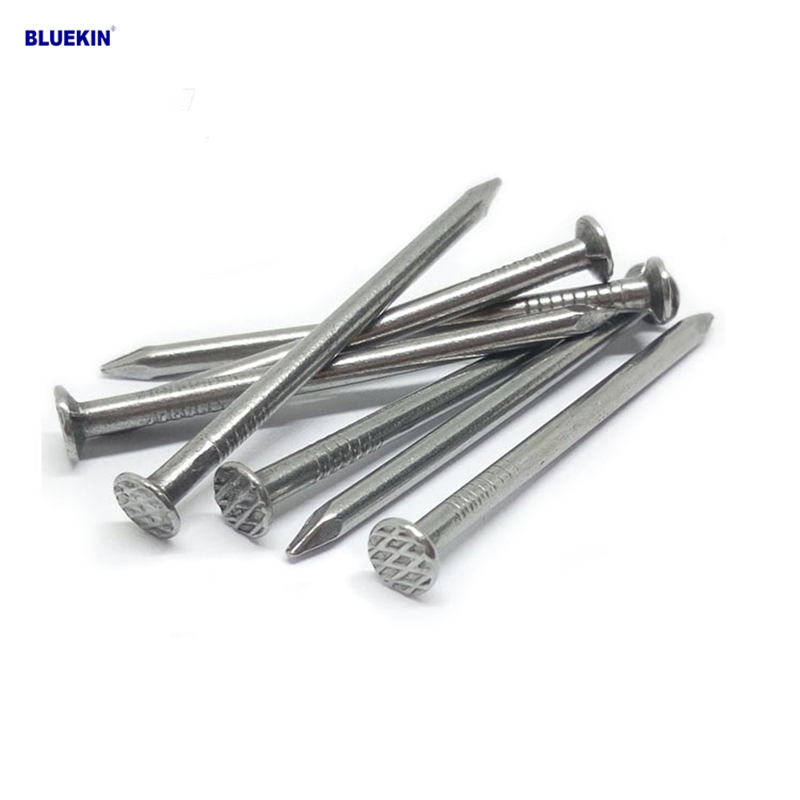
Common Nail
Product Information: Common Nail Material Q195, Q235 Shank diameter 1.2mm-10mm Length 19mm-300mm Finish polish/bright, electro galvanized, hot dip galvanized Head flated he […]
Garden Nail
Product Information: Black or yellow color plastic ground pegs are used for fix the ground cover or woven fabric or fleece on the ground. Material: Virgin PP OR PP +UV stabi […]
Fence U Nail
Product Information: U TYPE NAIL 1.material: Q195/Q235 Low Carbon Iron Rod 2.shank: smooth shank, single barbed shank, double barbed shank and others 3.Point: side cut point or di […]

U Sod Staple
Product Information: Landscape Staples * 11 GAUGE STEEL CONSTRUCTION: The points on the staples are sharp enough to pierce commercial ground cloth, and the staples are long […]
