Constructing and improving homes often requires nailing boards onto concrete surfaces. However, the task may appear challenging. Nonetheless, if the correct resources and equipment are used, the job can be completed quickly and painlessly. We’ll break down the essential details needed for nailing boards to cement, from necessary items to the steps necessary to complete the task.
Necessary Aids and Ingredients
Before you can commence the task of securing a board onto a concrete base, you’ll require an assemblage of machinery and supplies. Hammer, drill, and a masonry bit are all necessary tools for completing this venture. Concrete nails,a sufficient board, and cement sticky are the essential materials needed to complete the task correctly.
When constructing something atop concrete, specialised concrete nails are an absolute necessity. Acting as a stronger bond than standard nails, they possess a wider surfaced head that acts to keep fast holdings. It is similarly important to include concrete adhesive in the equation; this creates a long-lasting grip between the board and its underlayer. When it comes to the board itself, ensure it is sturdy enough not to permeate under the strong nailing pressure.
Securing Boards to Concrete: The Easiest Steps to Follow
Armed with the necessary gear and supplies, it’s time to nail planks to cement! To accomplish the task expeditiously and conveniently, be sure to abide by these easy steps:
First, execute the task of pinpointing the area for drilling; use a pencil to determine the precise location of each nail.
After positioning the board, start pre-drilling the holes. Utilize the masonry bit to dig each hole to the necessary depth – sufficient to enable the concrete nails to hold firmly in place.
A generous layer of concrete adhesive should be added to the backside of the board. This will form a powerful connection between the board and concrete, creating an unbreakable link.
Position the board in the desired location, and employ a hammer to firmly secure the concrete nails into their corresponding holes. Deliver a few taps with authority to ensure the metal fasteners are suitably embedded.
Allow the board to rest and dry overnight, inspecting the adherence of it to guarantee that everything is correct. When all looks flawless, that will mark the conclusion of this project!
Mastering the Skill of Nailing Boards to Concrete
For those looking to secure boards to concrete, there are a handful of techniques to make the task less daunting. Consider employing the following ideas:
• Keep a pair of safety glasses on and don heavy-duty gloves for the entirety of the task.
To guarantee success, take care to use a masonry bit that precisely matches the size of your concrete nails.
Before pounding in the nails, use a level to double-check that the board is perfectly set in its intended spot.
Allocate time and guarantee that the nails are strongly fastened.
For a smoothly applied layer of concrete adhesive, be sure to spread it out thinly and evenly.
Securing boards to concrete is one of many household assignments that require some effort and attention. However, with the right tools and materials and by adhering to the steps detailed in this post, this job can be accomplished without much hassle or time expended. Please bear in mind the necessity of donning safety glasses and protective gloves, selecting the proper masonry bit for the job, and taking care to make certain that your nails are properly inserted into the surface. With a small amount of toil, you’ll behold your boards mounted to concrete with stability achieved in no time at all.
Securing planks of wood to concrete may seem like a daunting assignment, but with the correct approach and the most suitable tools and materials, you can do so effortlessly and quickly. It is more than just a matter of nailing boards to concrete; it requires skill, perseverance, and precision.
When it comes to affixing boards to concrete, the right type of nail is essential. In most cases, concrete nails are the way forward; these possess a sizeable head, pointed tip, and broad shaft – all of which are paramount in securing the board into the concrete. With that said, it’s critical to select a nail size that is appropriate for the project; a short nail is not suitable for adequate support, while one too long runs the risk of fracturing the board.
Picking the correct nails is important when you’re planning to drive them into concrete. To ensure the nails don’t slip out as you hammer them in, you need to drill pilot holes first. Usually, a standard masonry bit measuring slightly smaller than the chosen nail size should do the trick. Make sure that you drill the pilot holes at least two inches deep into the concrete.
Now you will need to place the board exactly where you want it. Level it out and hold it in place with a few clamps. Once in its new home, you can begin to nail. A hammer drill and masonry bit – designed solely for concrete – is an ideal choice to make sure the nail is correctly inserted and stable.
Be sure to tap the nails into the concrete with enough intensity, so that they really sink in. Reserving a bit of a gap between the nail head and the board itself, being wary of the growth and shrinkage of the concrete as temperature fluctuates, will allow for slight shifting of the piece, giving it some extra wiggle room.
With your preparation complete, it’s time to bring the job to completion by sealing the board to its concrete foundation with a concrete patching compound. This step is critical in making sure that nothing undesirable – be it moisture or something more sinister – can squeeze itself into any crevices left open. Once the patch has fully dried, give your board the polished look you desire with a few coats of paint or stain.
Hammering nails into concrete can be a real challenge, but with the proper preparation and supplies, it can be achieved quickly and with ease. Grab some suitable nails, drill some pilot holes, and have a little patience – then you’ll have no trouble getting a board affixed to the concrete so that it has a firm and long-lasting grip.
Related Product
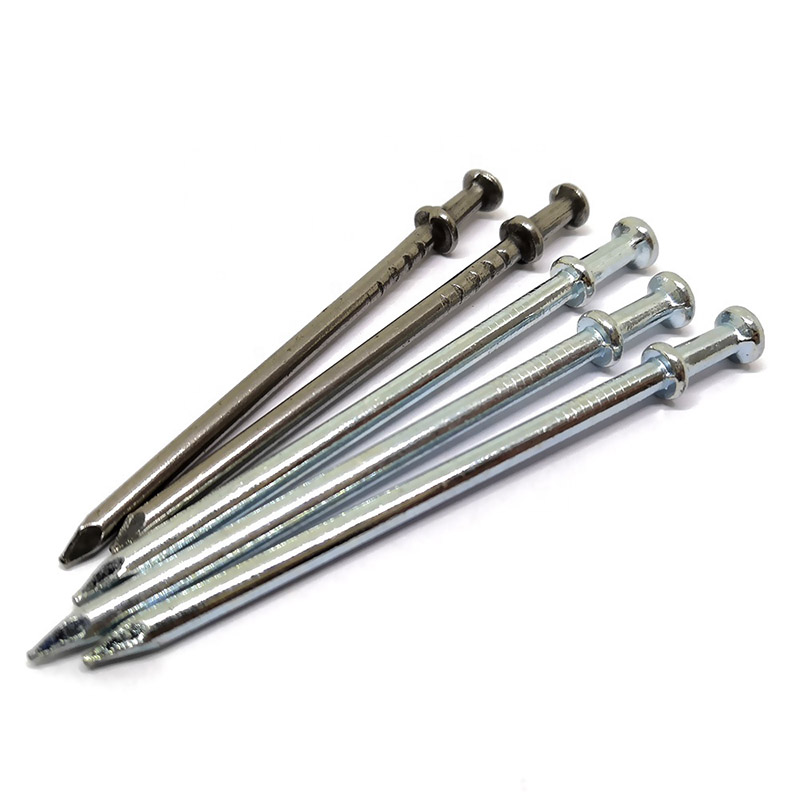
Double Head Nail
Product Information: Material Q195/Q235 Surface Treatment Bright, E.G, H.D.G, M.G, V.C, C.C, P.C and so on Head Two Head Shank Smooth Shank Point Diamond Point Kinds of pa […]
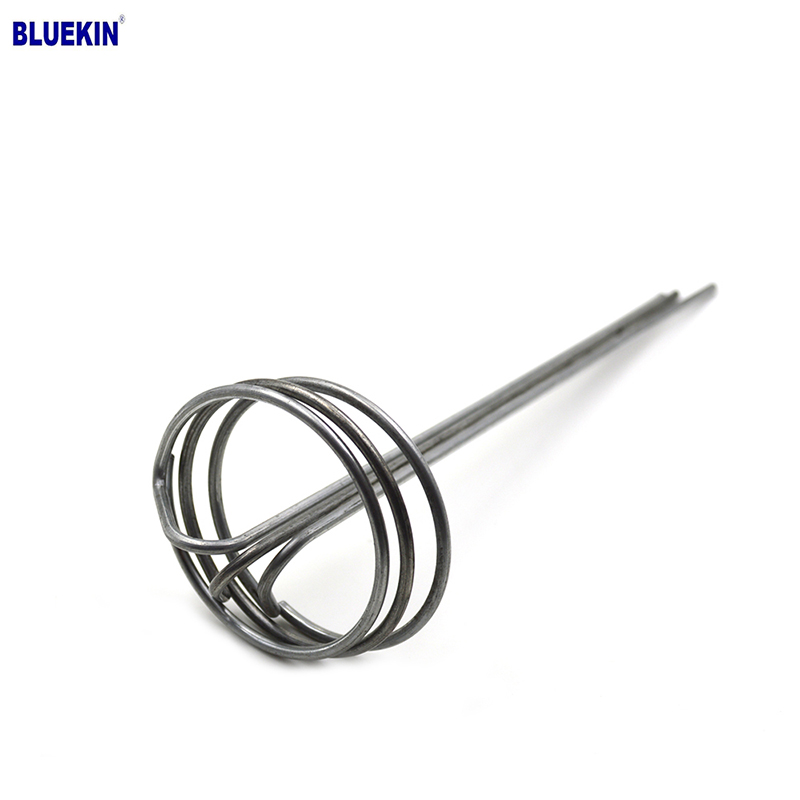
G Sod Staple
Product Information: Product name Sod Staple Material: Q195 /Q235 Size: 3/4X14GA, 3/4X9GA, 7/8X14GA, 1X9GA, 1-1/4X9GA, 1-1/2X9GA, 1-3/4X9GA Type: Round head with smooth shan […]
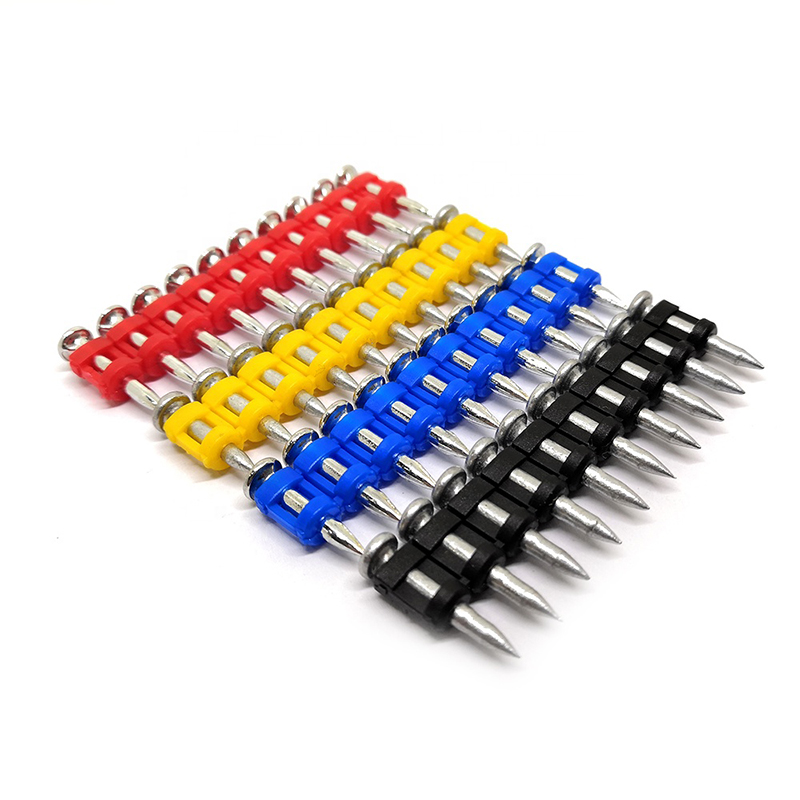
Shooting Nail
Product Information: GAS CONCRETE PIN NAIL raw material steel#45,#60 diameter 2.6mm,2.7mm,3.0mm,3.2mm length 13mm,16mm,19mm,22mm,27mm,32mm,37mm shank smooth shank & shri […]
Common Nail
Product Information: Common Nail Material Q195, Q235 Shank diameter 1.2mm-10mm Length 19mm-300mm Finish polish/bright, electro galvanized, hot dip galvanized Head flated he […]
Drywall Screw
Product Information: Product Name Screws Drywall Nail Material Carbon steel C1022a Color Black,Galvanized Standard ISO,GB,DIN,JIS,ANSI,BSW Diameter M3.5-M6.3, 6#-14# Length […]

U Sod Staple
Product Information: Landscape Staples * 11 GAUGE STEEL CONSTRUCTION: The points on the staples are sharp enough to pierce commercial ground cloth, and the staples are long […]

Paper Strip Nail
Product Information: Material Q195, Q235, stainless steel Surface Finish Bright, Galvanized, Hot Dipped Galvaized, Electro Galvanized, Zic Yellow, Zine Bule, MG, Dacro, etc. […]
Fence U Nail
Product Information: U TYPE NAIL 1.material: Q195/Q235 Low Carbon Iron Rod 2.shank: smooth shank, single barbed shank, double barbed shank and others 3.Point: side cut point or di […]
Garden Nail
Product Information: Black or yellow color plastic ground pegs are used for fix the ground cover or woven fabric or fleece on the ground. Material: Virgin PP OR PP +UV stabi […]
