Inserting nails into concrete can be a challenge, especially for those just starting out. However, the appropriate tools and steps can make the task achievable and secure. With proper technique and caution, it can be done quickly and effectively.
When it comes to ensuring a secure fastening of nails in concrete, selecting the appropriate drill bit is of utmost importance. The particular size and kind of nail being used will determine the kind of bit required-masonry for smaller nails and a hammer drill bit for larger nails. Additionally, for added longevity, it is wise to choose a drill bit with a carbide tip.
With the purpose of successful drilling, a surface void of dirt and dust is a must. Any debris, no matter how minute, could immensely reduce the potency of the performance.
For greater precision, a line ought to be drawn on the concrete in the very spot where the nail should be inserted. If this step is completed carefully, it provides a foundation for the next part of the process – prepping the surface.
The drill needs to be prepped with utmost precision and accuracy. To achieve optimum results, it must be set to the calibrations corresponding to the job at hand – too high a speed or torque could spell disaster, torching the bit and compromising the concrete; too low, and it won’t pierce the surface properly.
With the drill prepared, it’s time to make a start. Ensure the angle of the device is set perpendicular to the concrete at the specified spot and push in with a gentle pressure. To avoid harming the surface and keep the temperature of the bit bearable, keep the equipment moving at a consistent pace.
When the nail is almost halfway through the concrete block, it’s time to switch to a hammer drill bit. This drill bit is equipped to break down the hard material, and drive the nail deeply into the surface. Ensure that you keep the drill in motion, so as not to impact the crevice of the concrete.
The task accomplished, the drill is silenced and the aftermath addressed. Debris is eliminated from the surface to ensure that nothing interferes with any new endeavours.
When embarking on the task of drilling nails into concrete, the utmost in safety must be taken. Specialty eyewear designed to guard against potential flying shards of debris should be donned in order to safeguard the eyes from any potential harm. Additionally, a dust mask or respirator are ideal protection for the lungs from any dust that may arise from this project.
Even if finishing the task of nailing into concrete seems daunting, it can be made a success with some knowledge and the right equipment. To get started, here are the key steps to drilling nails into concrete with the acceptable degree of safety and efficacy.
For those looking to take on home improvement projects, drilling into concrete may be a key step. While this job may seem straightforward, there are several important aspects to consider to guarantee that the concrete is not harmed and that the tools stay safe. In this article, we’ll walk through the basics of how to go about nailing an object into concrete and highlight why utilizing the correct resources and strategies is so integral to a successful experience.
Prior to beginning any concrete-drilling job, it is essential to make certain you have the correct equipment and components for the task. To be ready, you will require a drill, hammer drill bit set, masonry bit, hammer, and safety glasses. The selecting of a lower speed on the drill is paramount and ensuring the bit size corresponds to the nail in use is imperative. Above all, for drilling concrete, a specially-engineered hammer drill bit set should be employed.
When you’re warmed up and ready to go, start by lightly tapping the masonry bit into the concrete. This will help clear the surface and make subsequent drilling more efficient. Increase the speed of the drill gradually until you’ve achieved the ideal depth. It’s imperative to keep the drill bit upright and angled correctly to guarantee that the nail is securely rooted in the concrete.
The next move is to thrust the nail into the concrete, angling it slightly for a safer grip. Leverage the hammer to knock it in, keeping the head of the nail aligned with the cementing. Ensure that it has reached your desired depth for a secure installation.
Once you are through, eradicate any concrete debris by sweeping. This activity is vital in defending the encompassing area from harm. It is likewise essential to scrutinize the nail once it has been properly set in place, ensuring that it is firmly attached and that the concrete has not been damaged.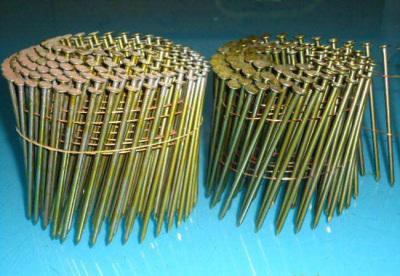
Outdoor improvements to your home may require the use of nails driven into concrete. To complete this task without any trouble, the correct materials and methods should be employed. Here is a guide on how to abide by these pertinent procedures in order to insert your nails with ease and reliability.
Related Product
Double Head Nail
Product Information: Material Q195/Q235 Surface Treatment Bright, E.G, H.D.G, M.G, V.C, C.C, P.C and so on Head Two Head Shank Smooth Shank Point Diamond Point Kinds of pa […]
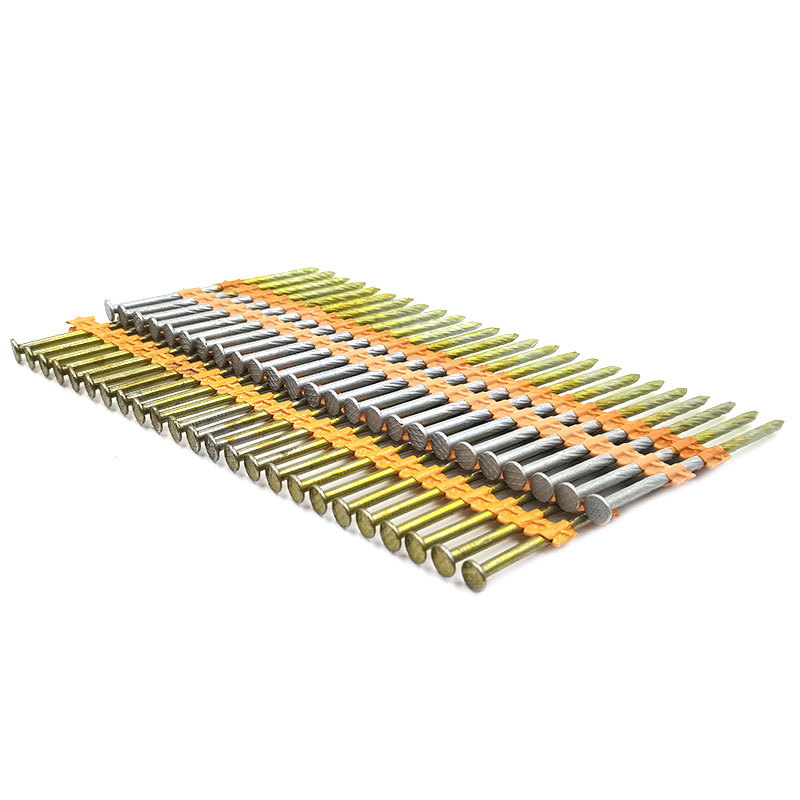
Shooting Nail
Product Information: GAS CONCRETE PIN NAIL raw material steel#45,#60 diameter 2.6mm,2.7mm,3.0mm,3.2mm length 13mm,16mm,19mm,22mm,27mm,32mm,37mm shank smooth shank & shri […]
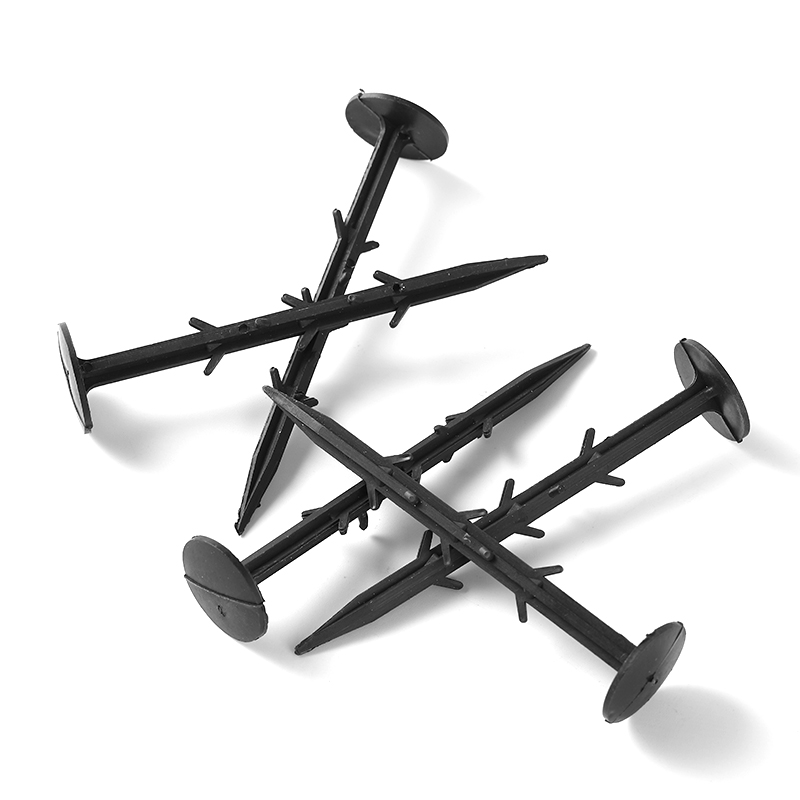
Garden Nail
Product Information: Black or yellow color plastic ground pegs are used for fix the ground cover or woven fabric or fleece on the ground. Material: Virgin PP OR PP +UV stabi […]

U Sod Staple
Product Information: Landscape Staples * 11 GAUGE STEEL CONSTRUCTION: The points on the staples are sharp enough to pierce commercial ground cloth, and the staples are long […]
G Sod Staple
Product Information: Product name Sod Staple Material: Q195 /Q235 Size: 3/4X14GA, 3/4X9GA, 7/8X14GA, 1X9GA, 1-1/4X9GA, 1-1/2X9GA, 1-3/4X9GA Type: Round head with smooth shan […]
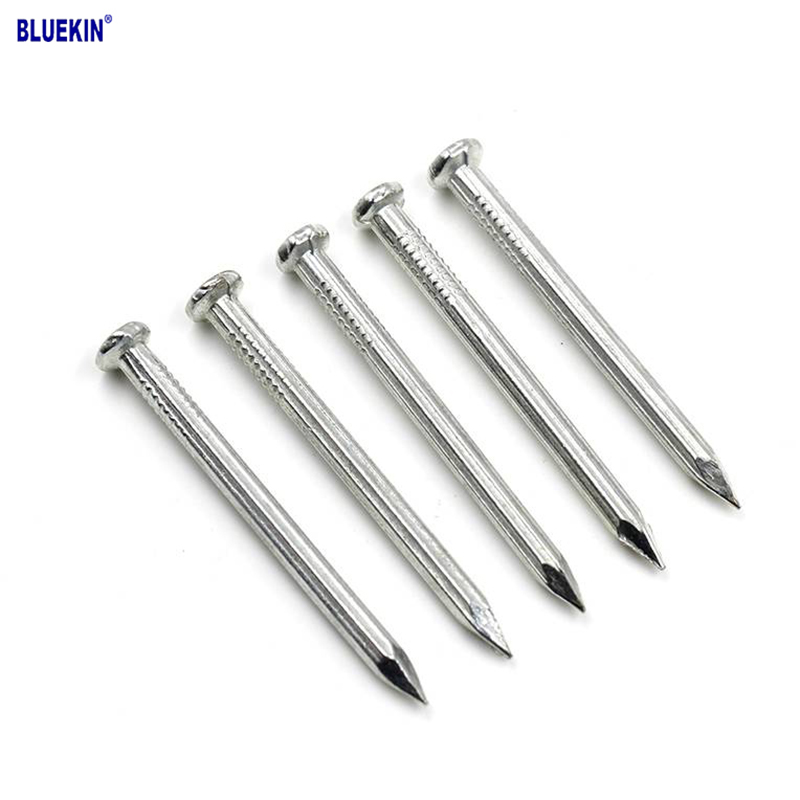
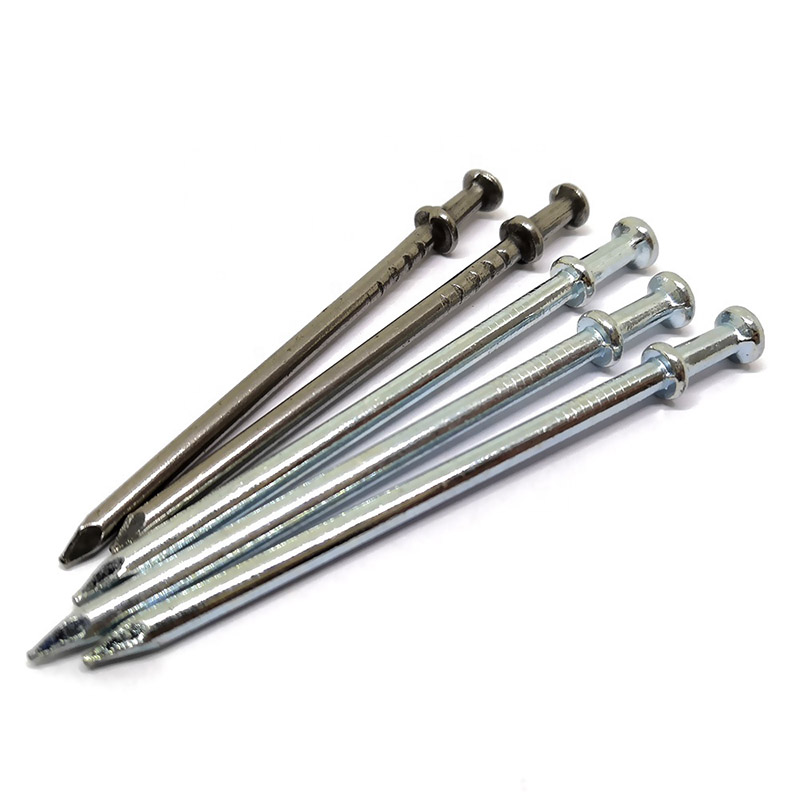
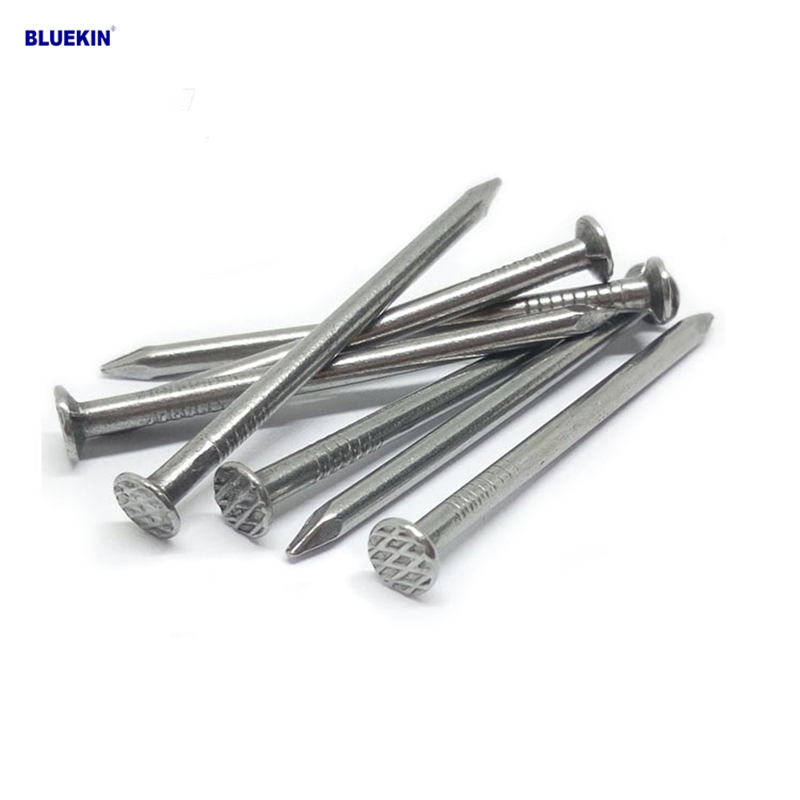
Concrete Nail
Product Information: Product name CONCRETE NAIL Material: #45 or #55 Steel Size: 1/2″-6″ Type: Round head with smooth shank or groove shank Treatment: Electro galvanized, ho […]
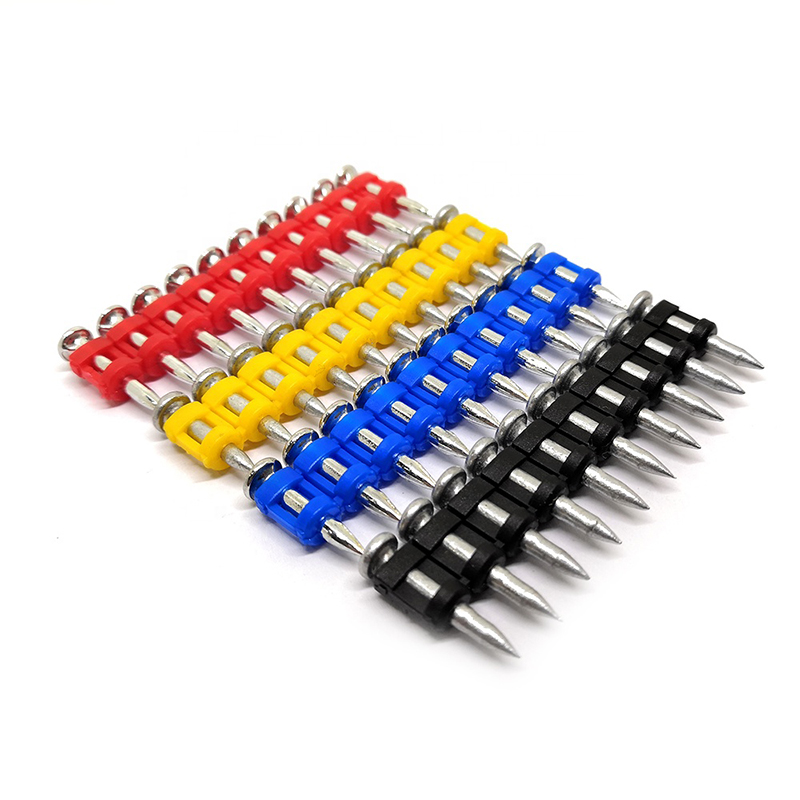
Plastic Strip Nail
Product Information: Diameter/mm(±0.05mm) Length/mm(±1.5mm) 2.87 50/60/65/70/75 3.05 70/75/83/90 3.33 75/83/90 3.76 75/90/100/130 4.11 75/90/100/130 4.5 75/90/100/130 Featur […]
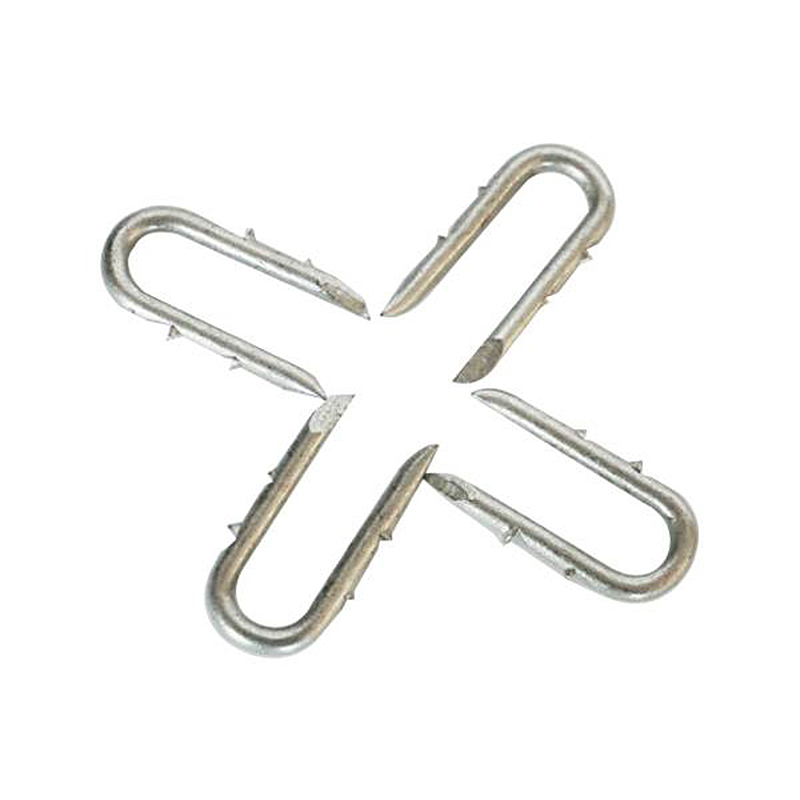
Fence U Nail
Product Information: U TYPE NAIL 1.material: Q195/Q235 Low Carbon Iron Rod 2.shank: smooth shank, single barbed shank, double barbed shank and others 3.Point: side cut point or di […]
Common Nail
Product Information: Common Nail Material Q195, Q235 Shank diameter 1.2mm-10mm Length 19mm-300mm Finish polish/bright, electro galvanized, hot dip galvanized Head flated he […]
